Floor Tile Installation
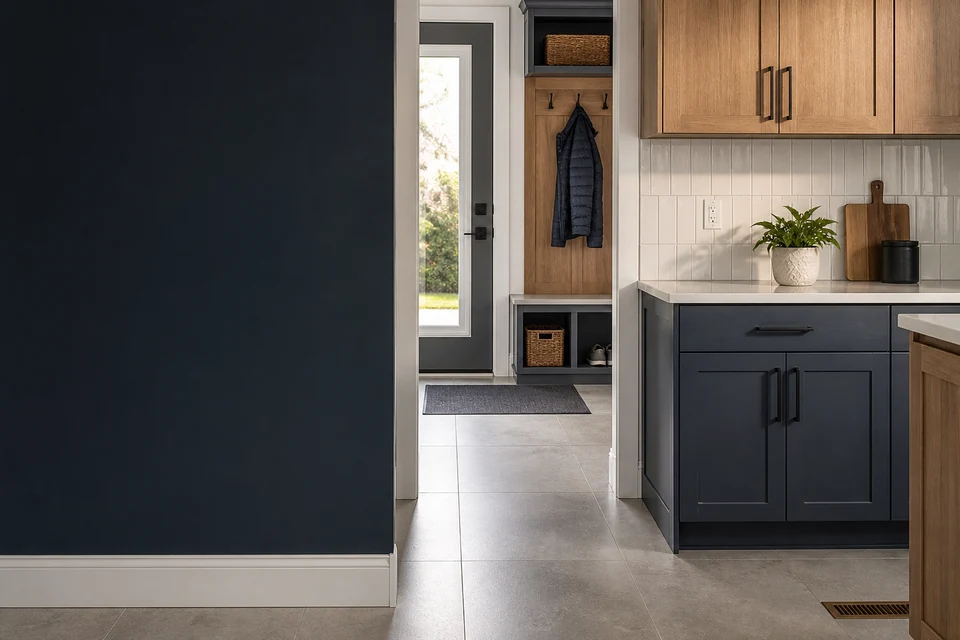
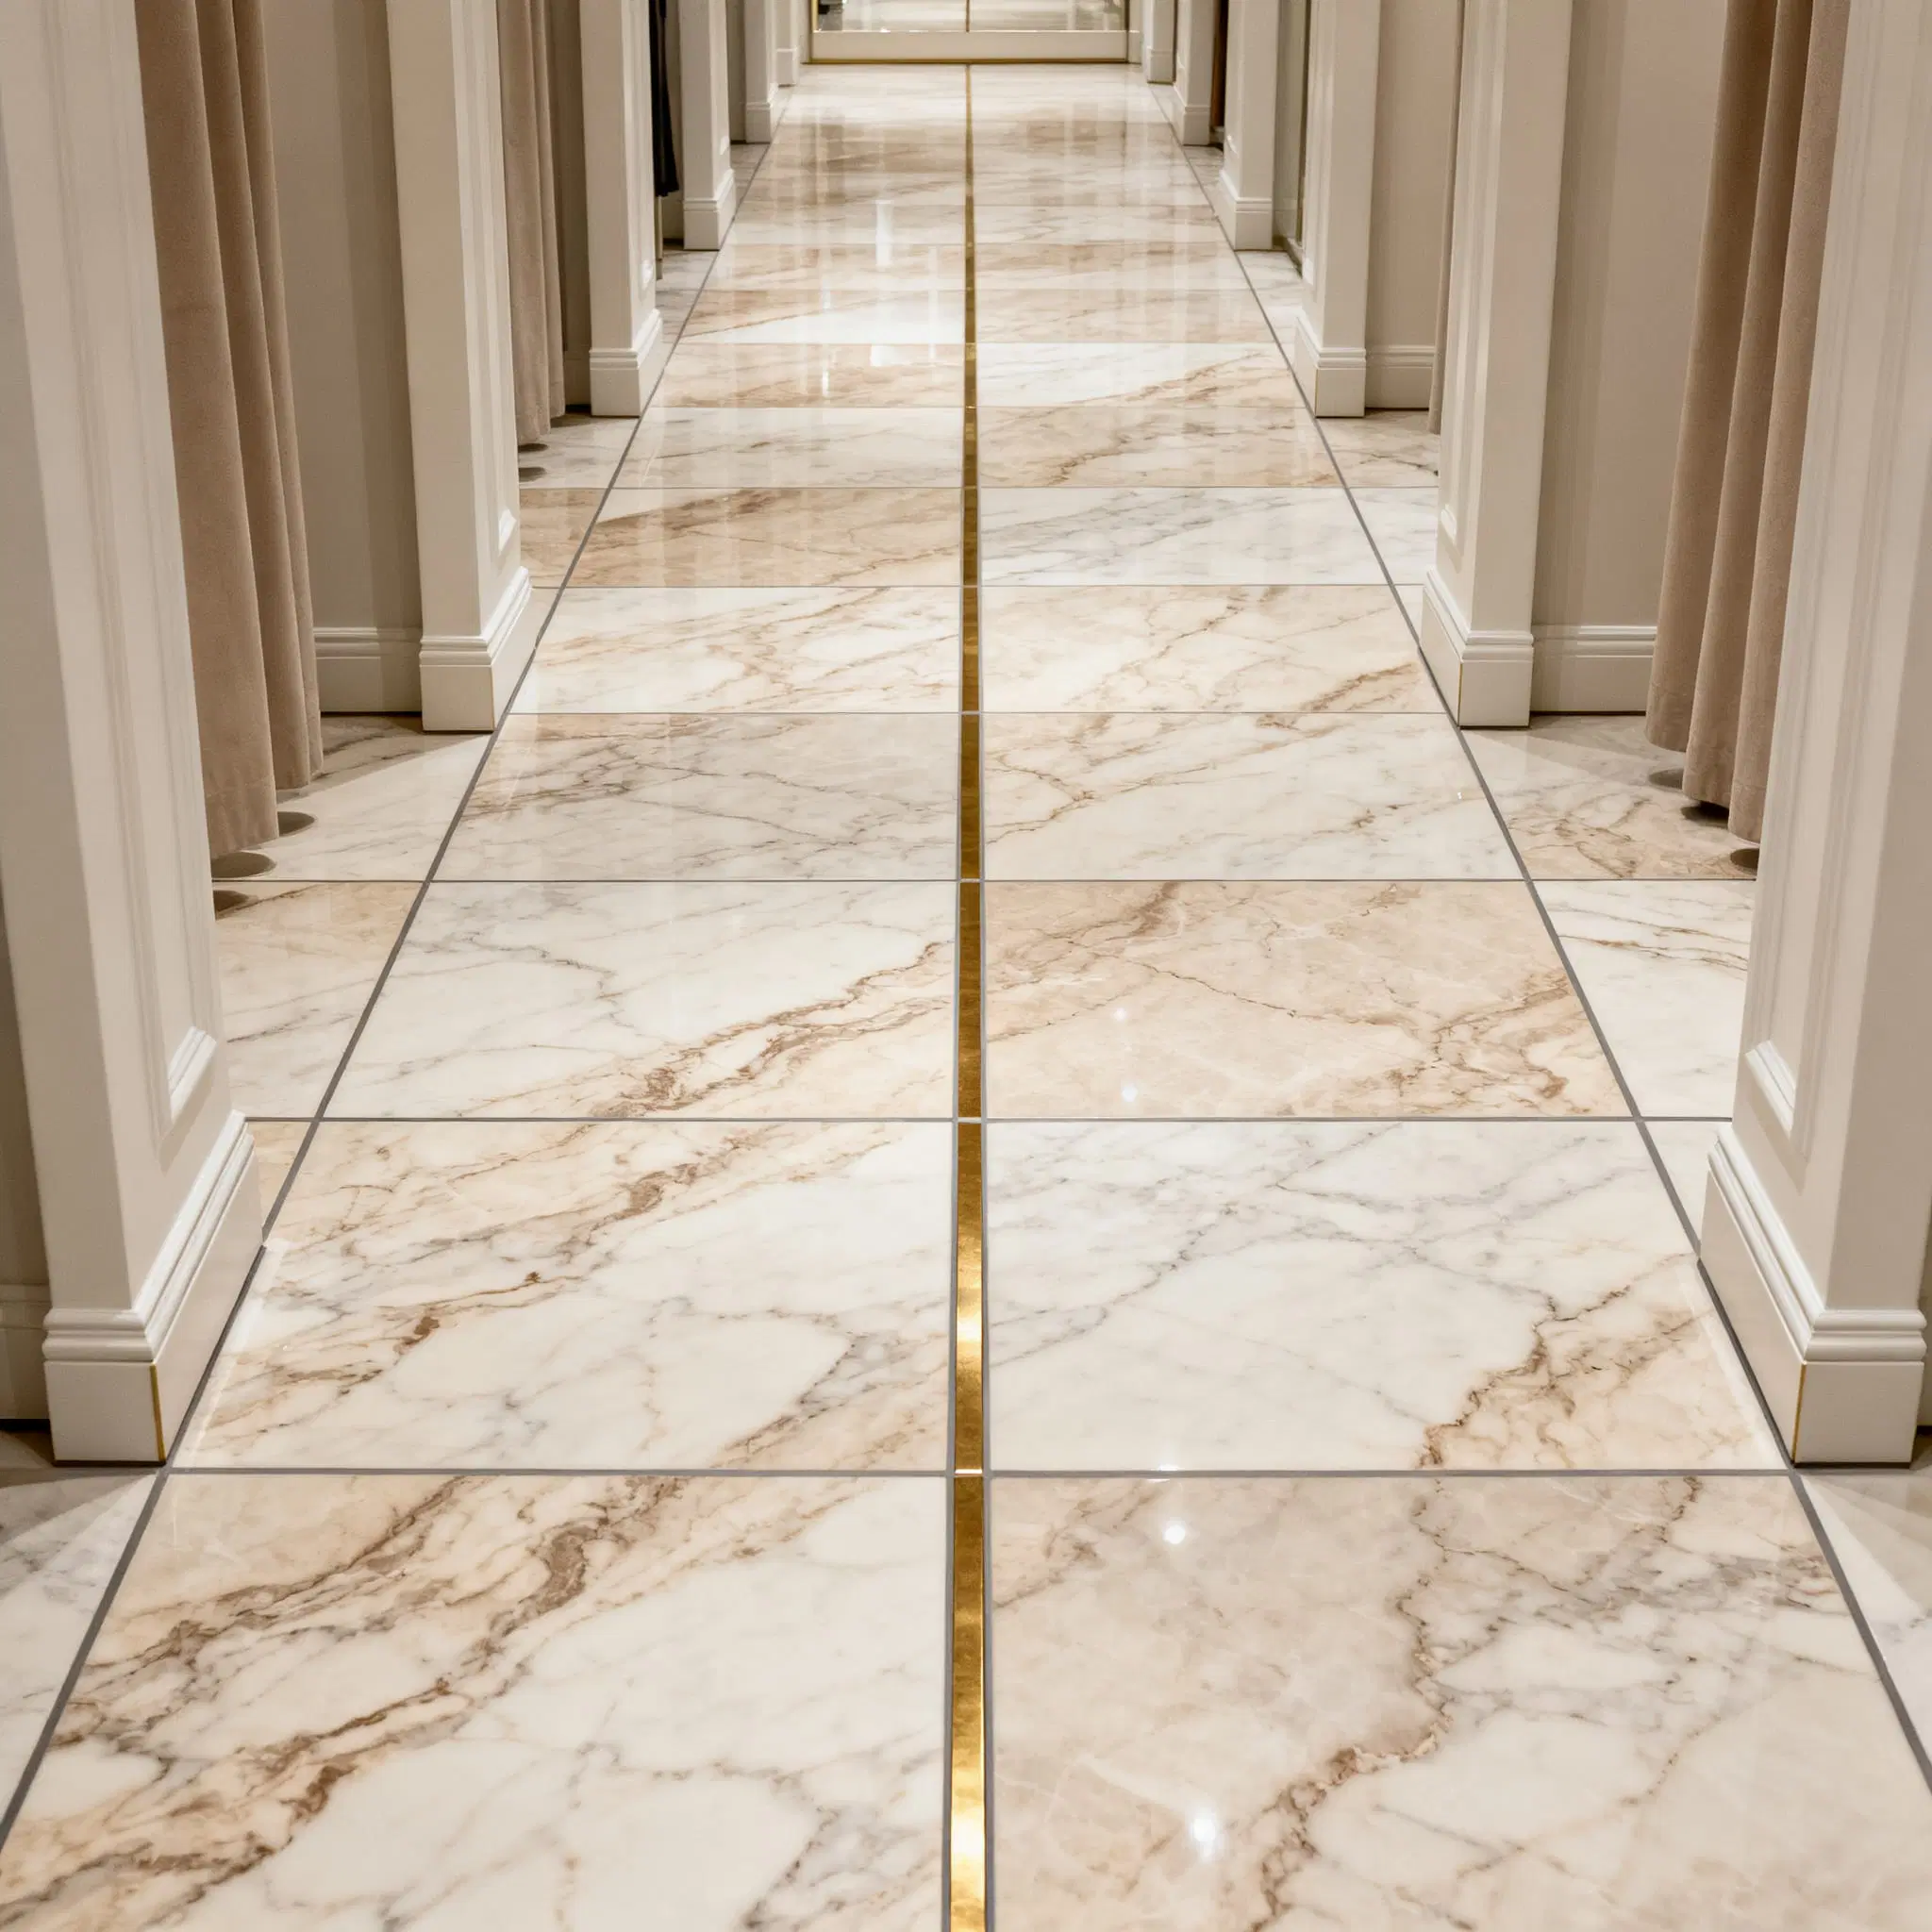
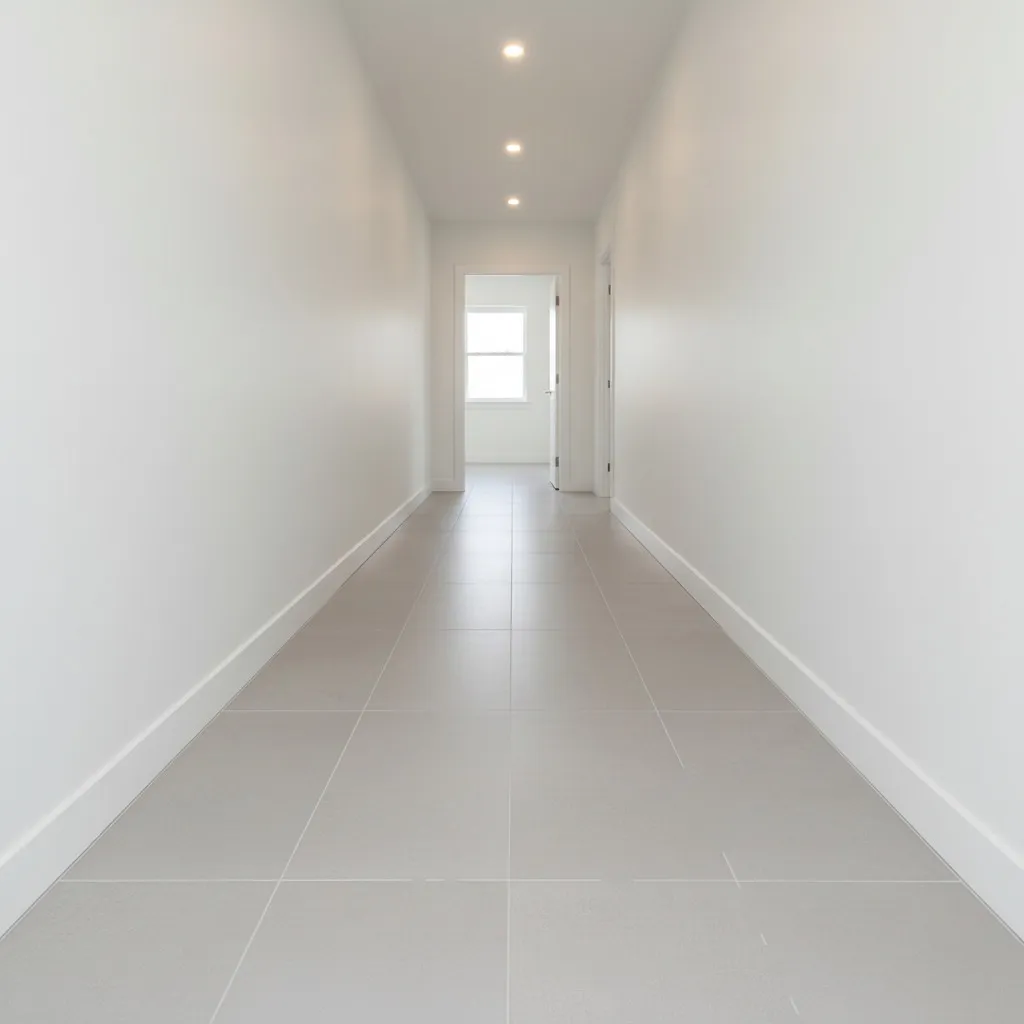
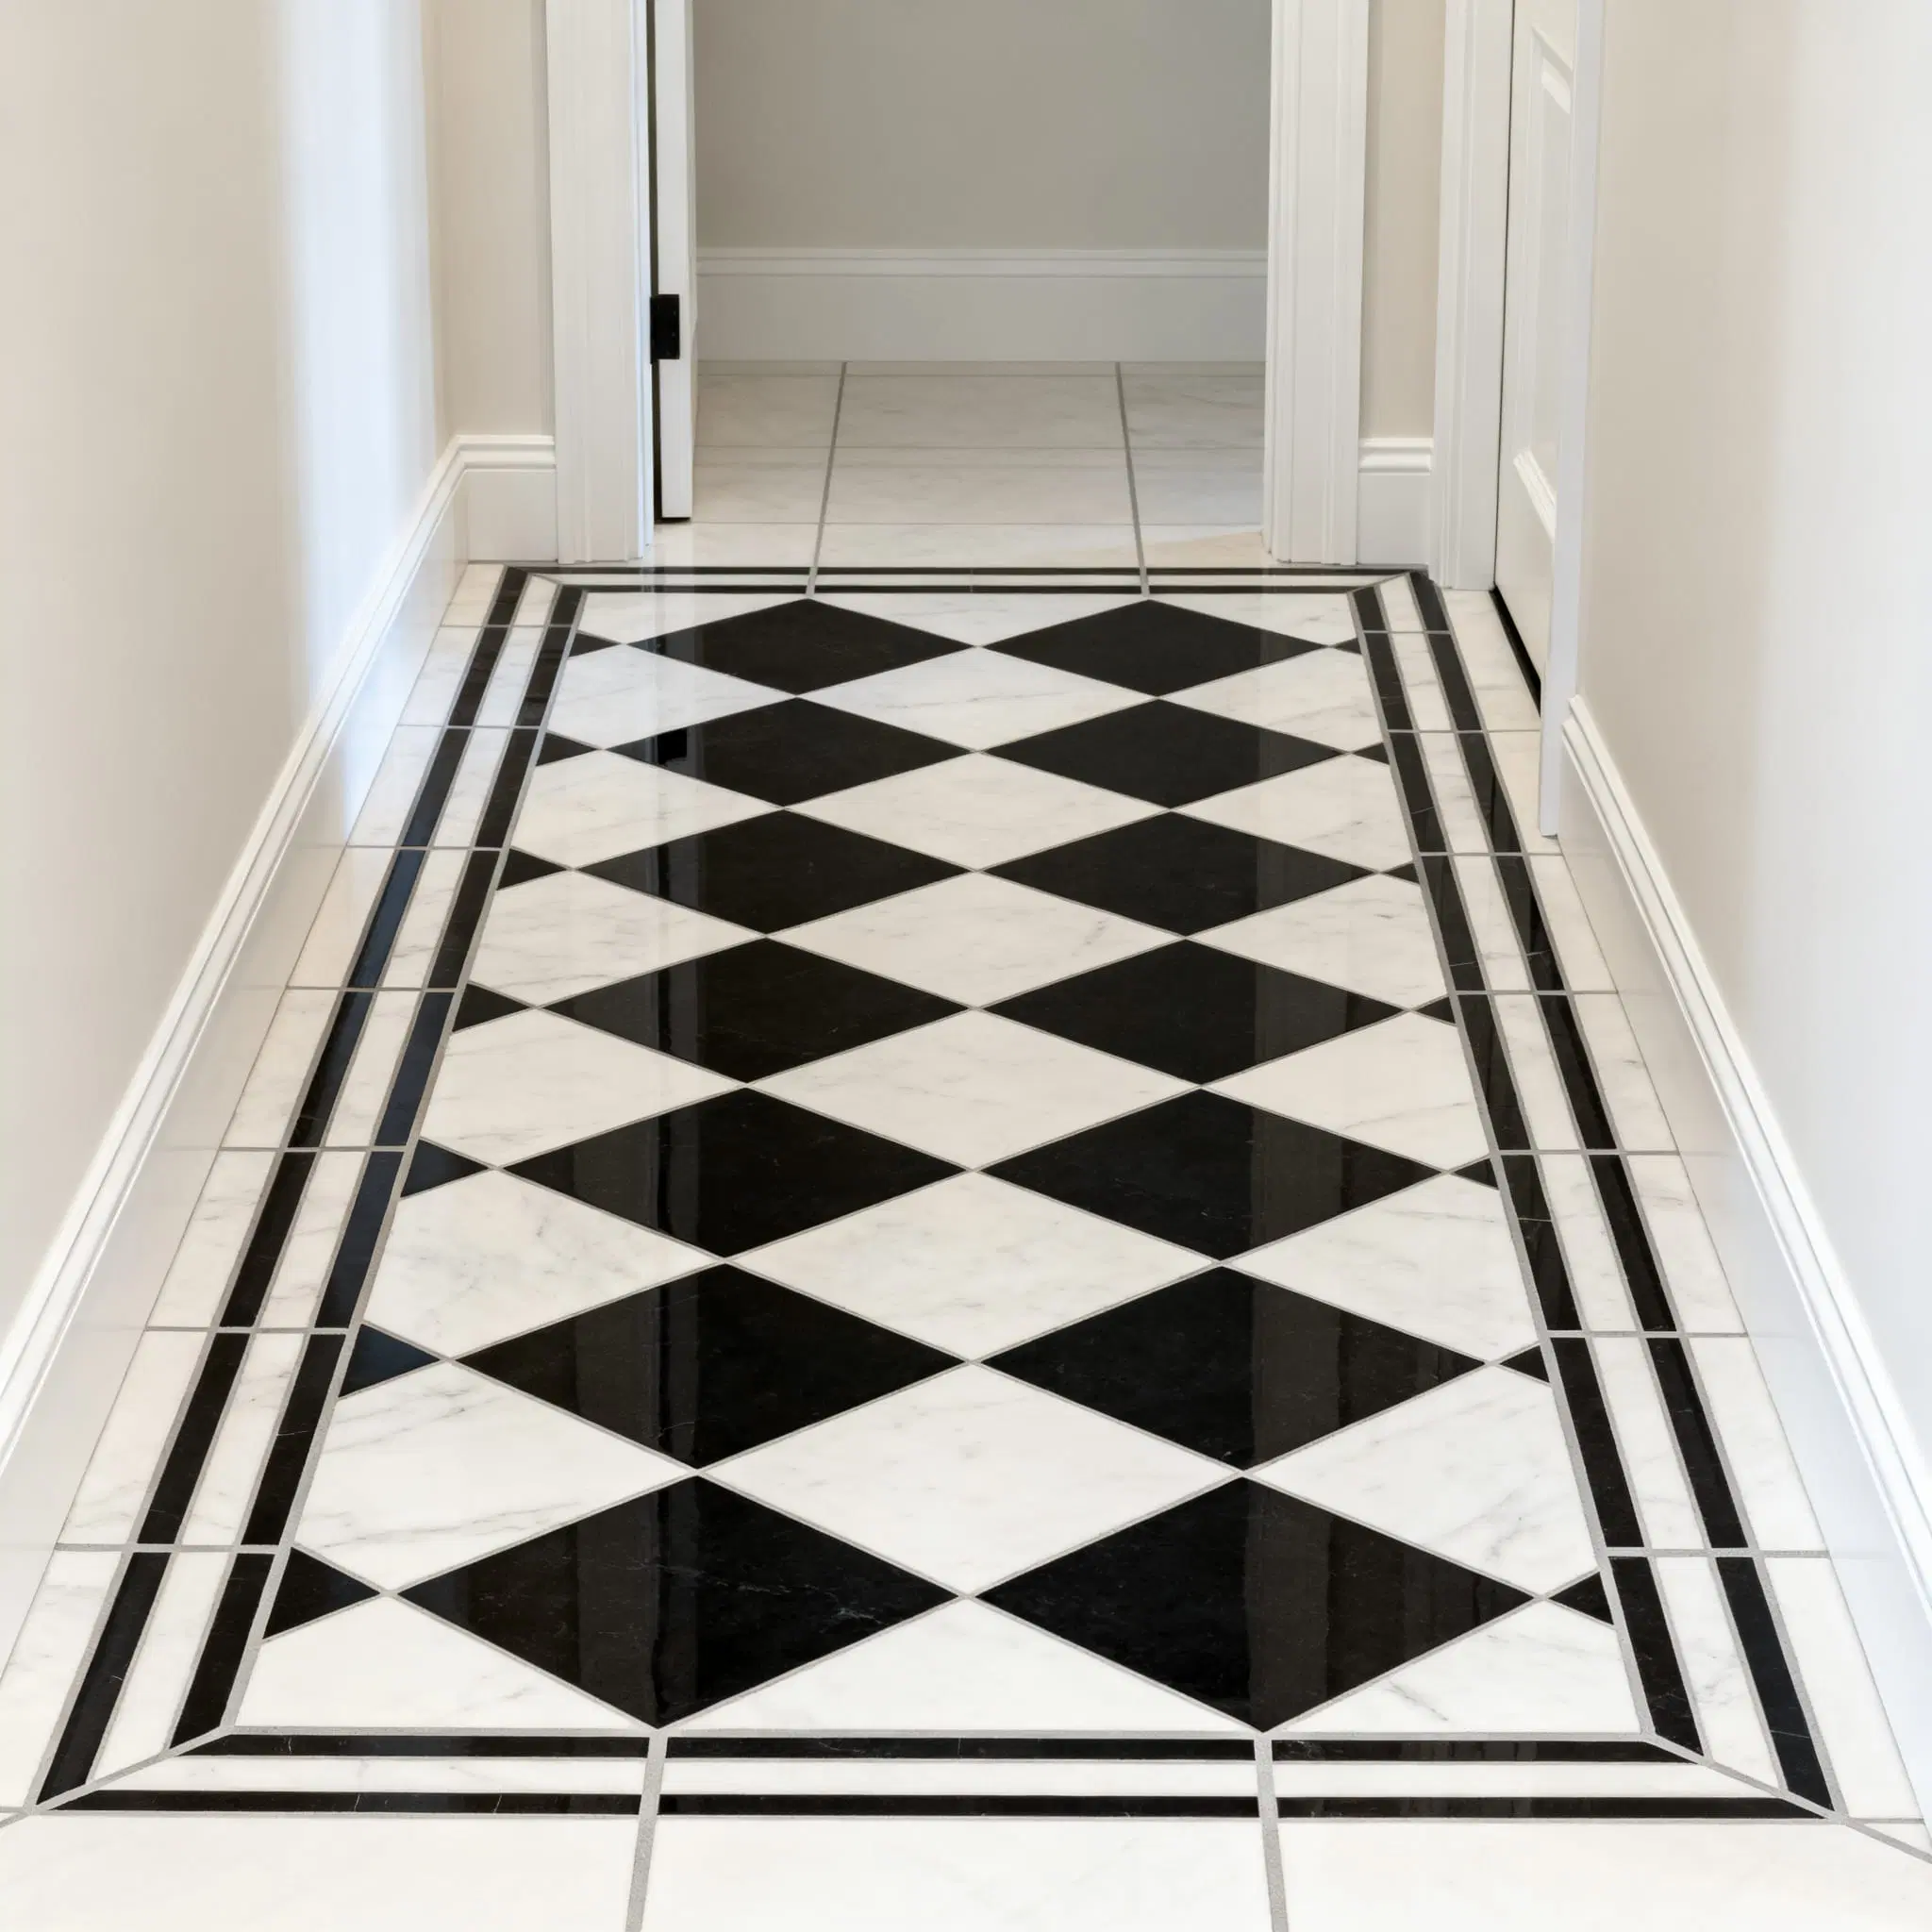
A durable floor starts with an honest assessment of the structure and surface—not a promise made from a photo. Plan the tile, preparation, finished height and transitions as one scope.
Plan this project
Tile installation · Toronto and the GTA
Bathrooms, showers, floors, backsplashes and feature walls—starting with the surface below, the material you chose and every transition the tile has to meet.
5.0 on Google48+ reviewsWays we can help
Each service path explains the decisions that shape a useful written estimate.
A durable floor starts with an honest assessment of the structure and surface—not a promise made from a photo. Plan the tile, preparation, finished height and transitions as one scope.
Plan this project
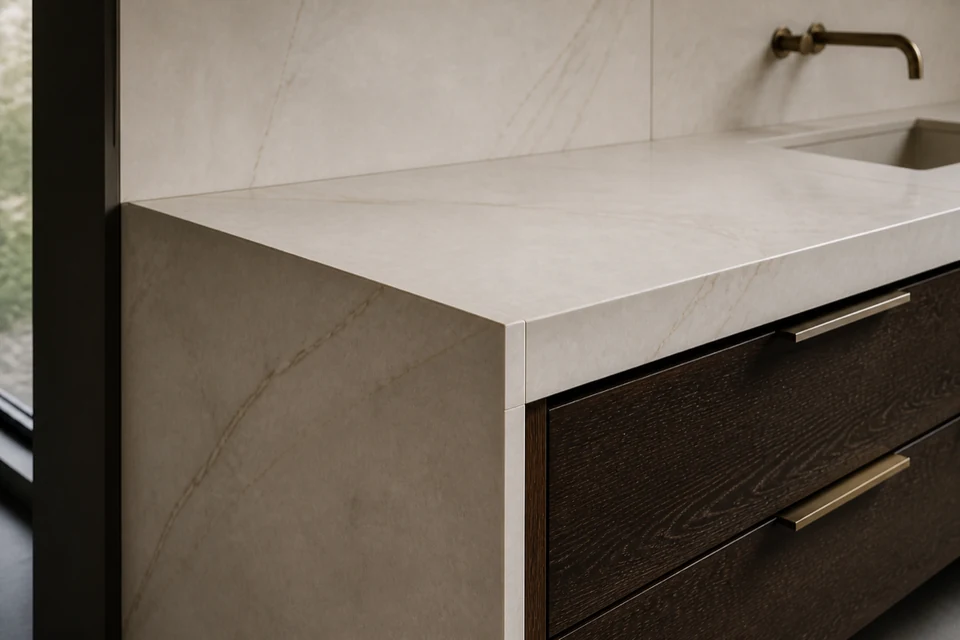
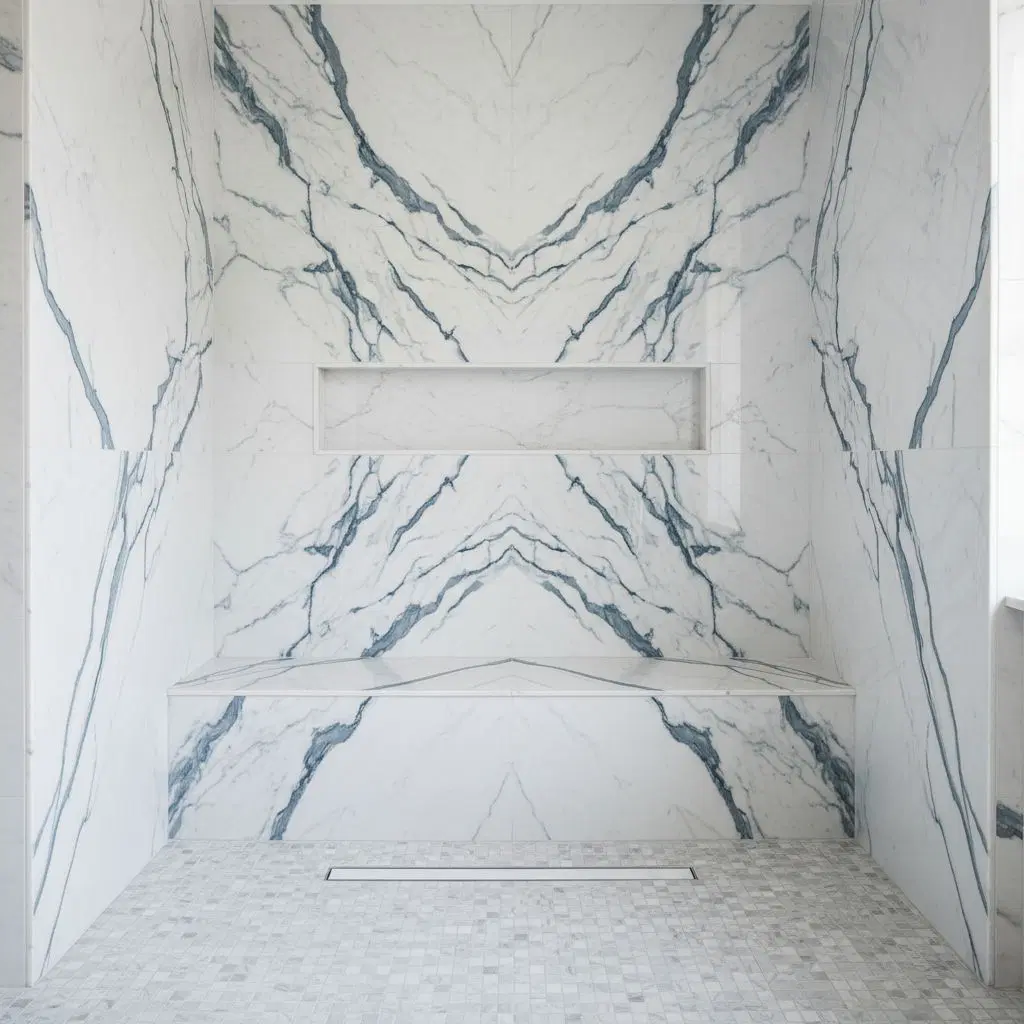
Oversized porcelain panels make access, handling and substrate decisions part of the design. Confirm the actual material and room before promising seams, corners or cut-outs.
Plan this project
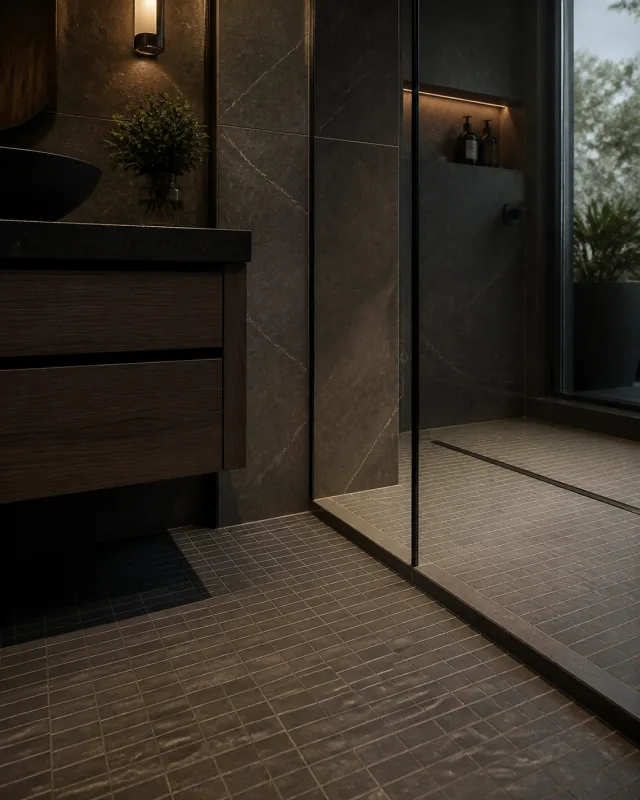
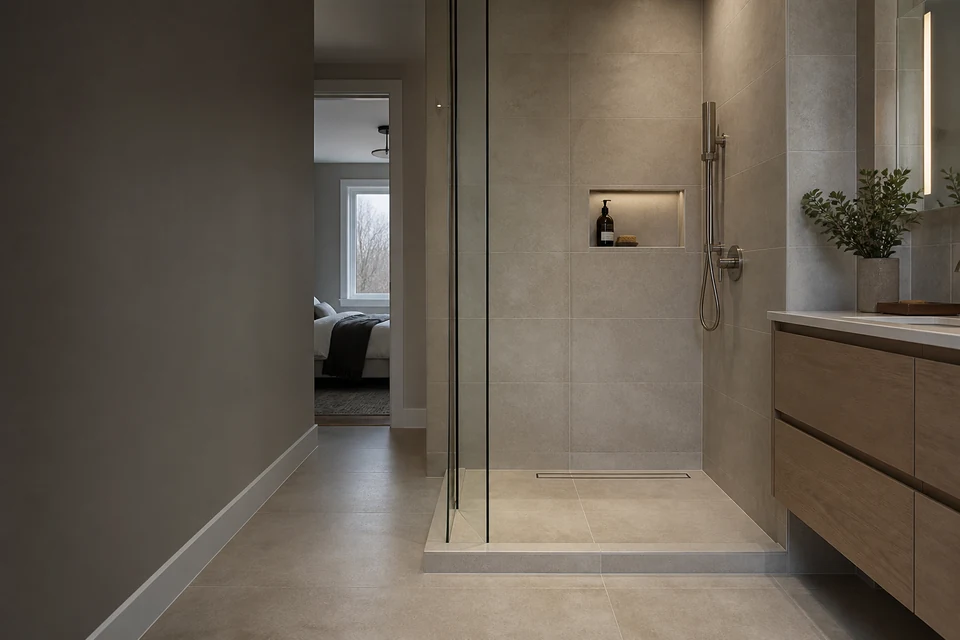
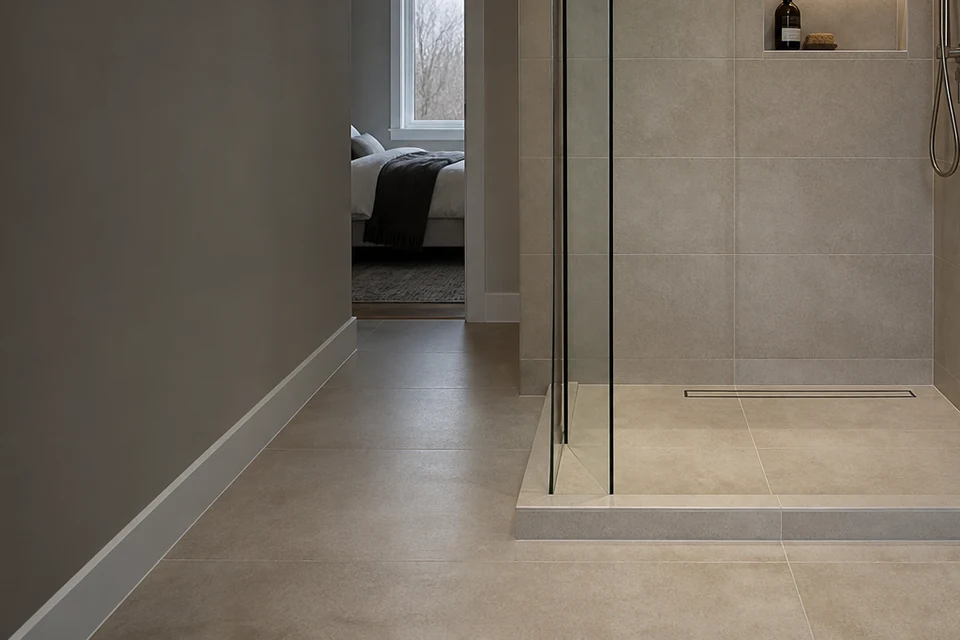
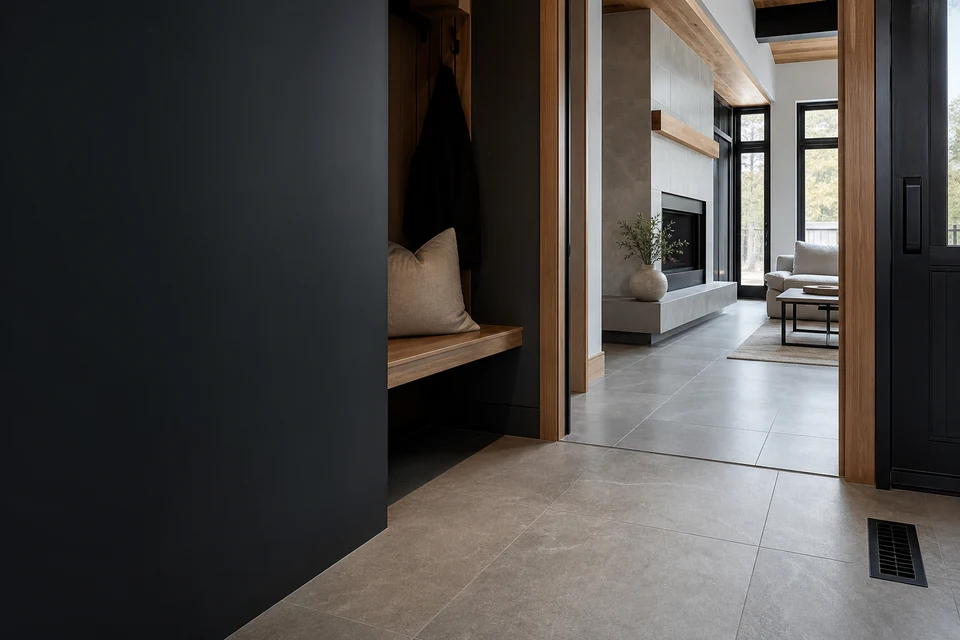
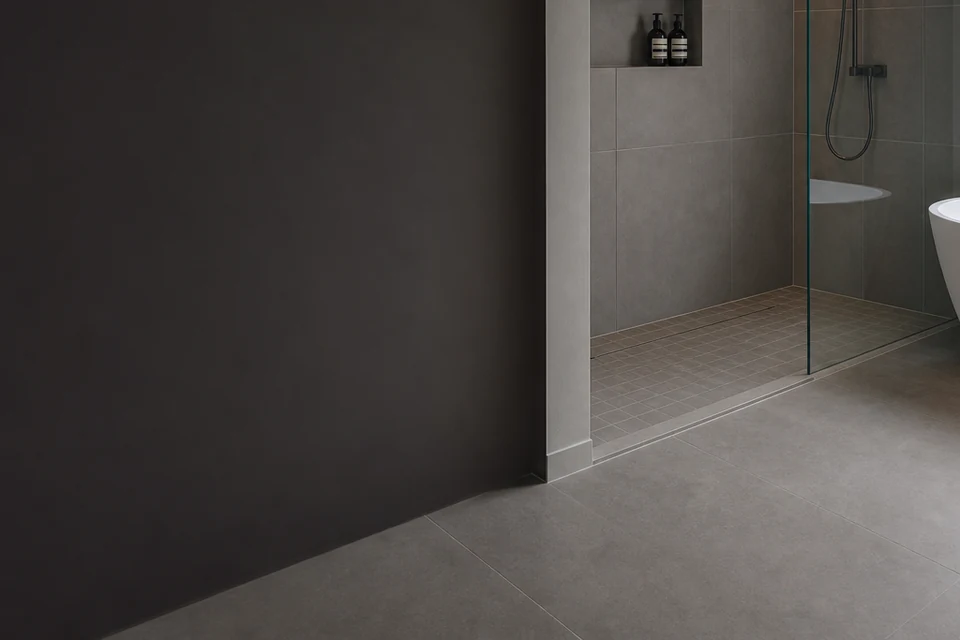
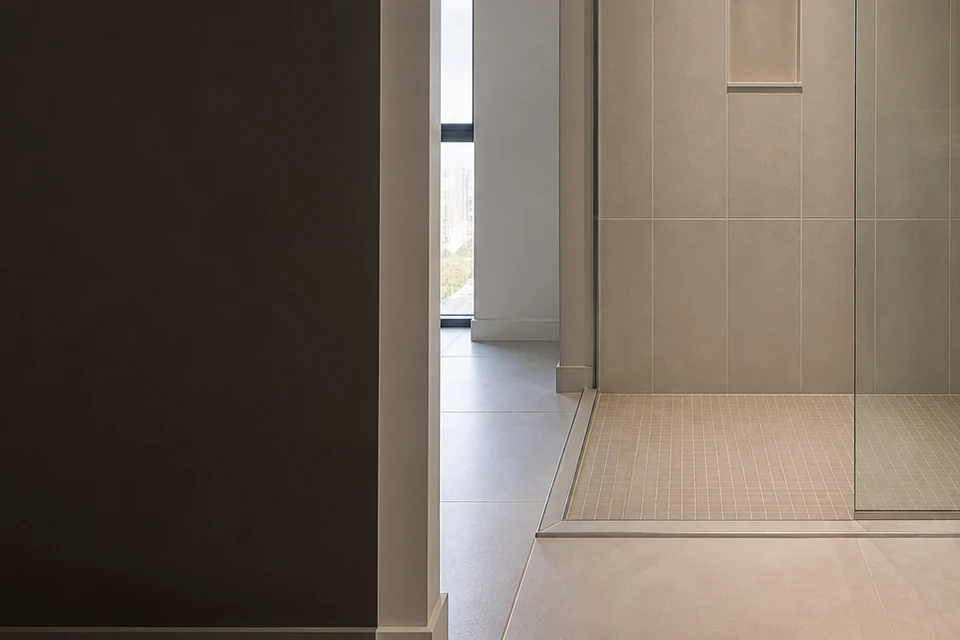
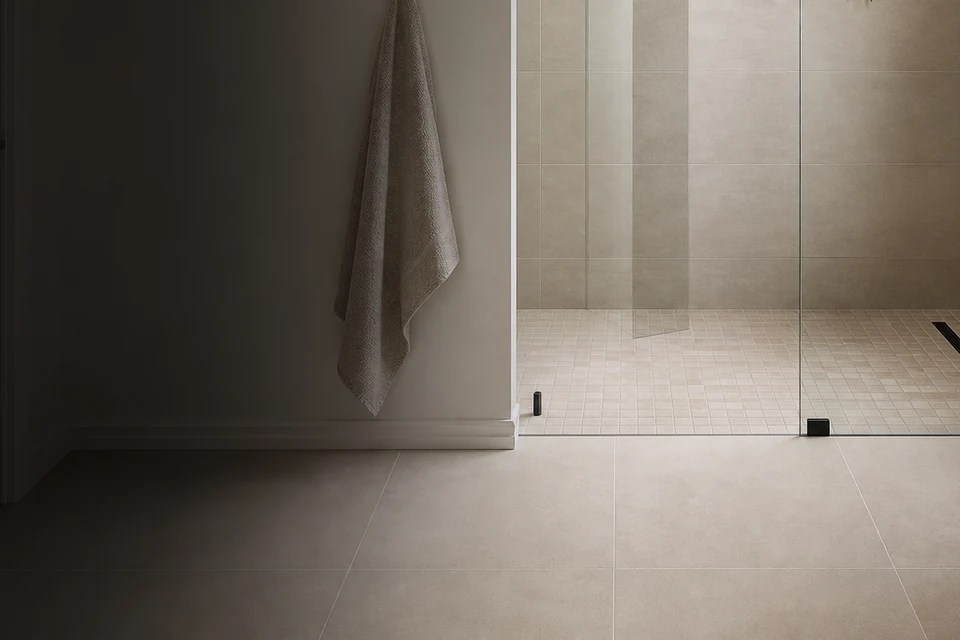
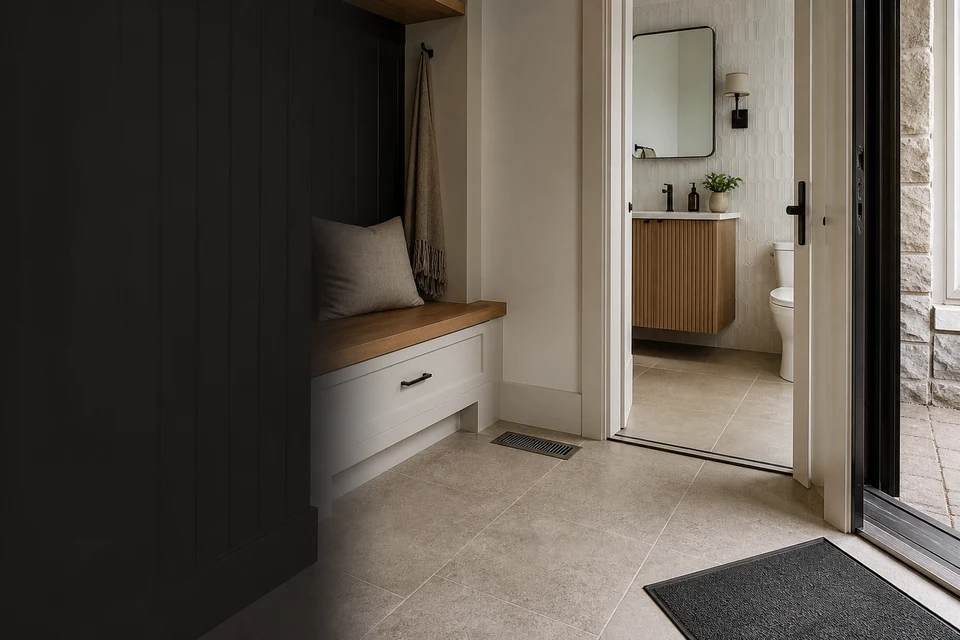
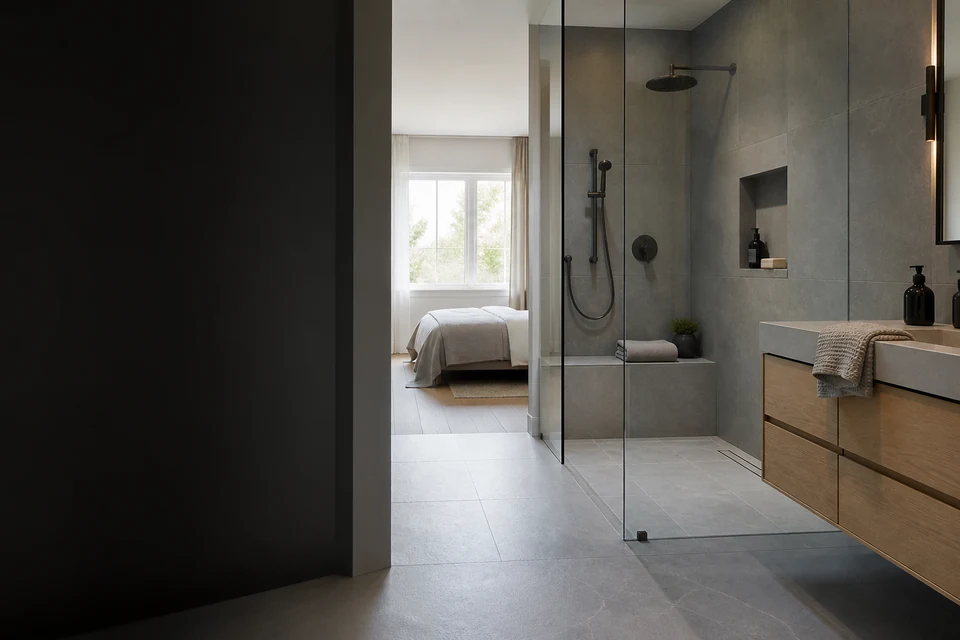
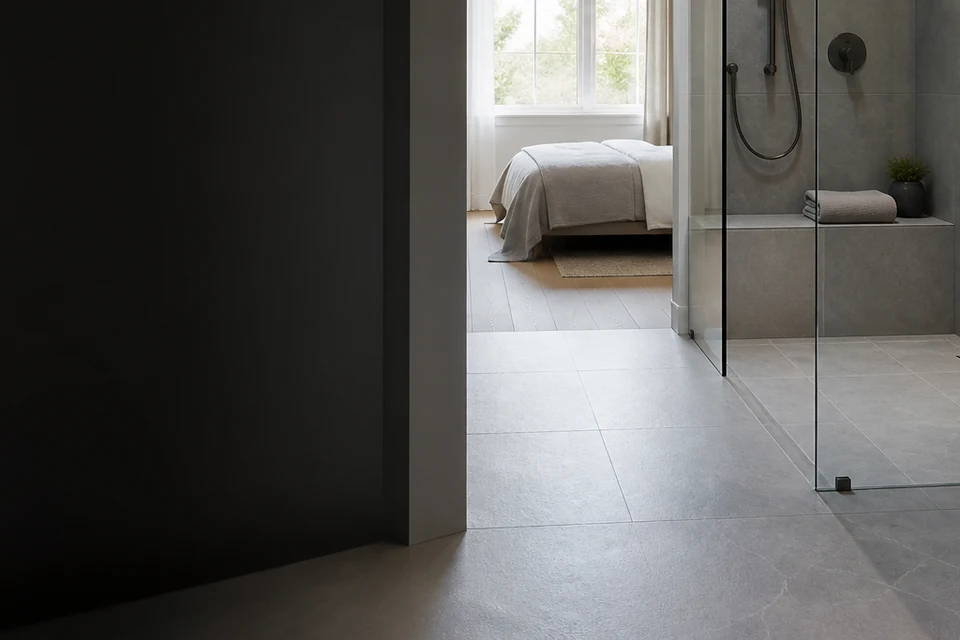
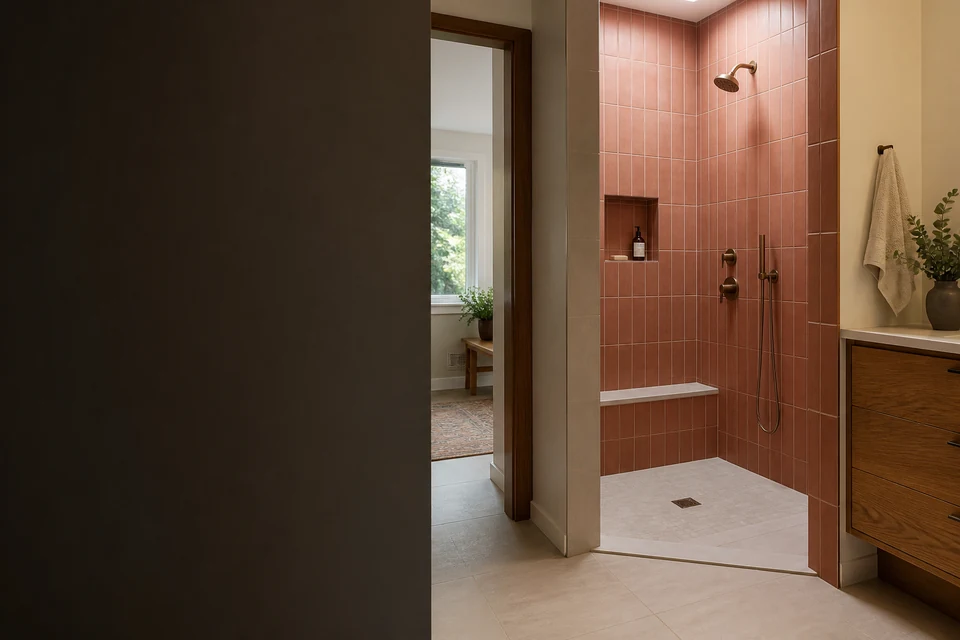
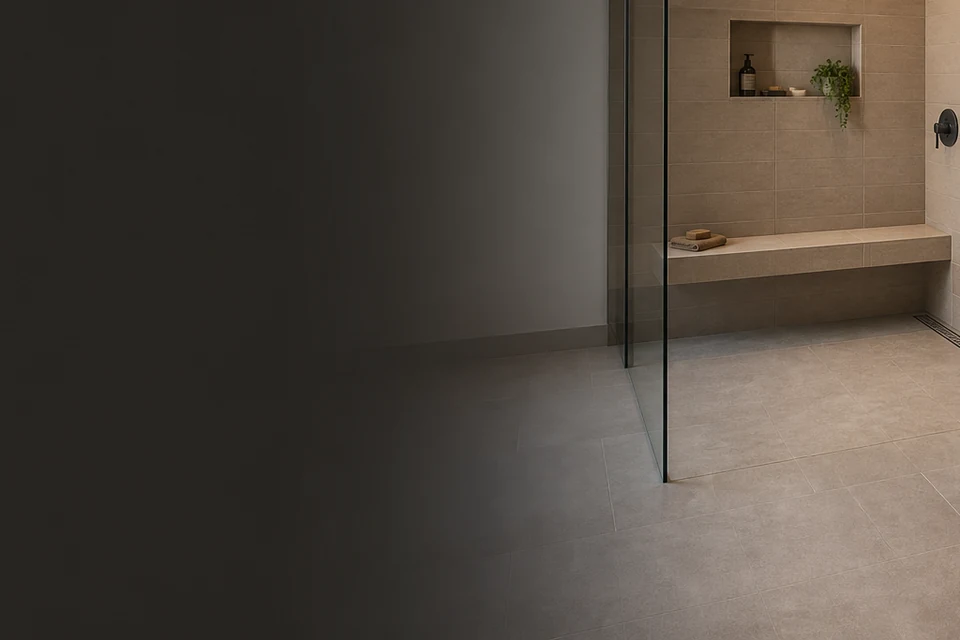
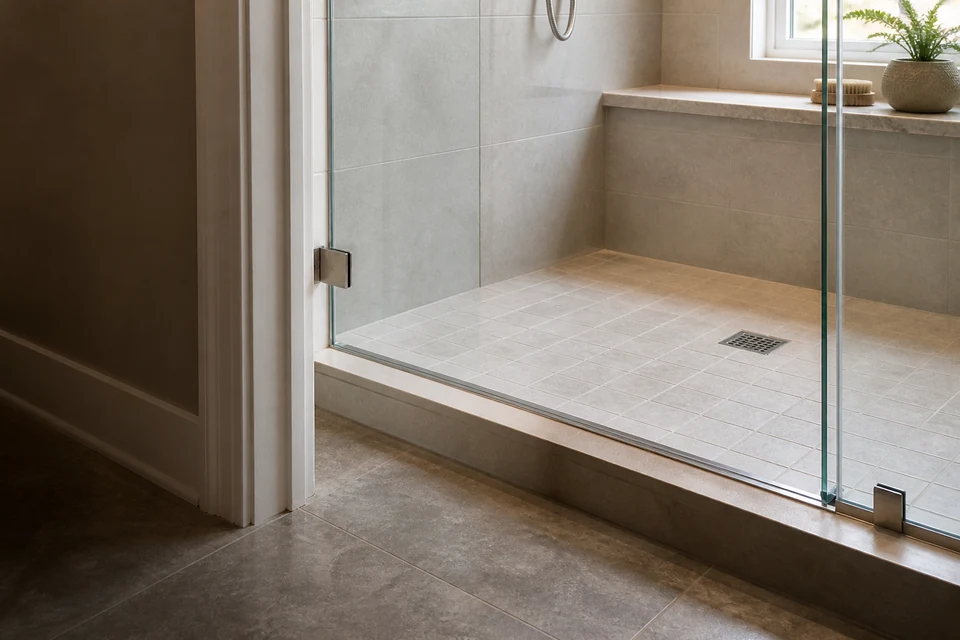
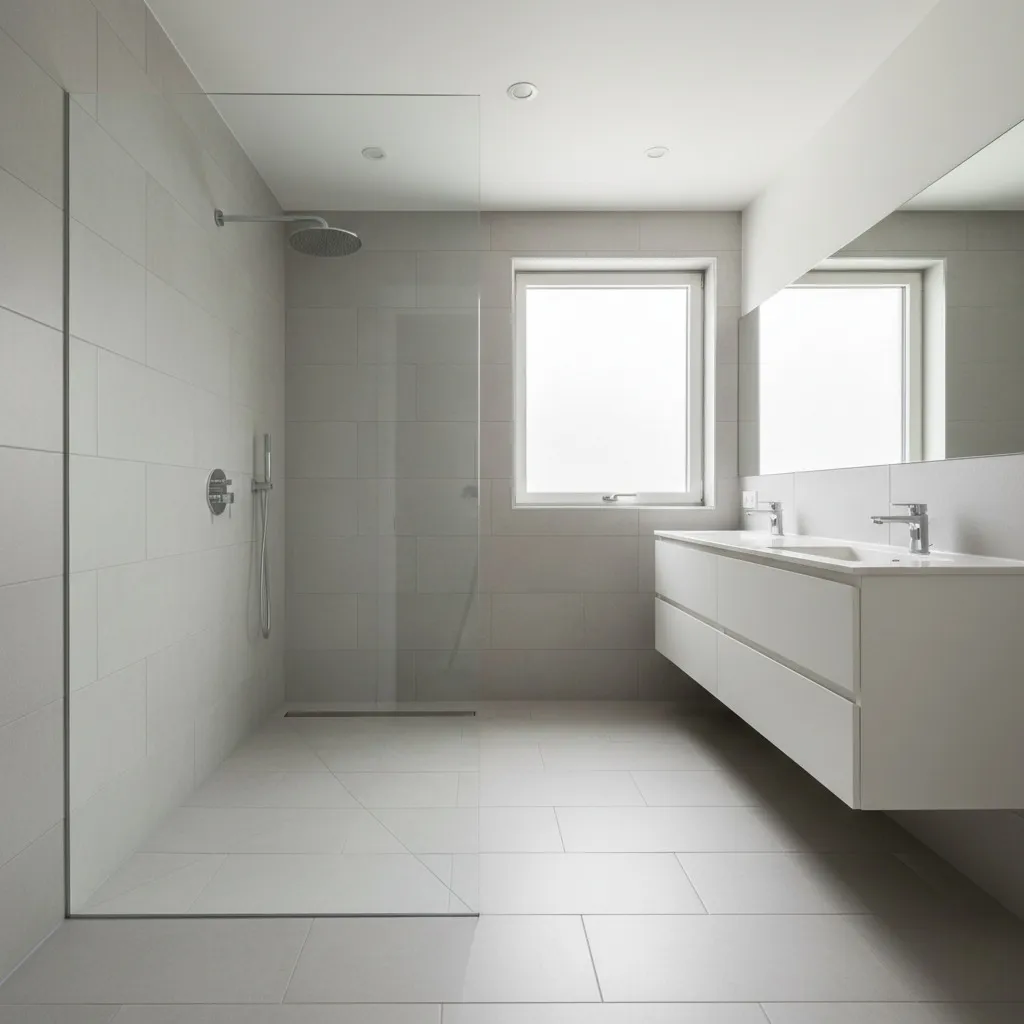
A zero-threshold entrance is a whole-room coordination problem. Floor structure, drainage, slope, waterproofing, tile format, glass and nearby finishes must work together.
Plan this project
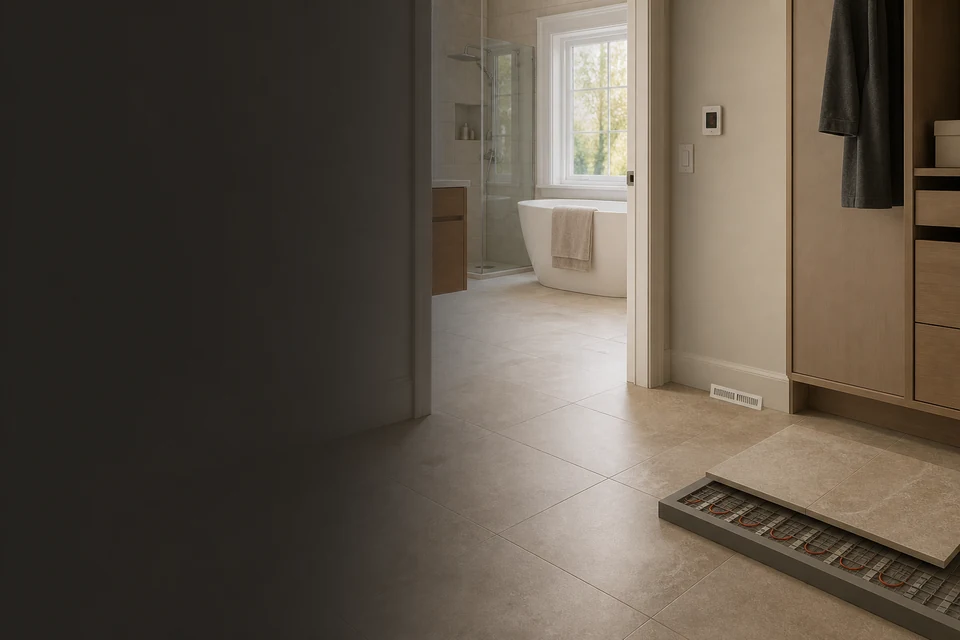
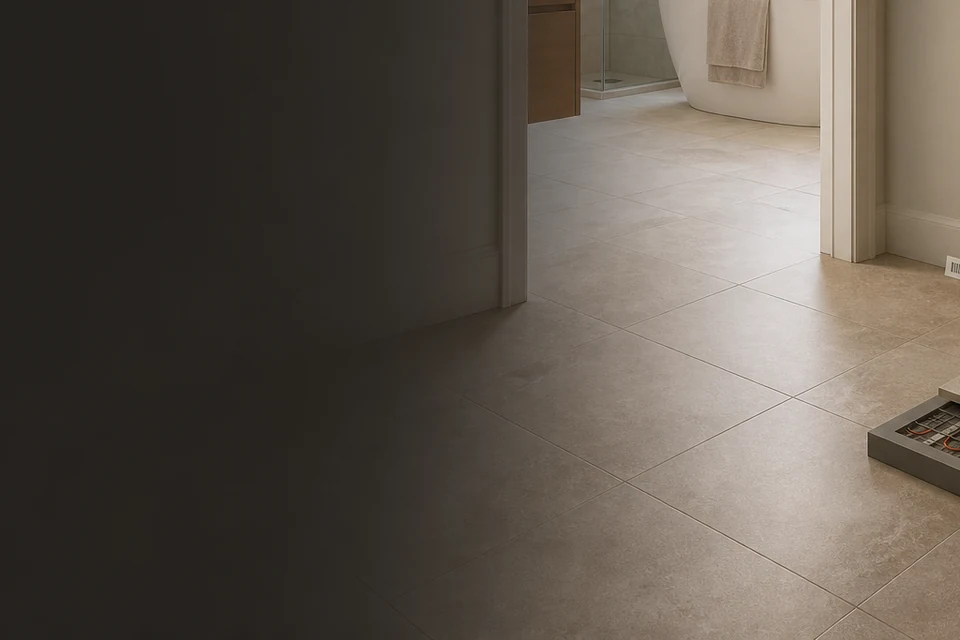
Electric floor warming combines a tile assembly with regulated electrical work. Select the listed system, floor coverage and thermostat plan before deciding who installs, tests, inspects and connects each part.
Plan this project
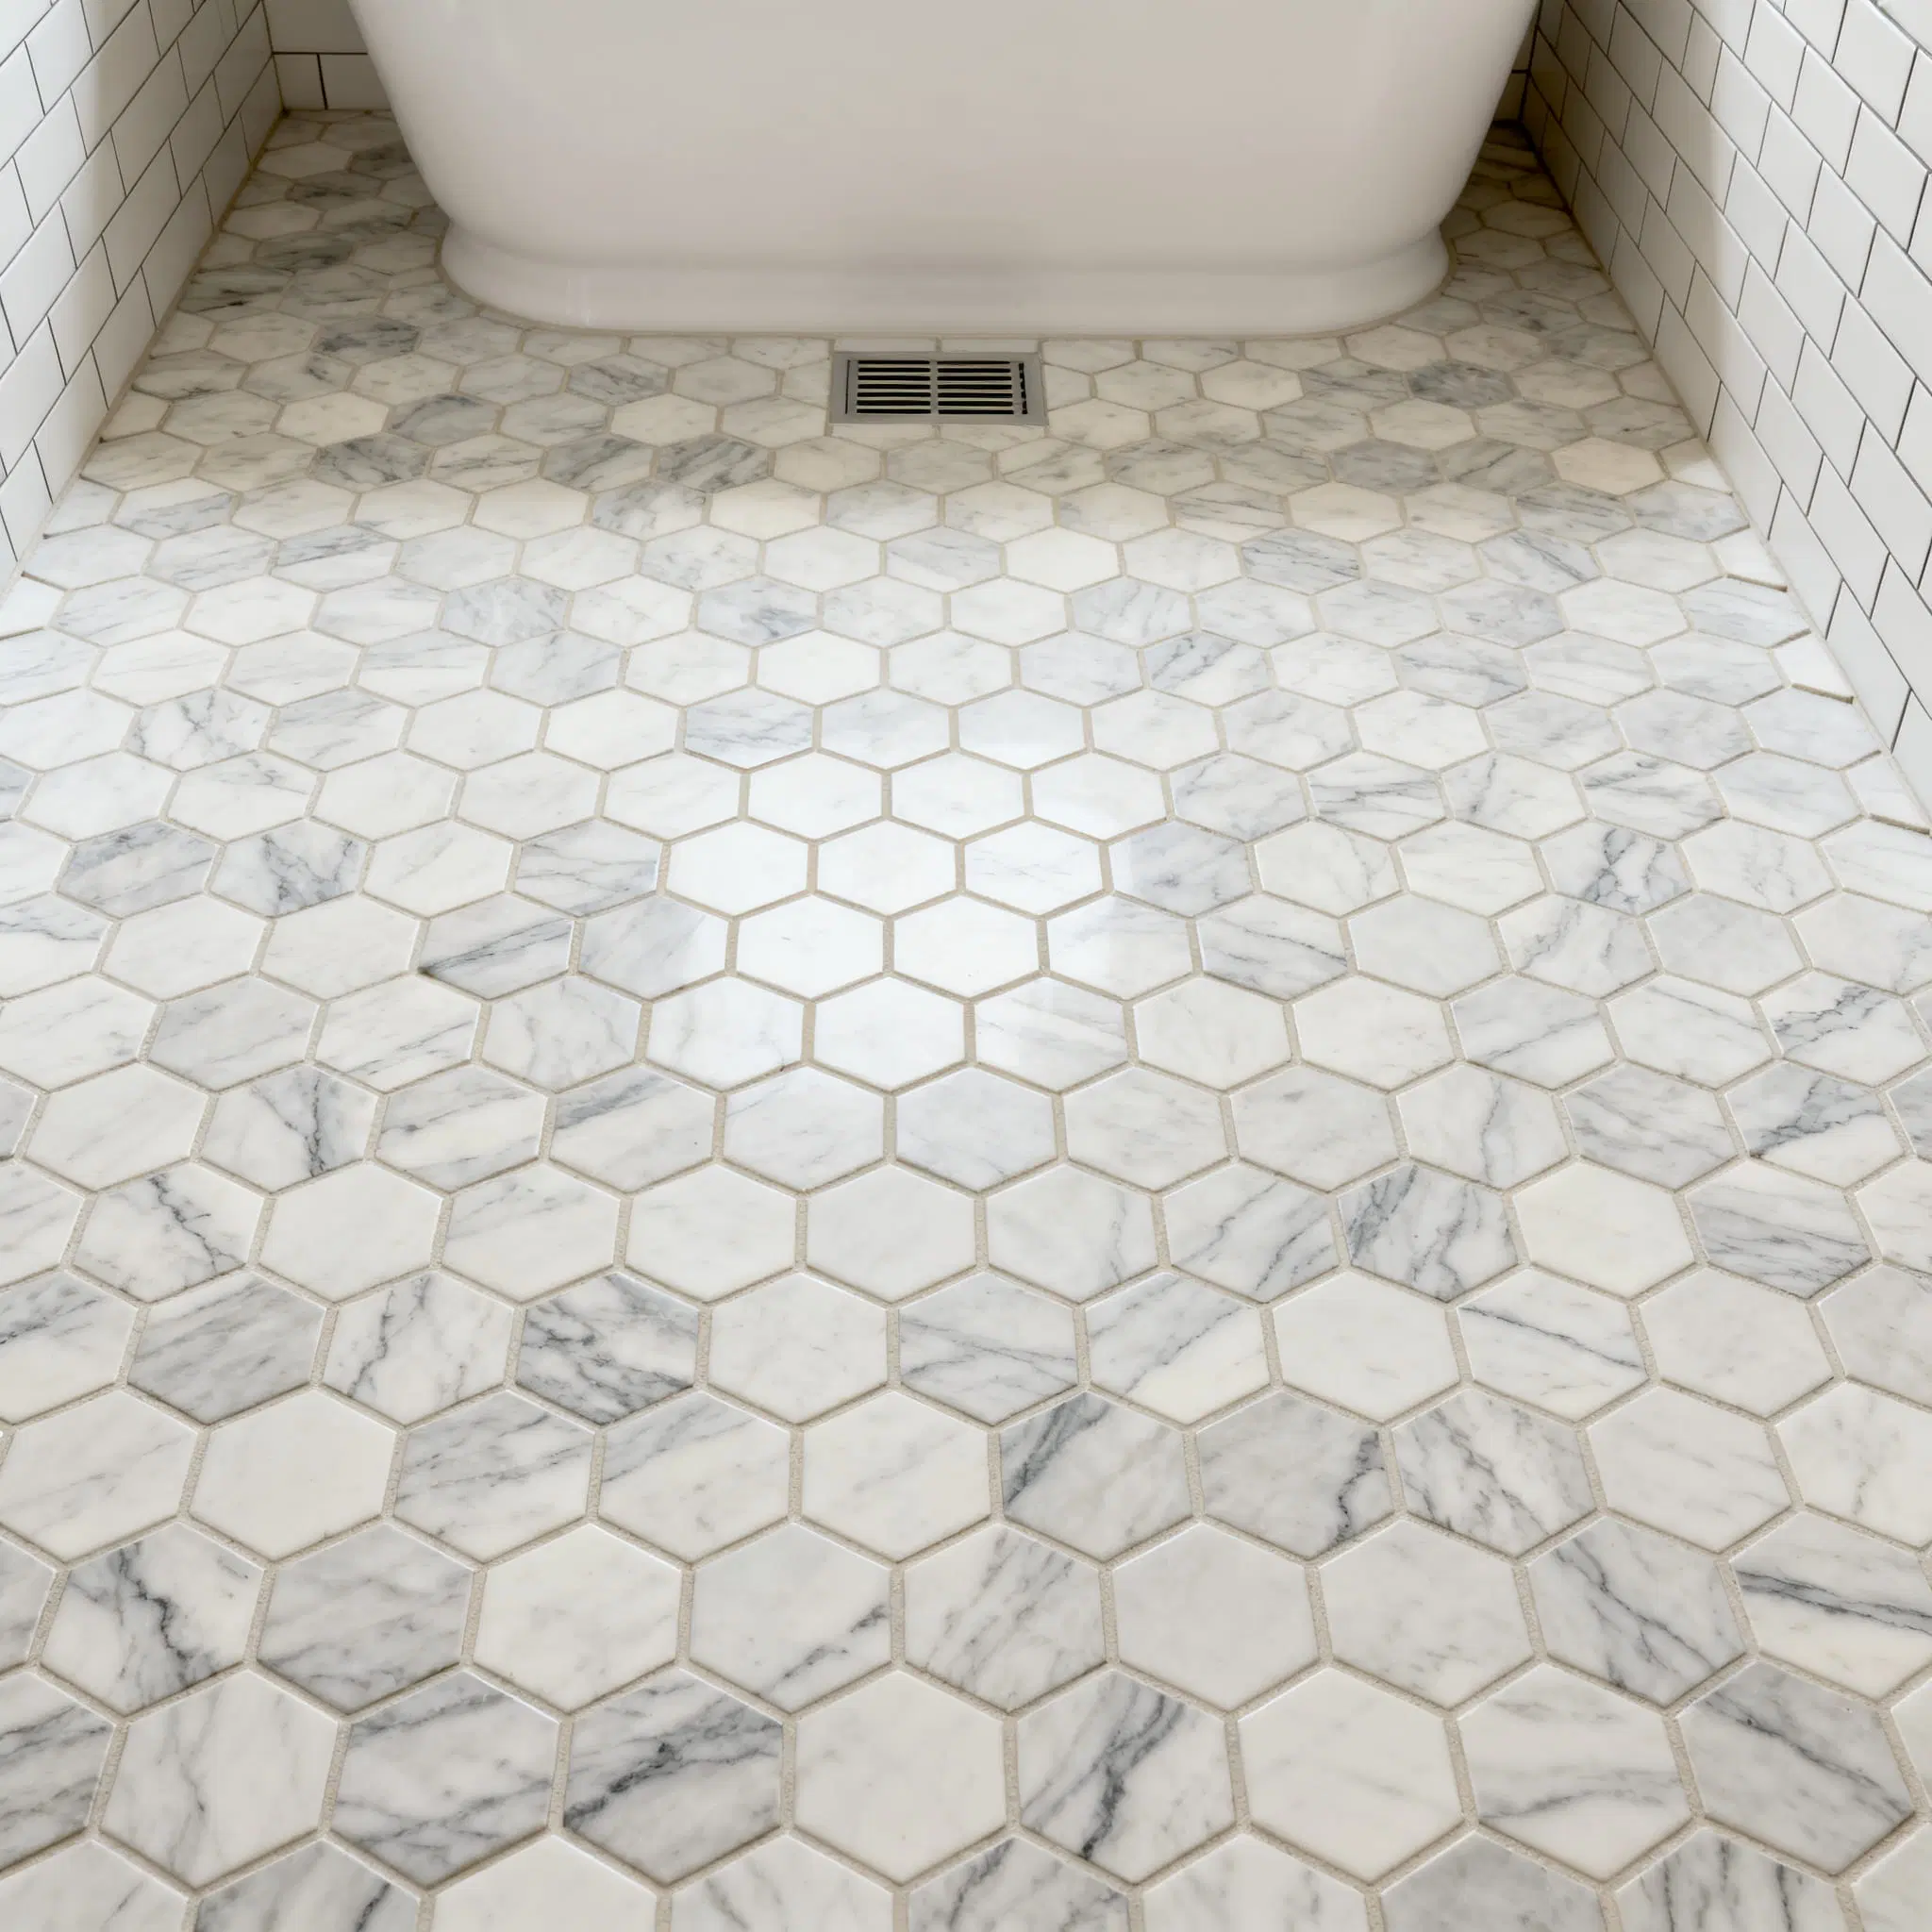
Small pieces make layout and surface quality more visible, not less important. Review the actual sheets or loose tile, focal lines, edges and grout before installation.
Plan this project
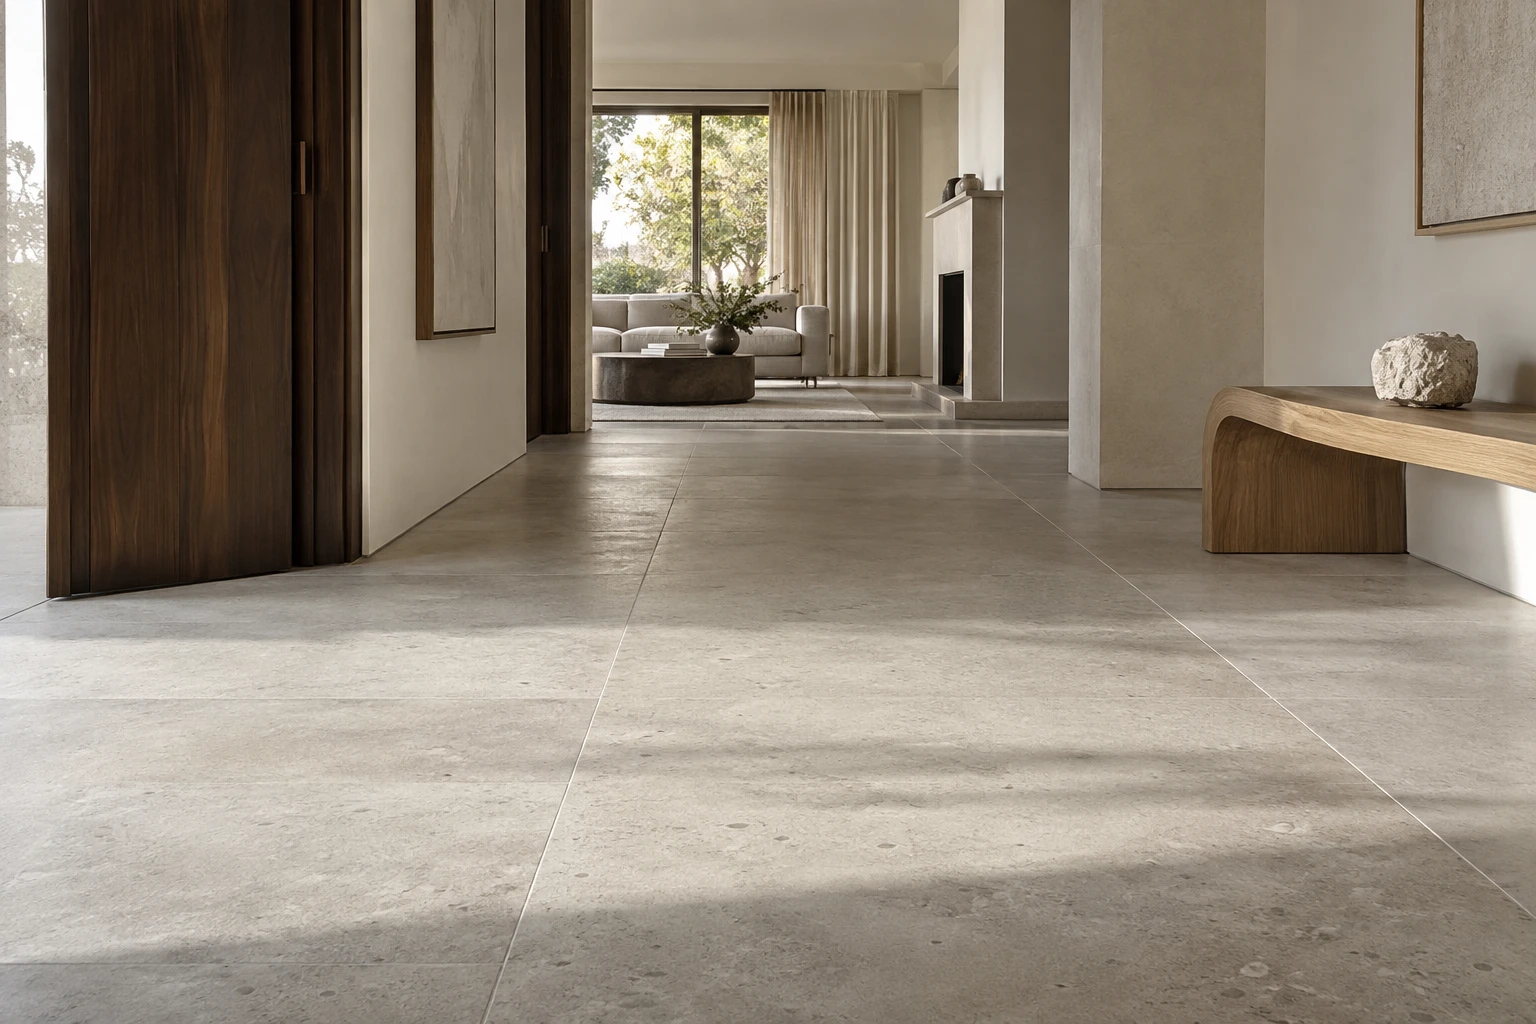
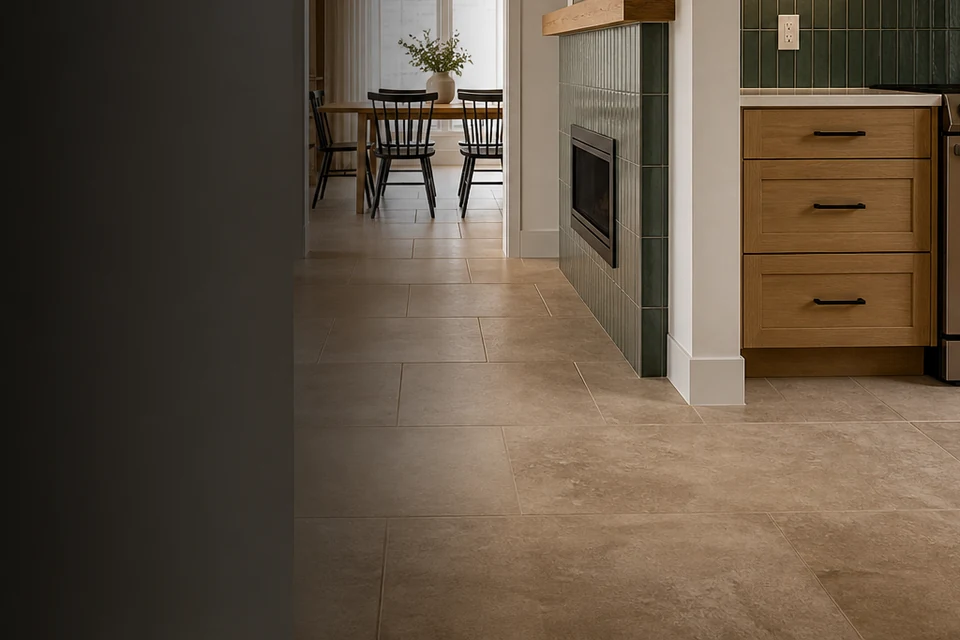
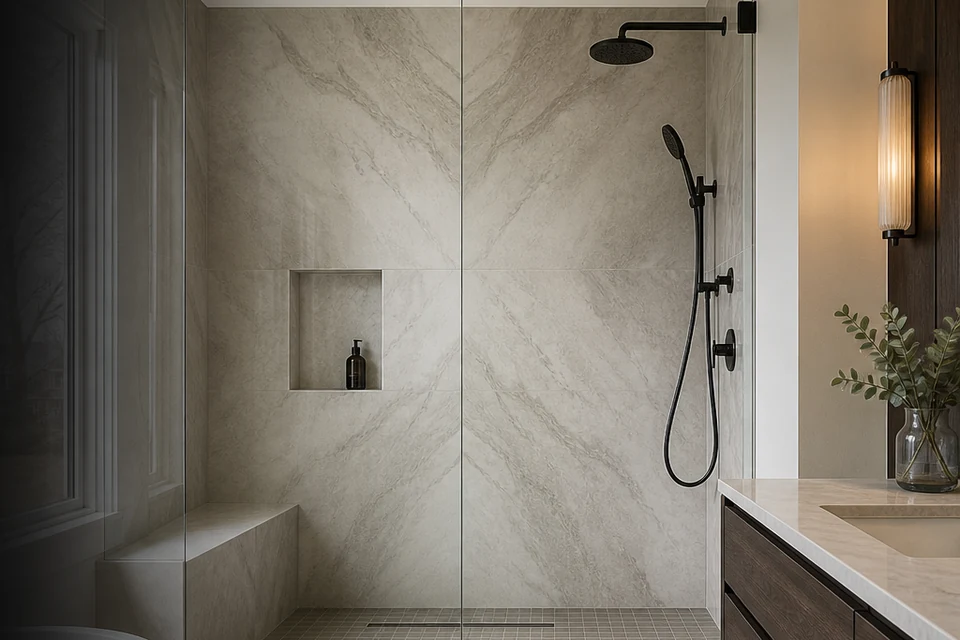
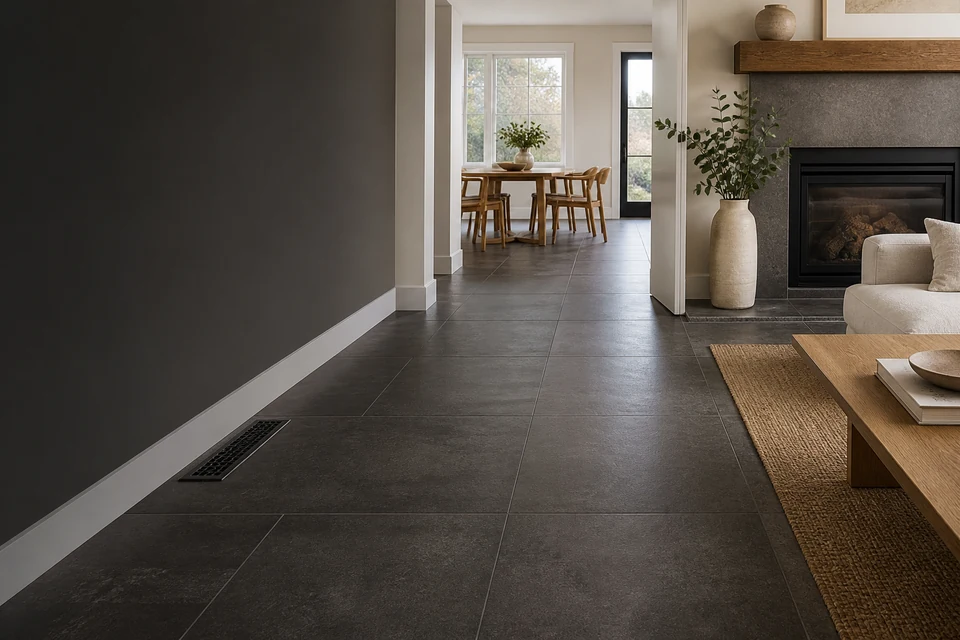
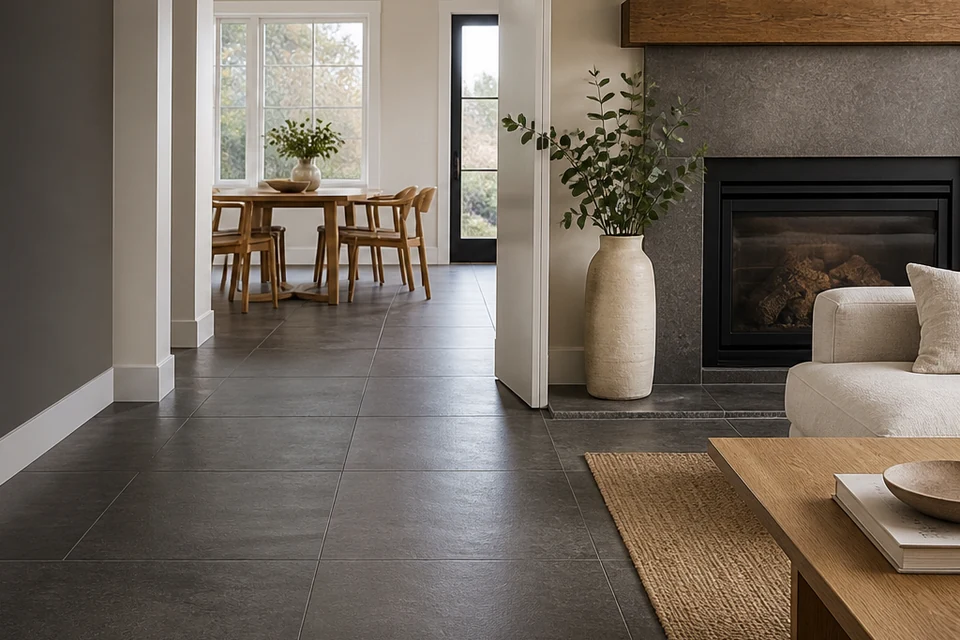
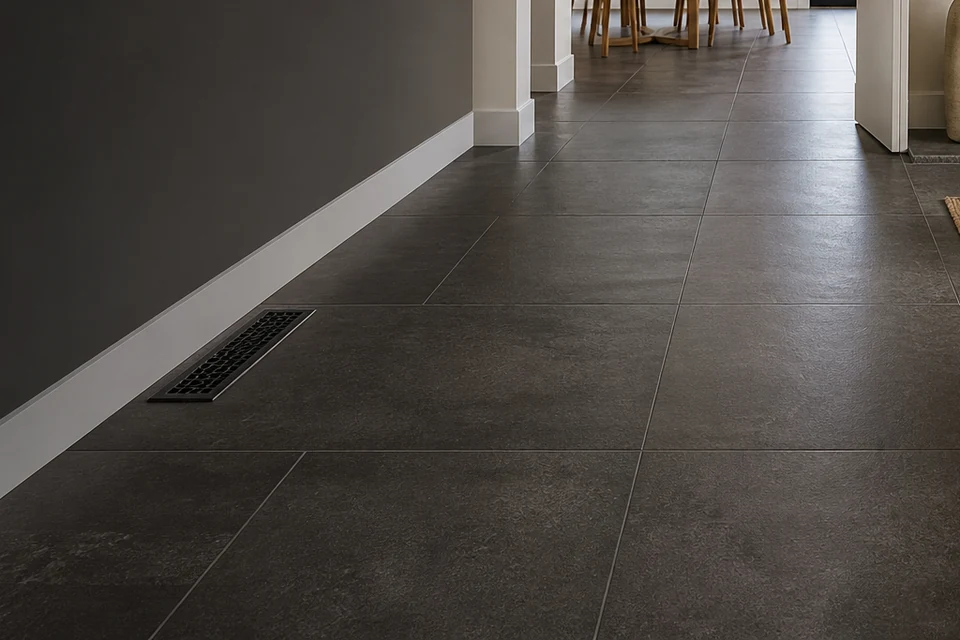
Large tile leaves fewer grout joints to disguise an uneven surface or awkward cut. The plan starts with flatness, access, handling and the exact layout.
Plan this project
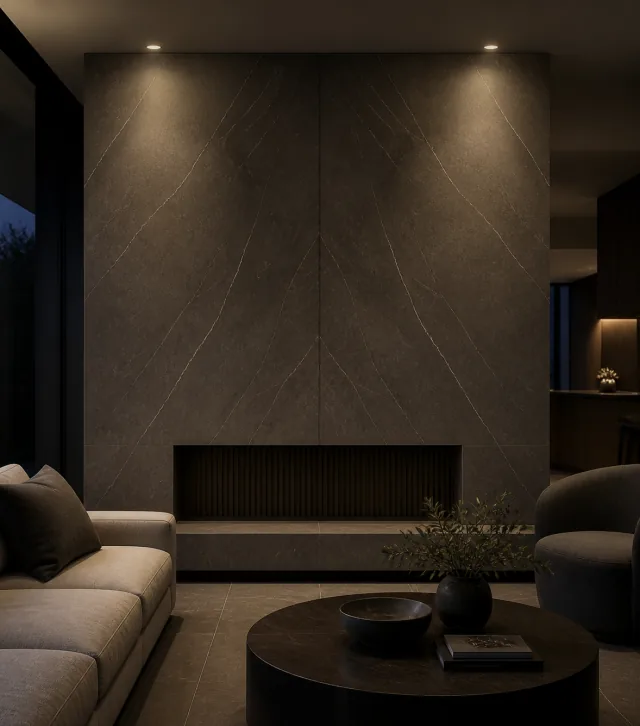
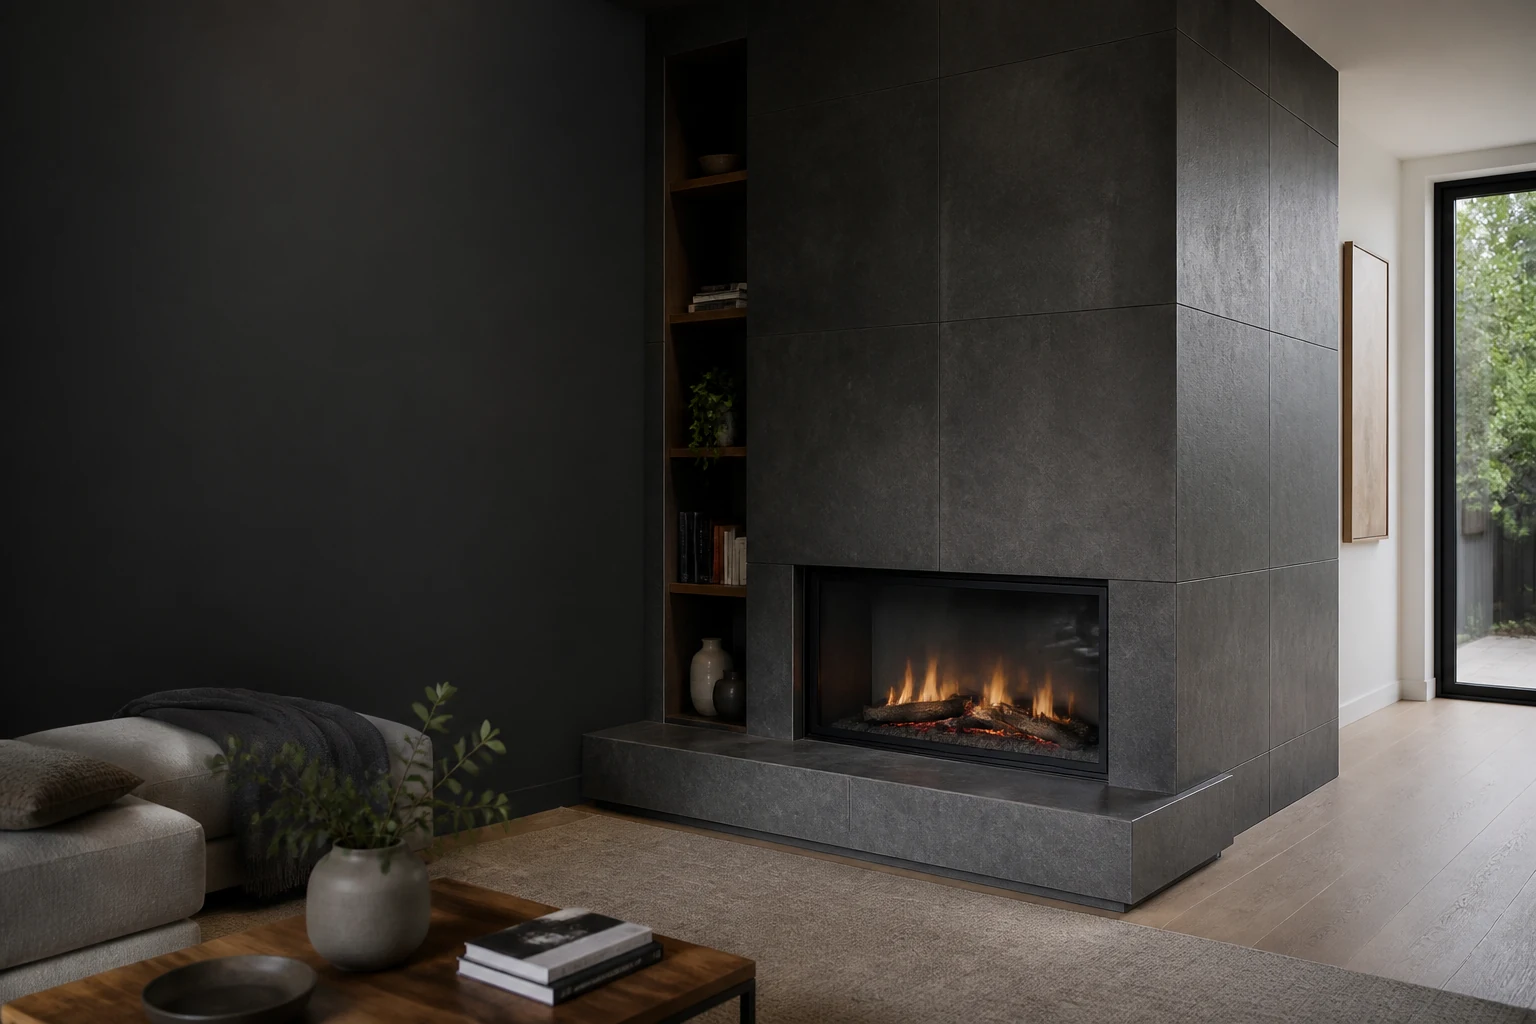
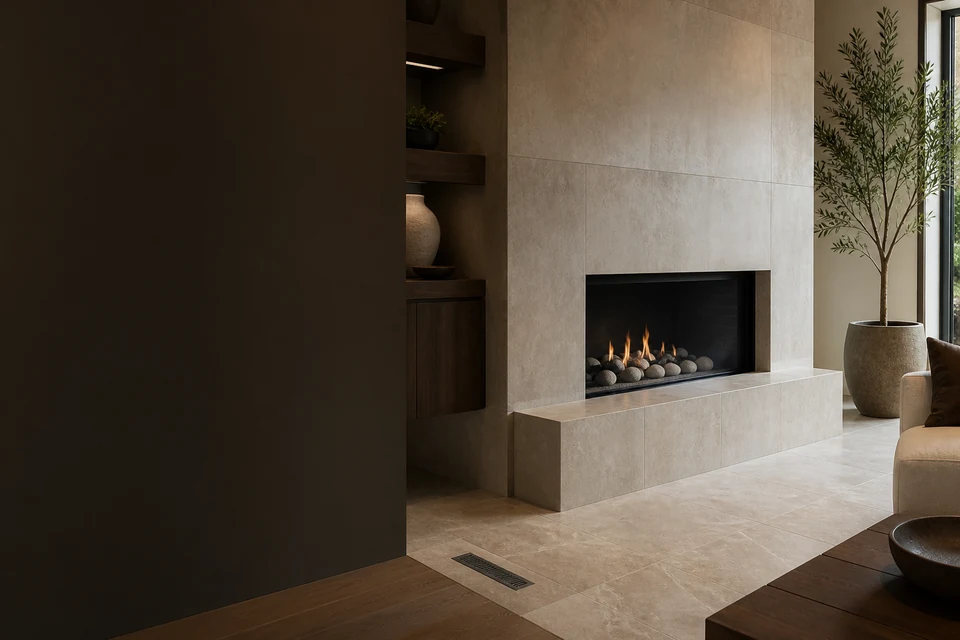
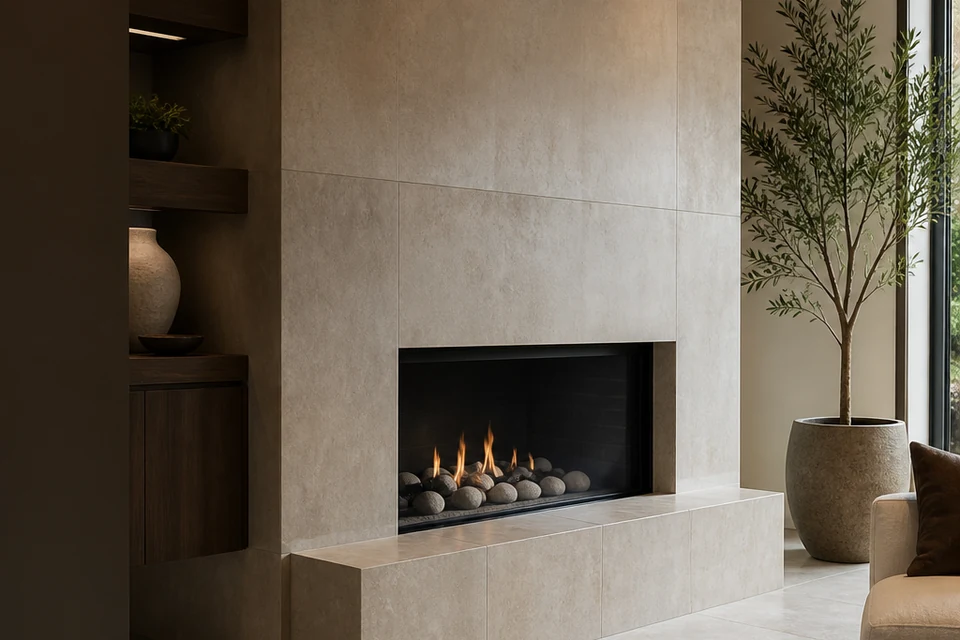
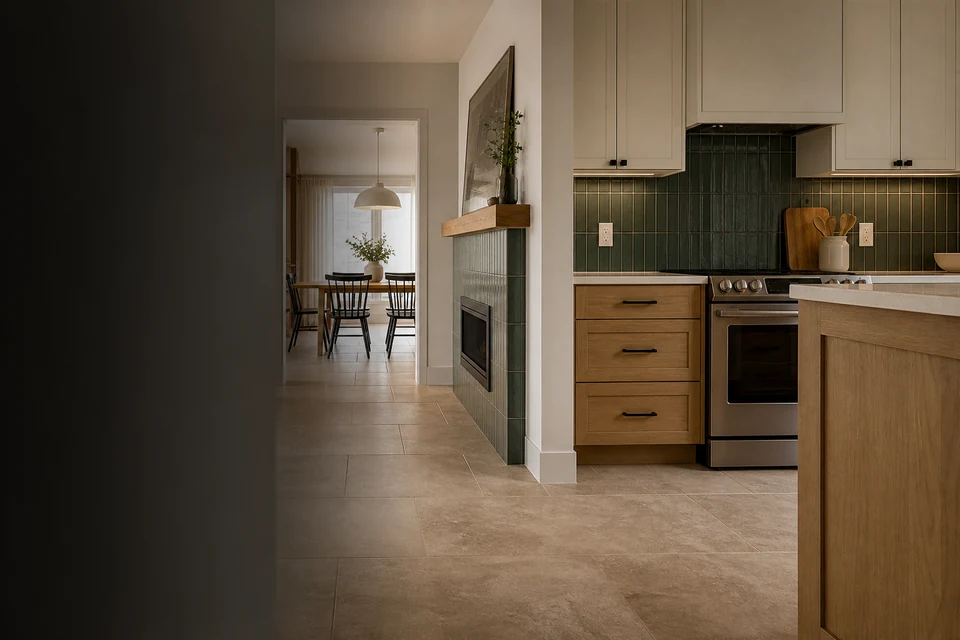
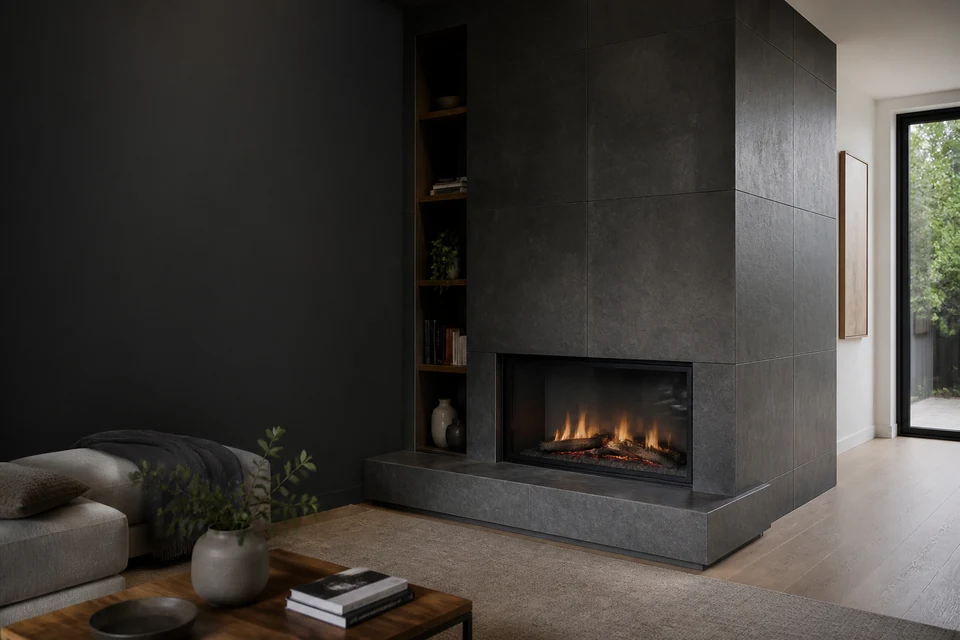
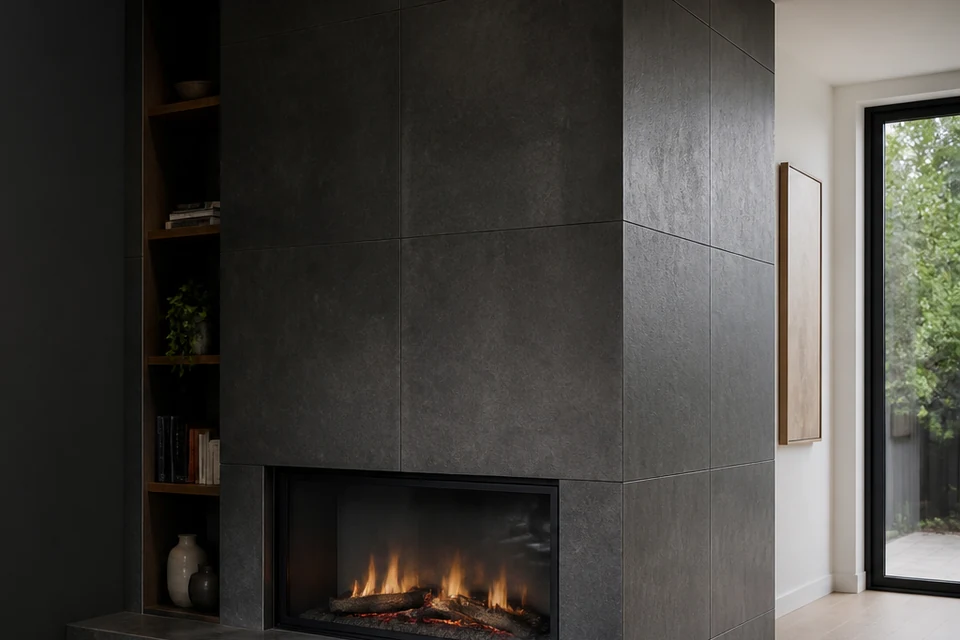
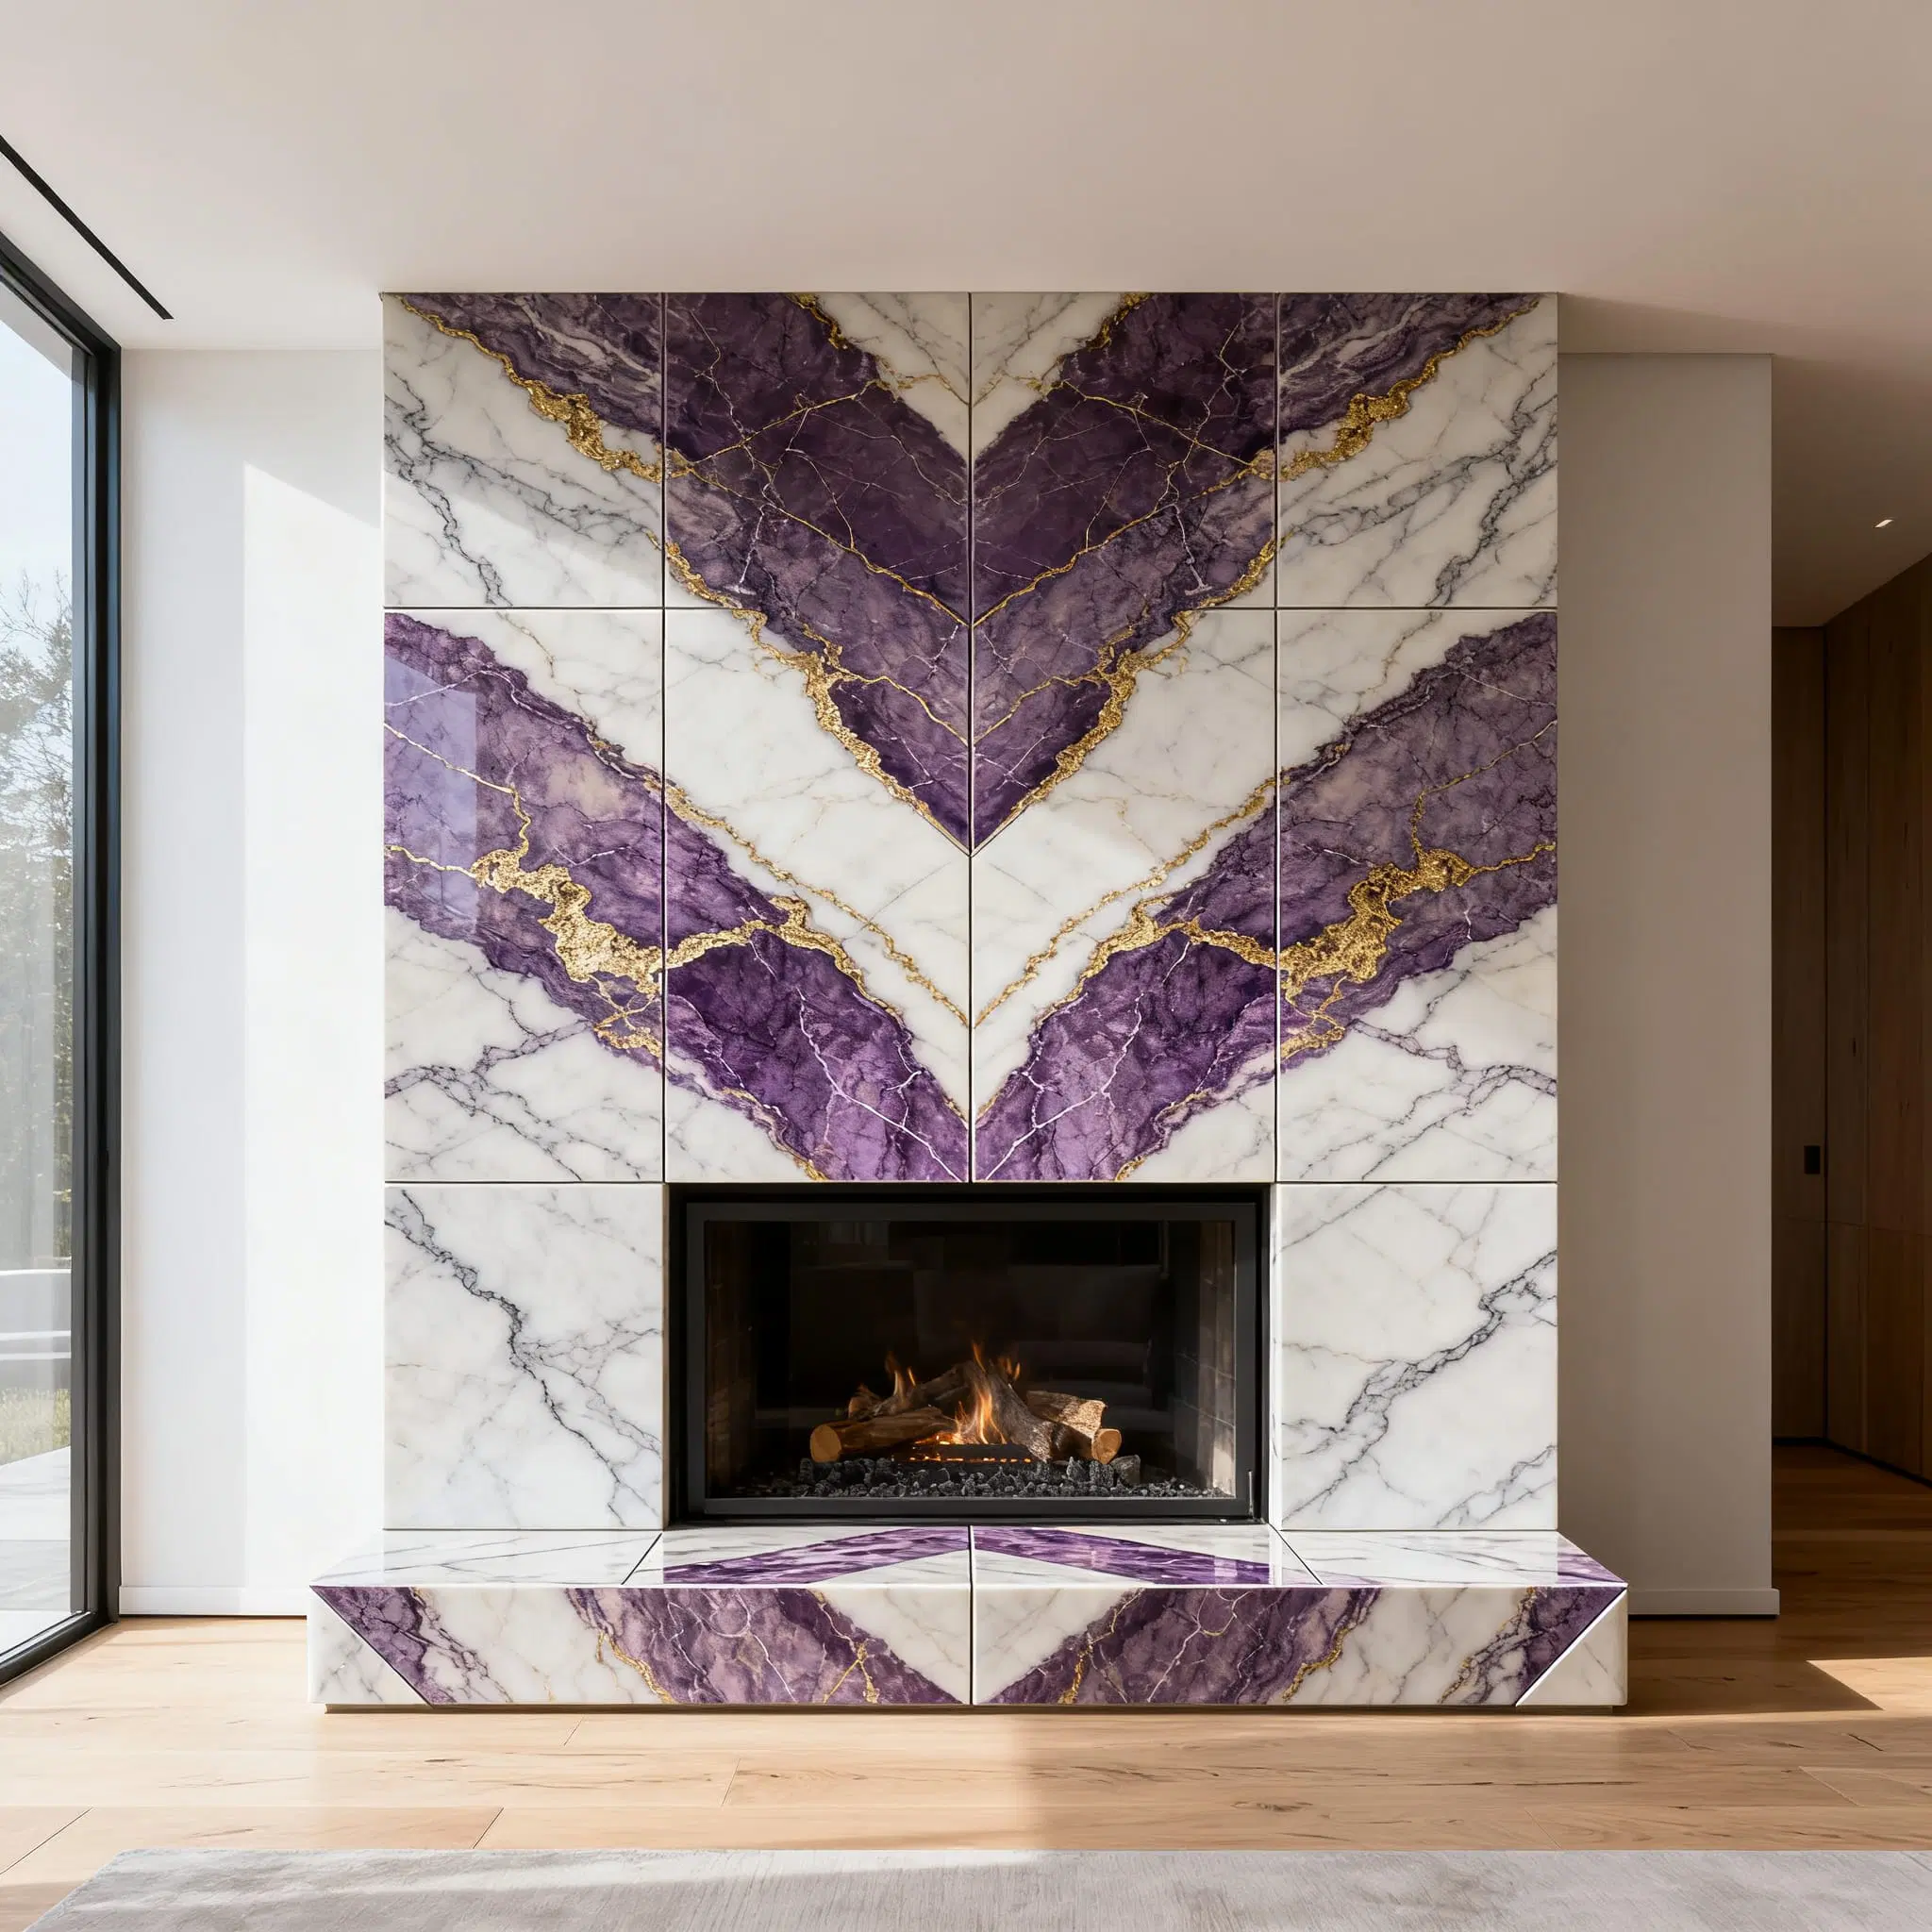
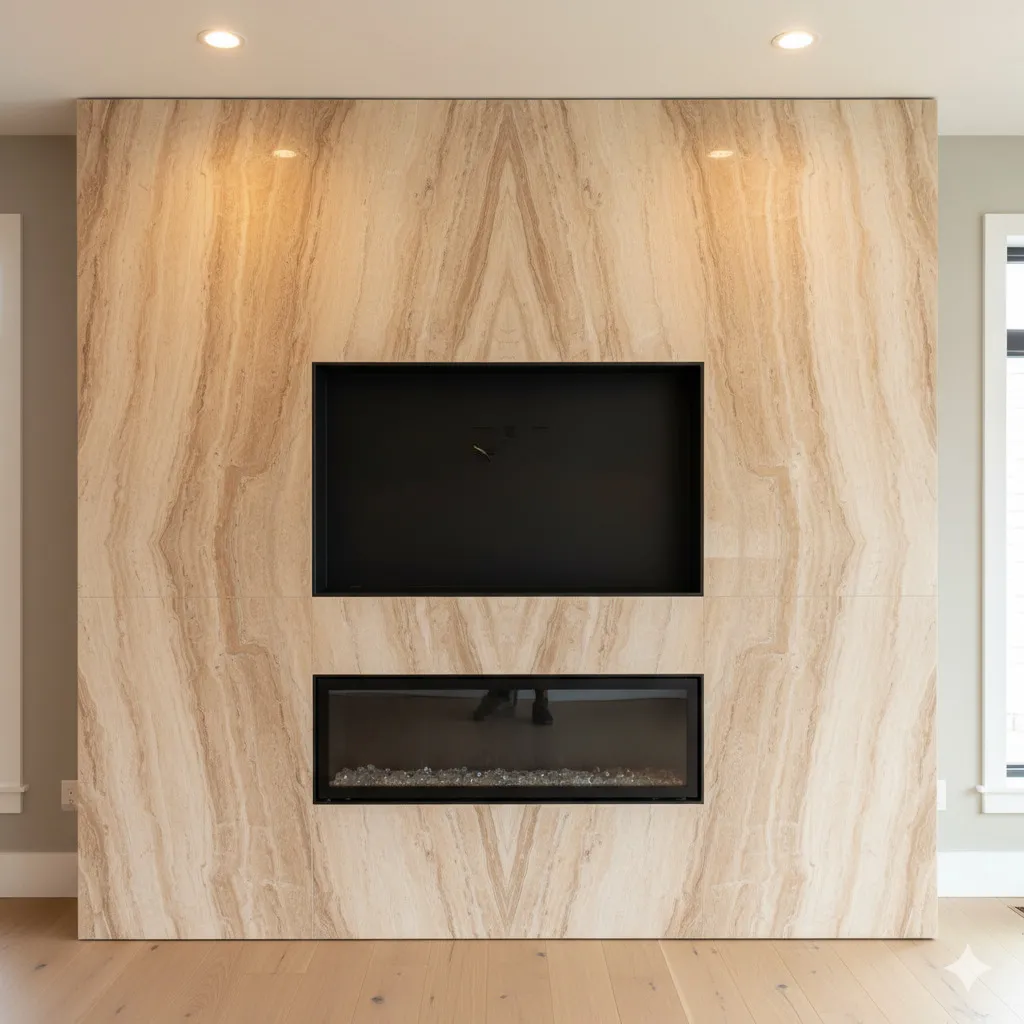
The fireplace appliance and its installation instructions set the boundary. Tile, slabs, framing, backing, clearances, vents and adjacent finishes must be coordinated before cladding begins.
Plan this project
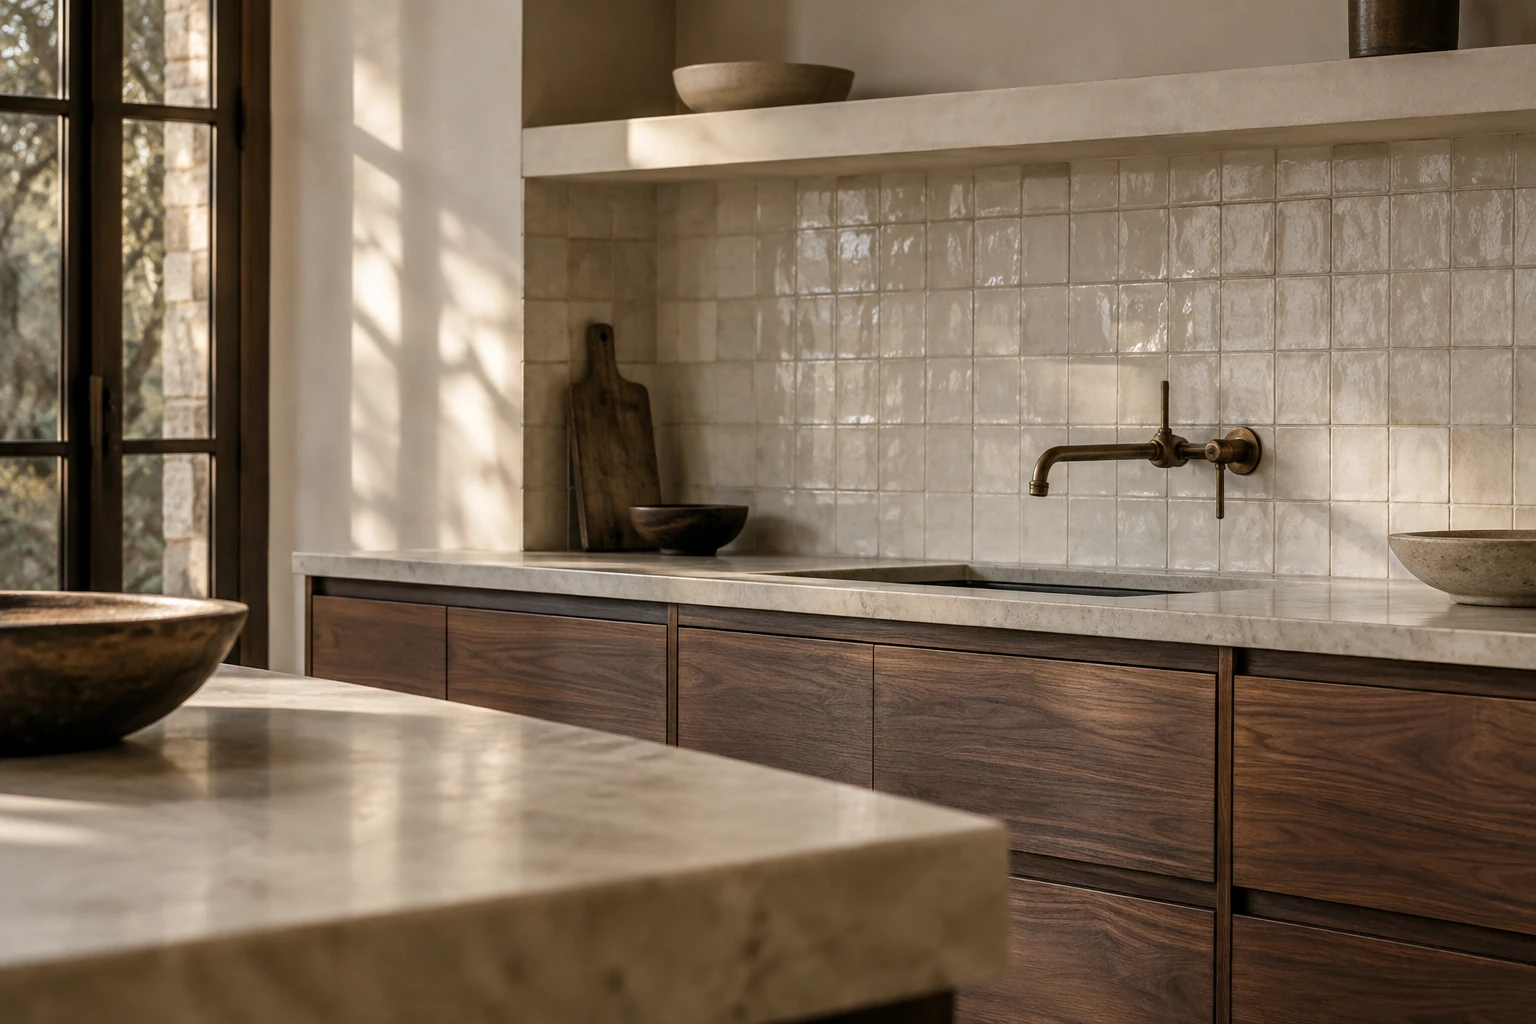
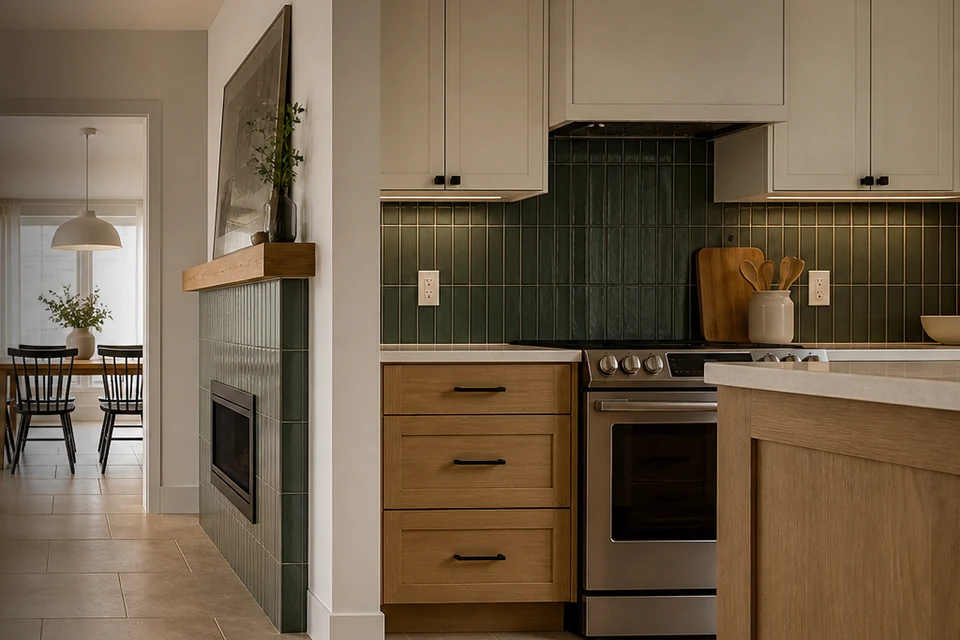
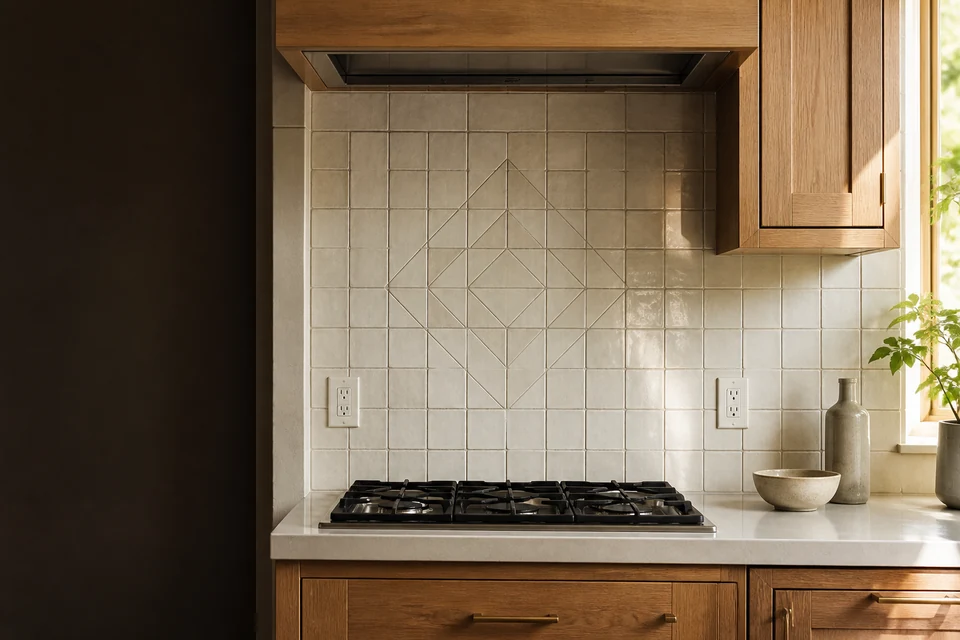
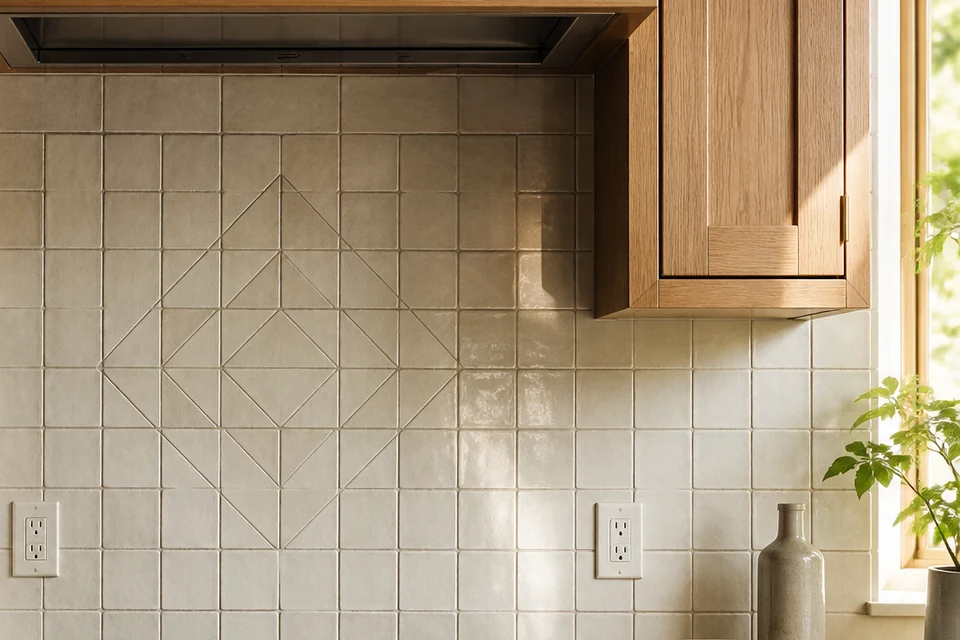
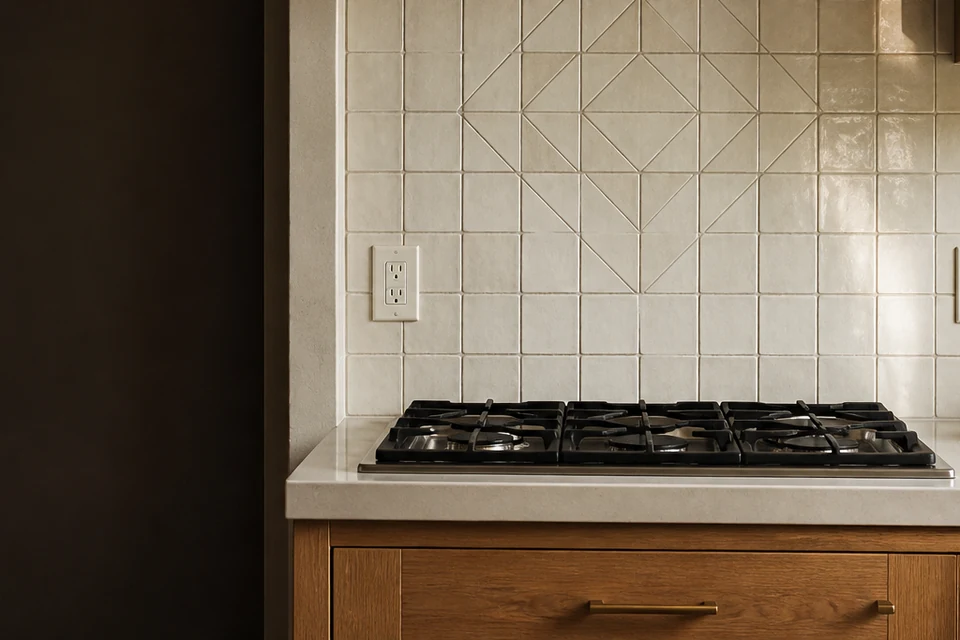
A backsplash is a small surface with many visible decisions. Set the focal lines, outlet details, cabinet edges and material variation before installation starts.
Plan this project
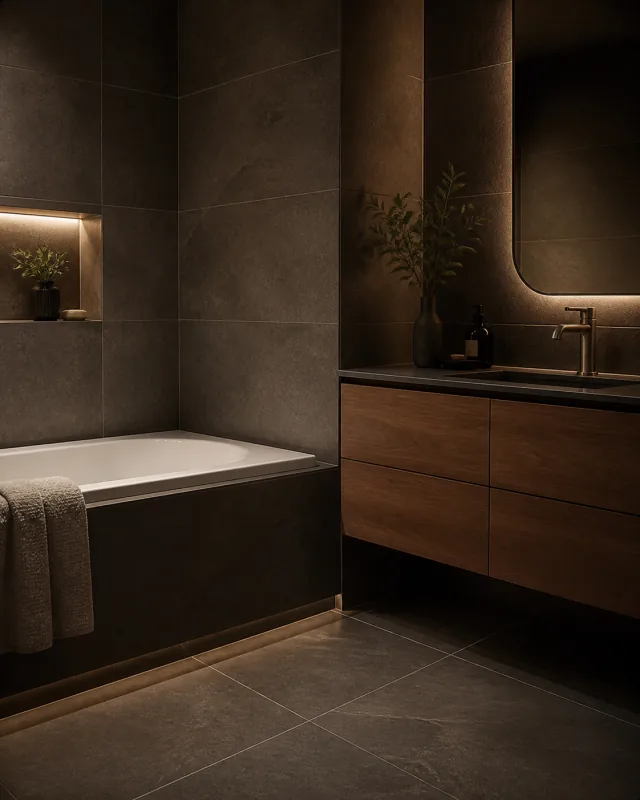
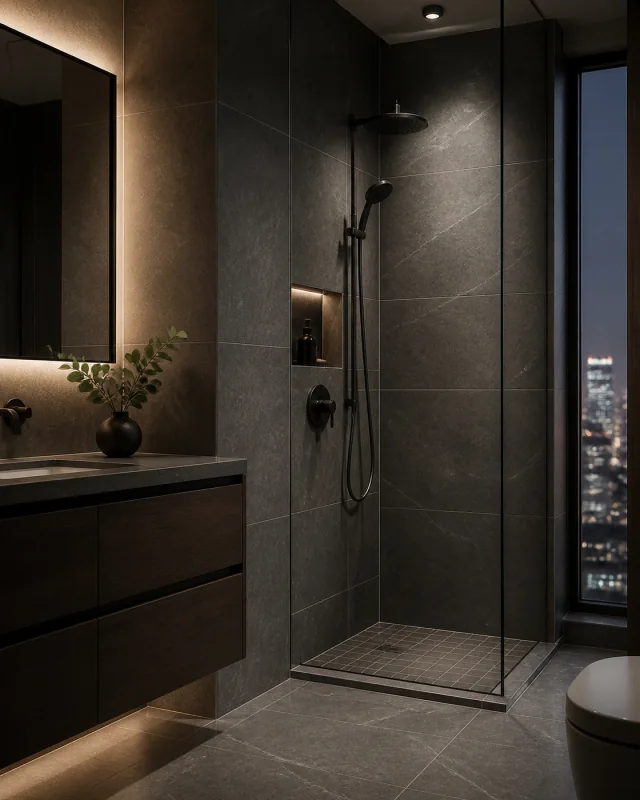
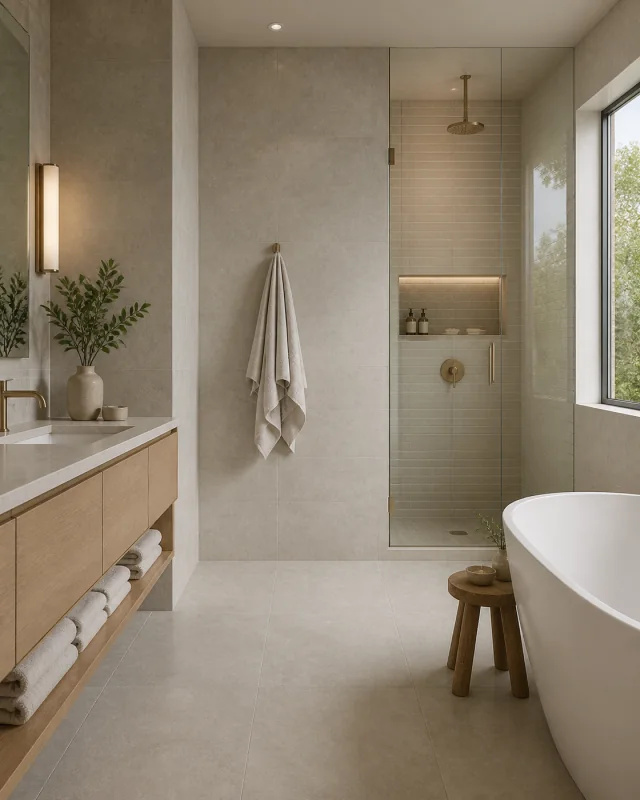
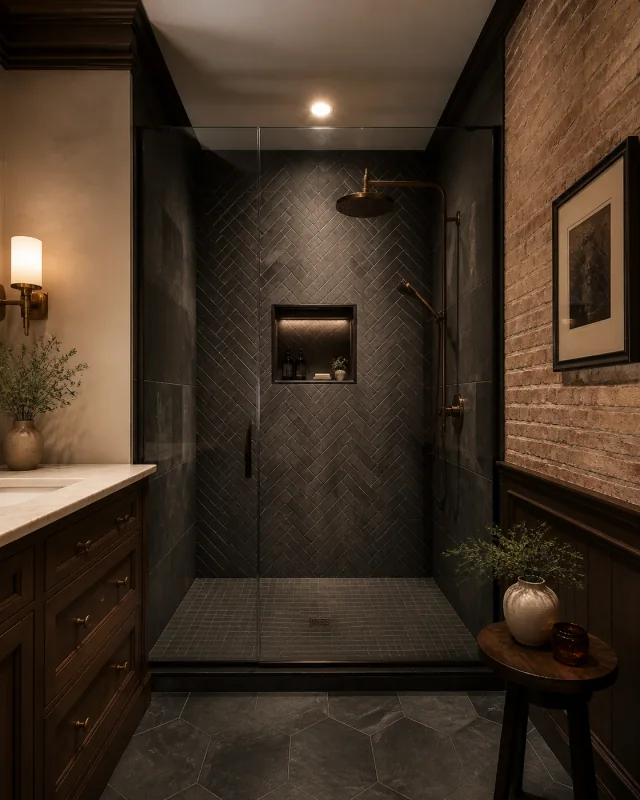
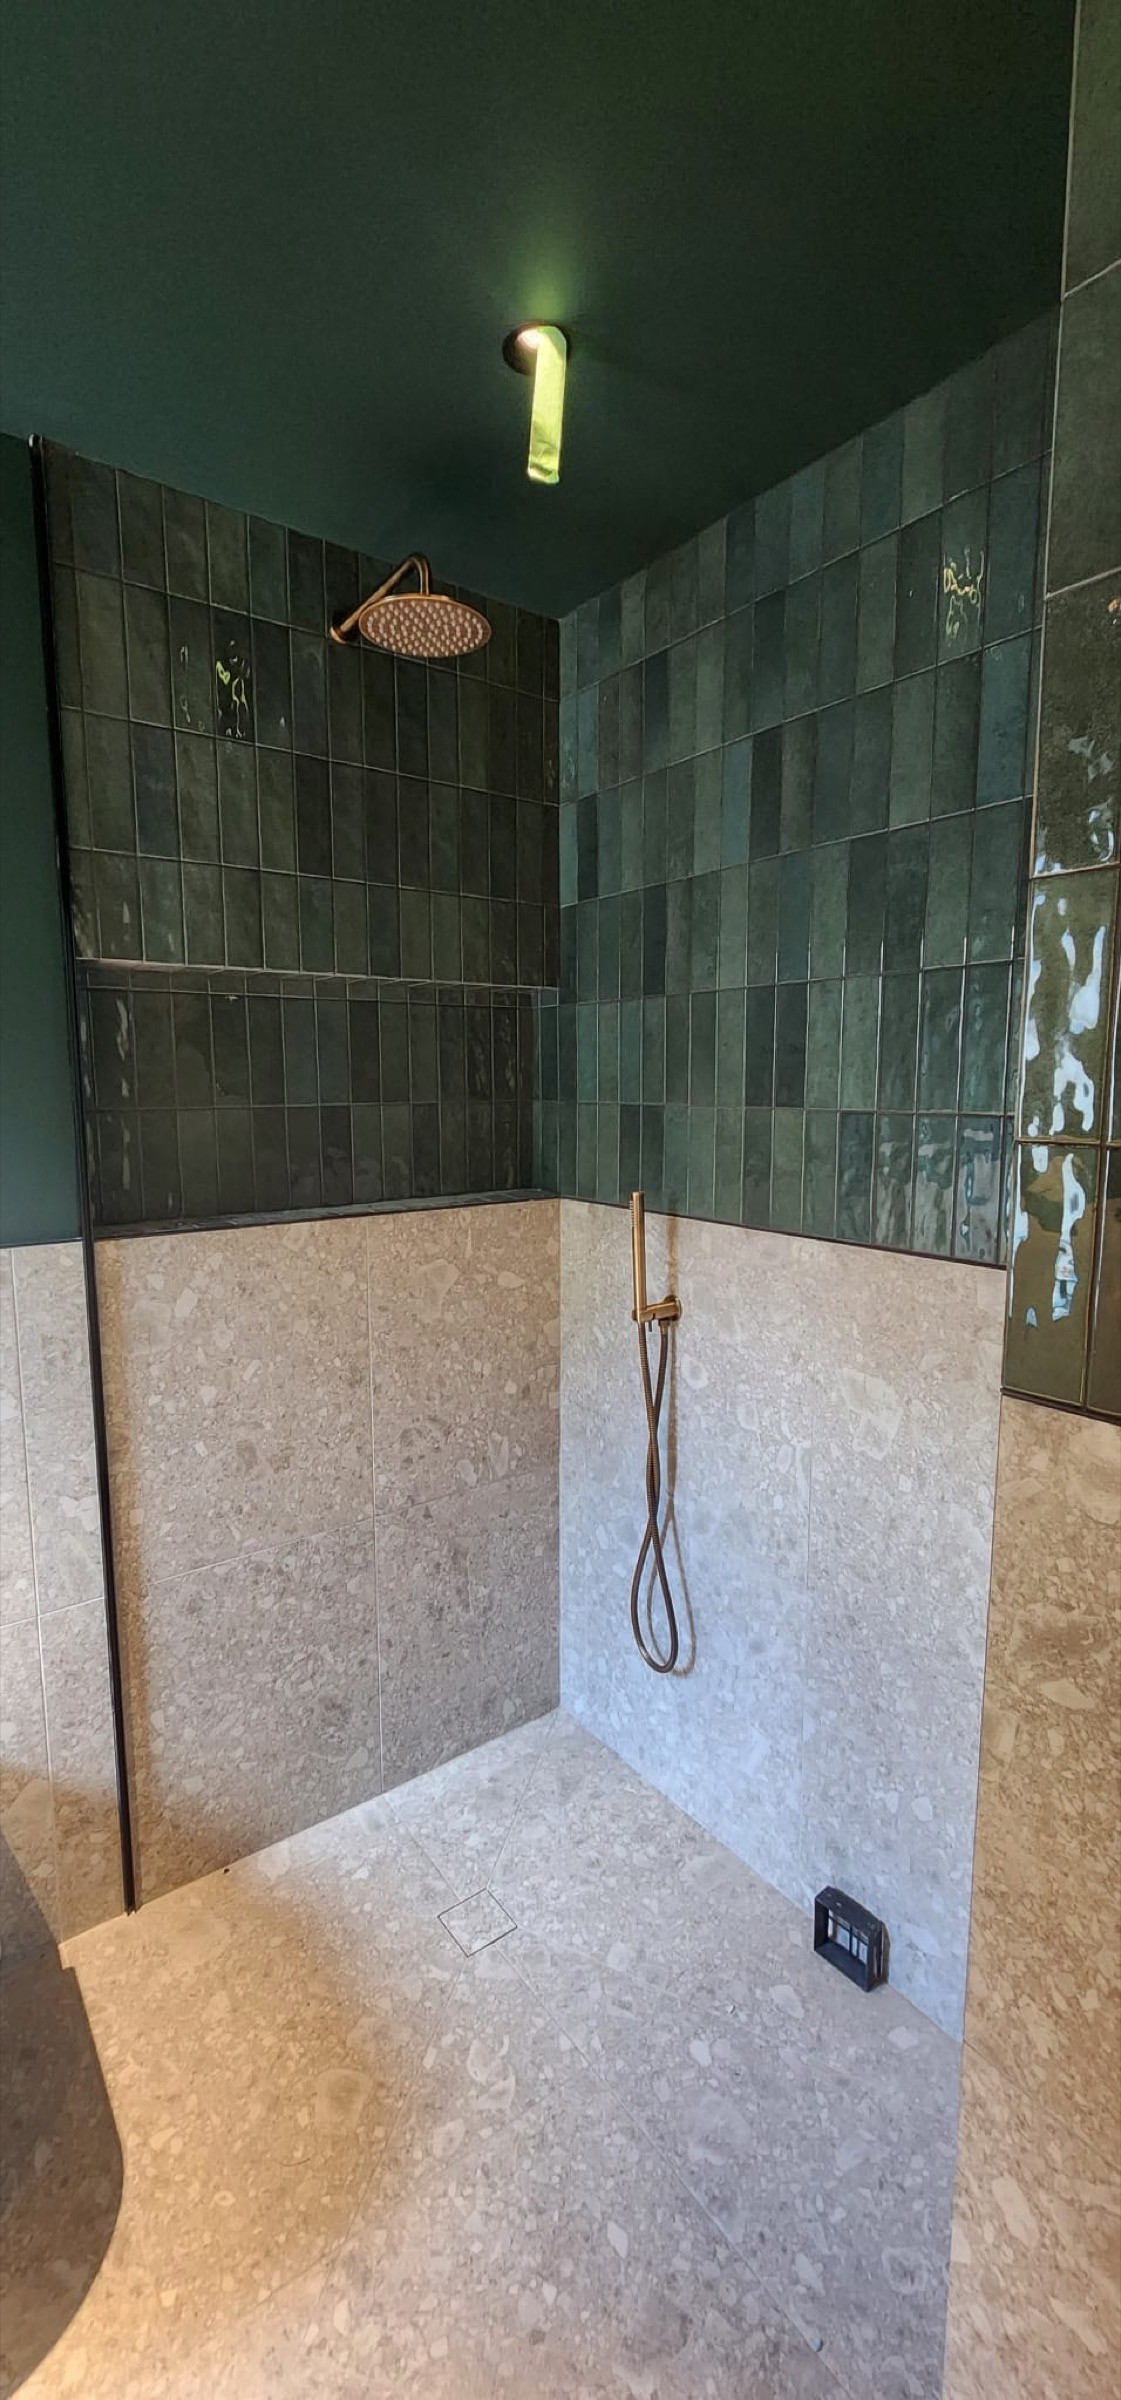
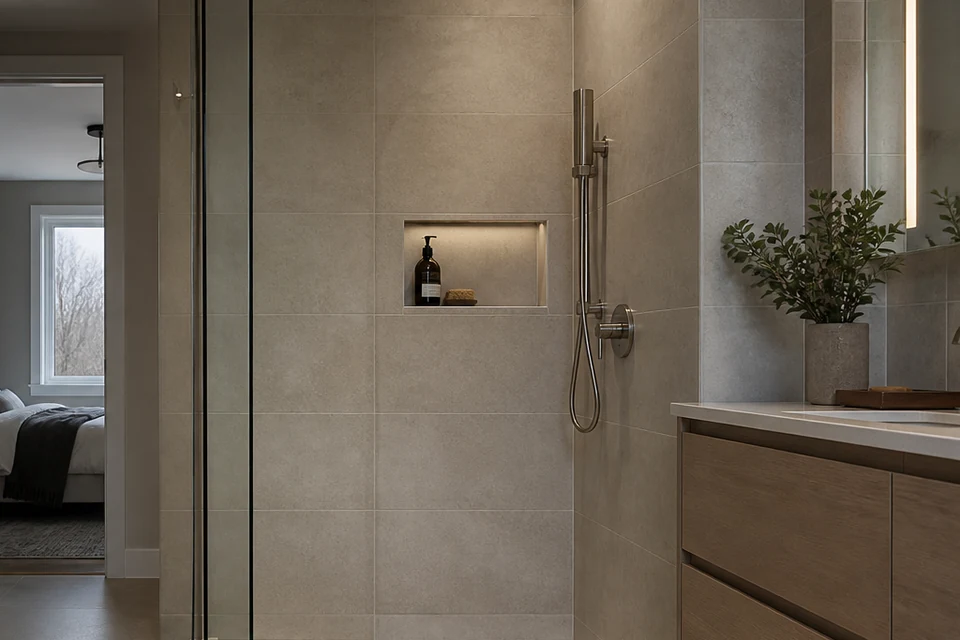
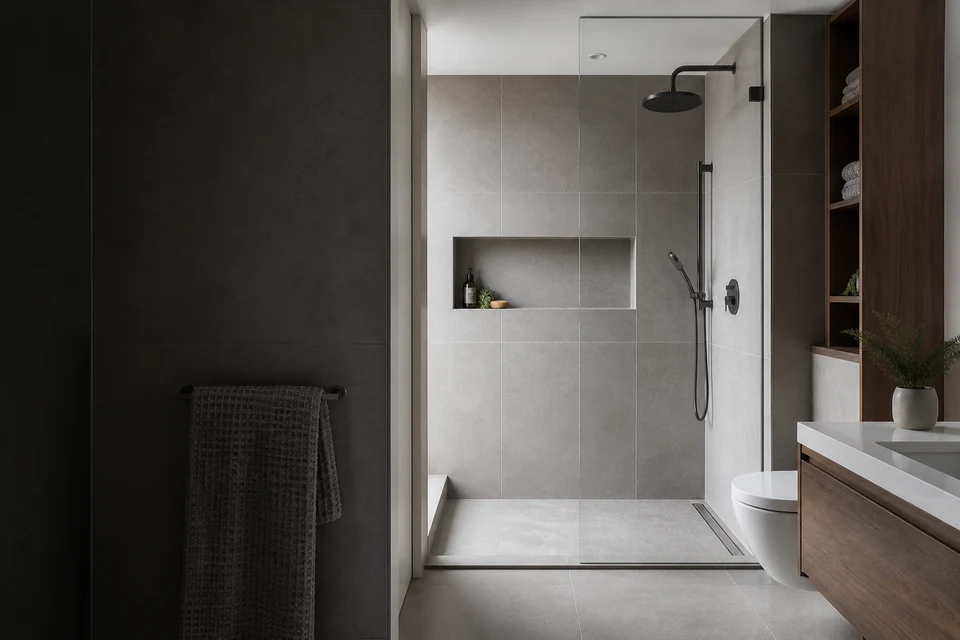
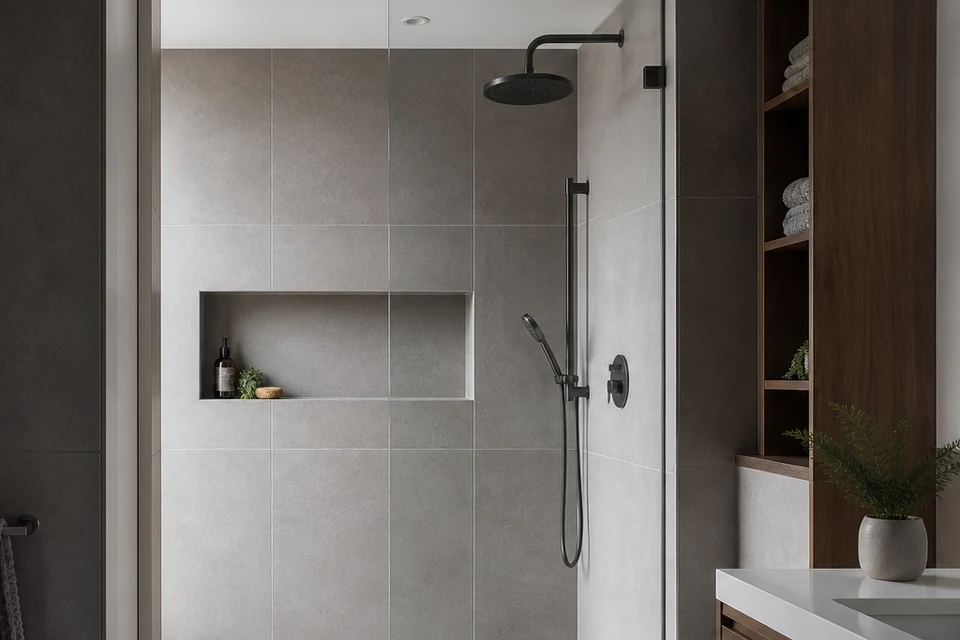
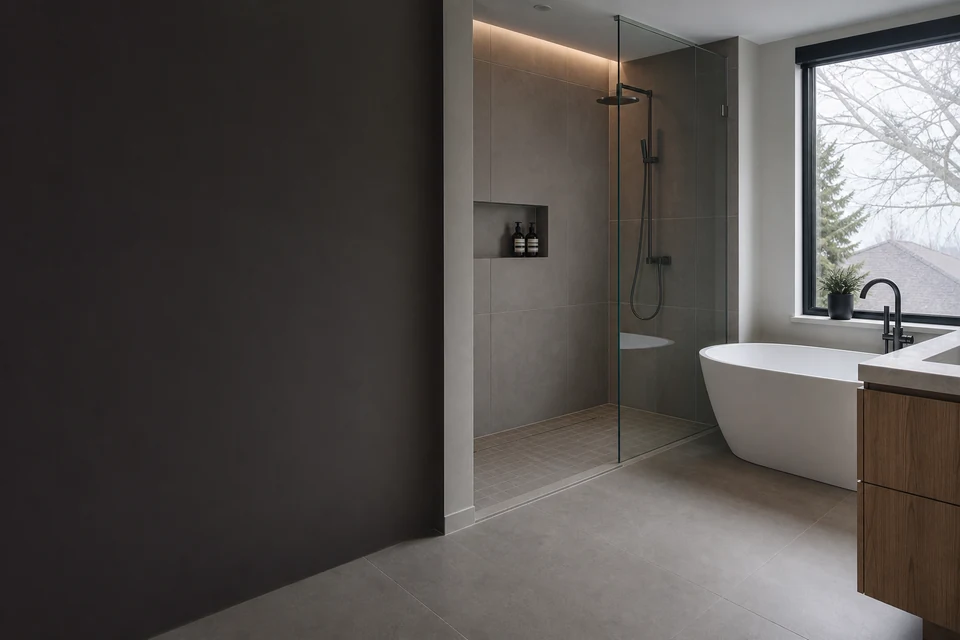
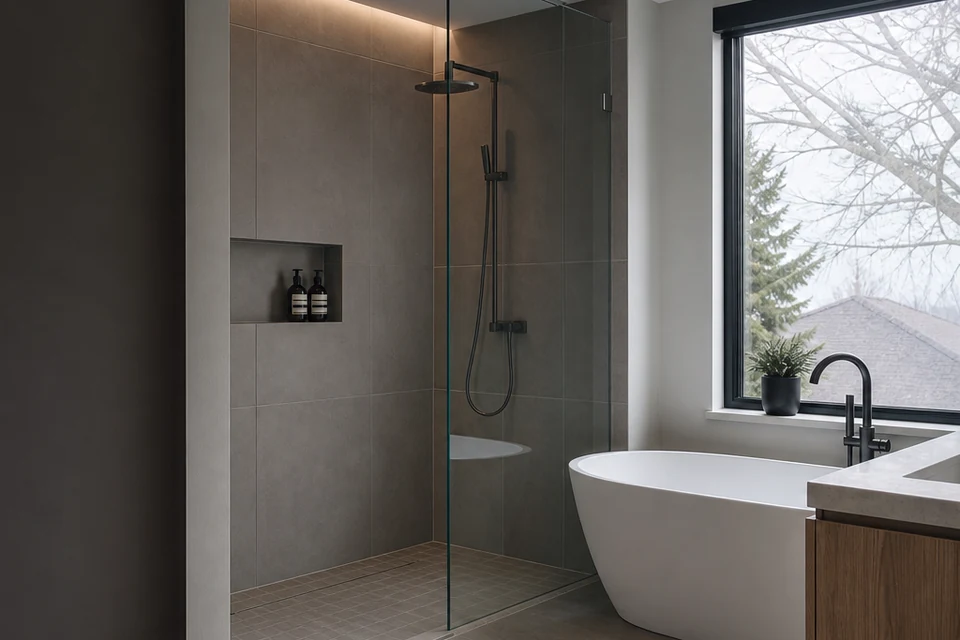
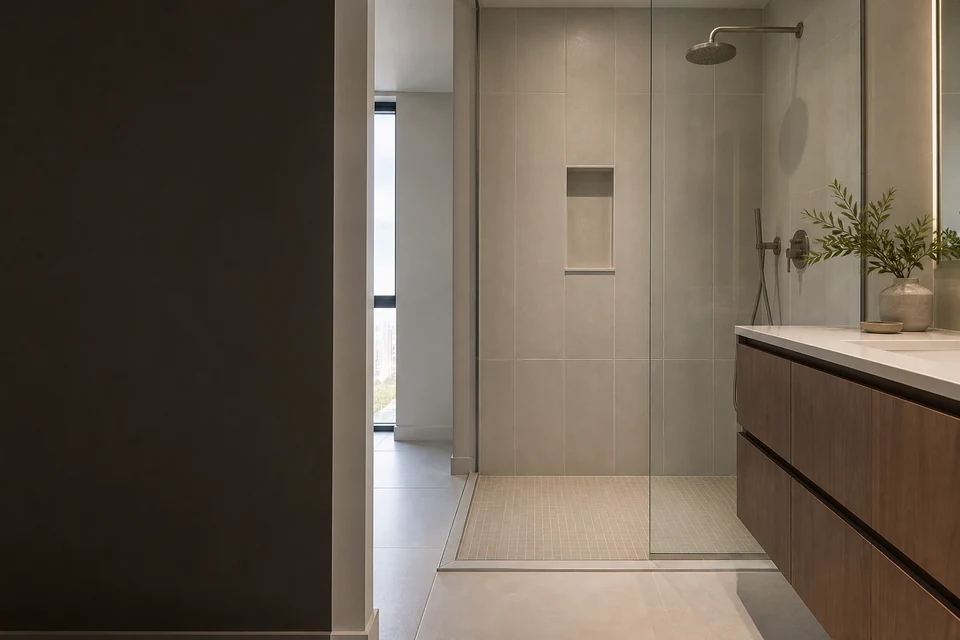
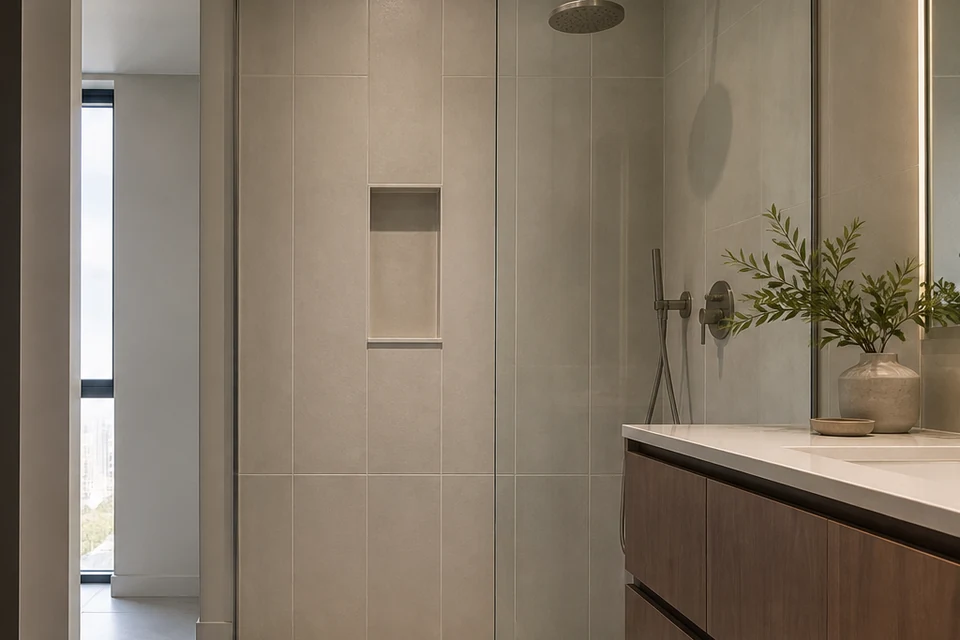
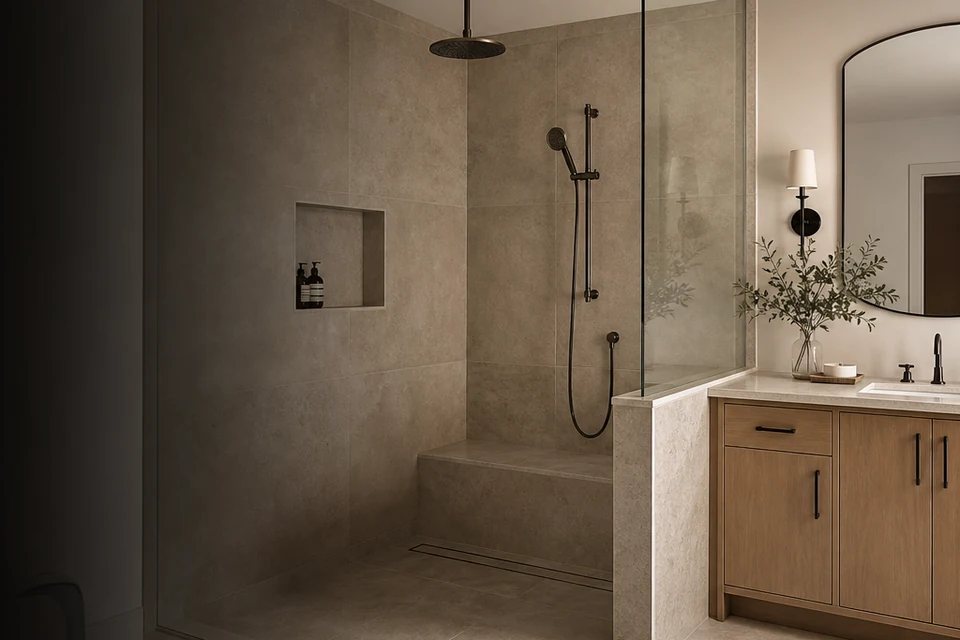
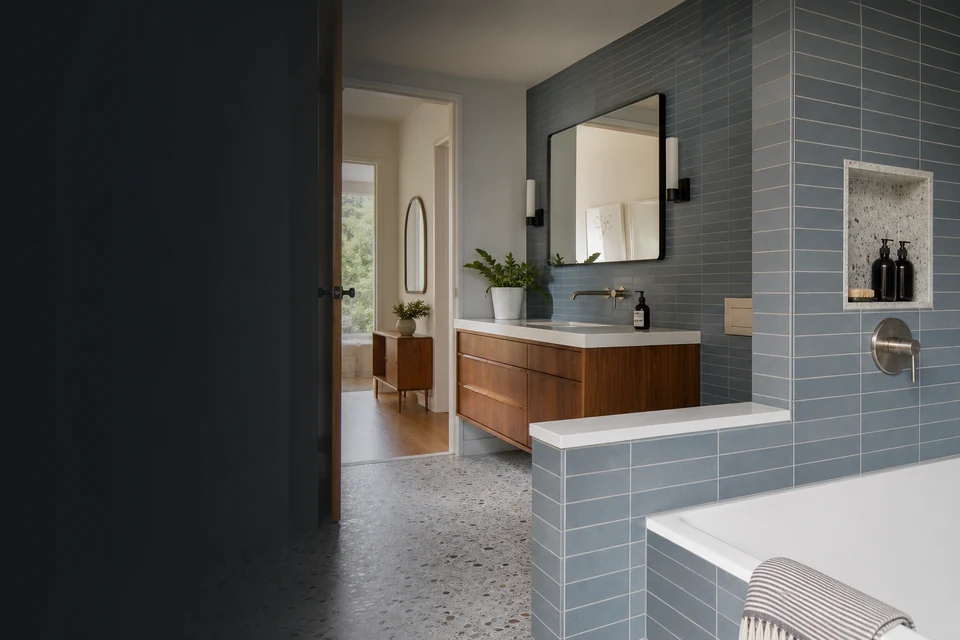
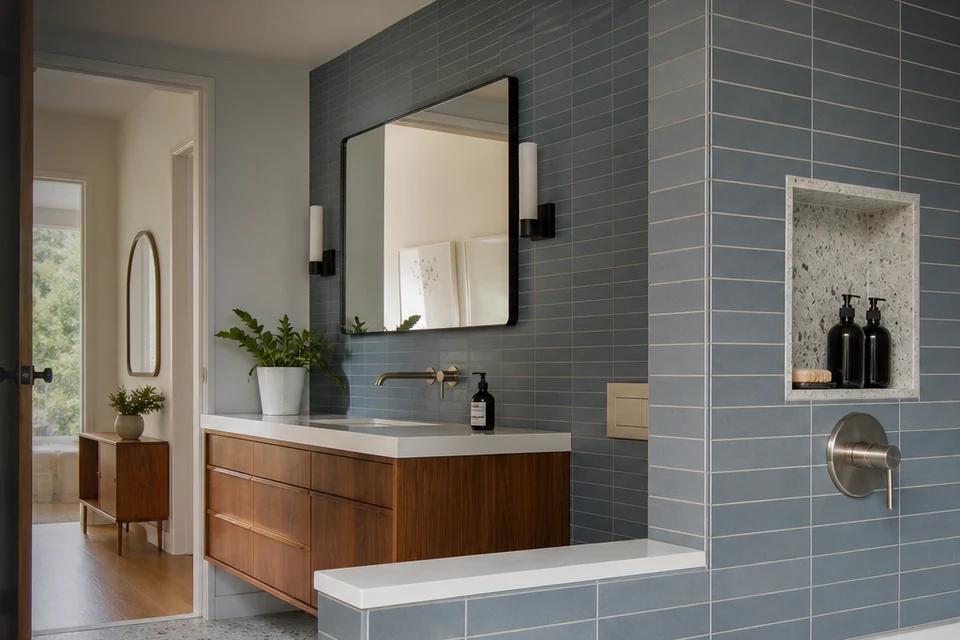
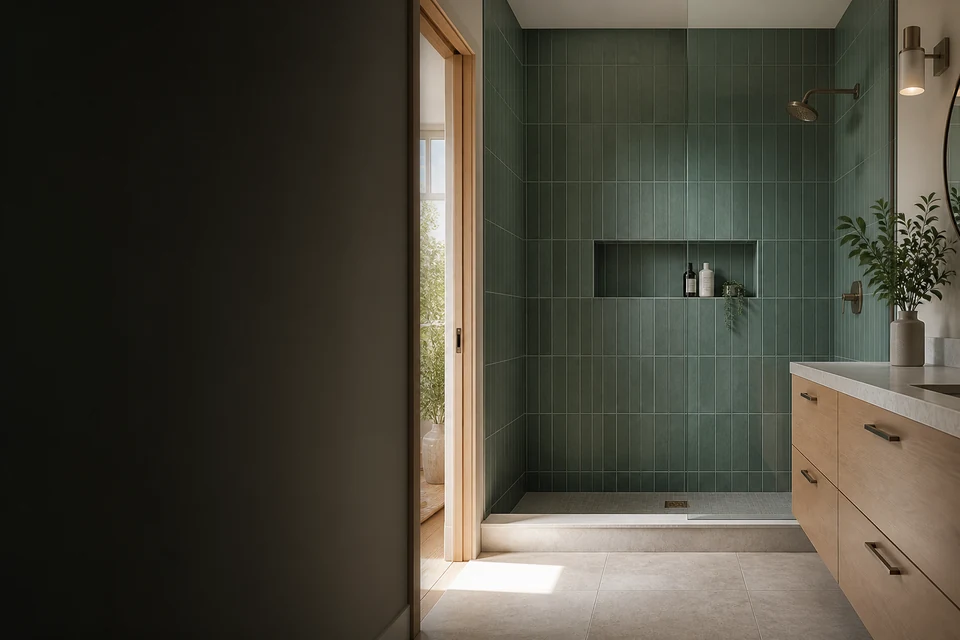
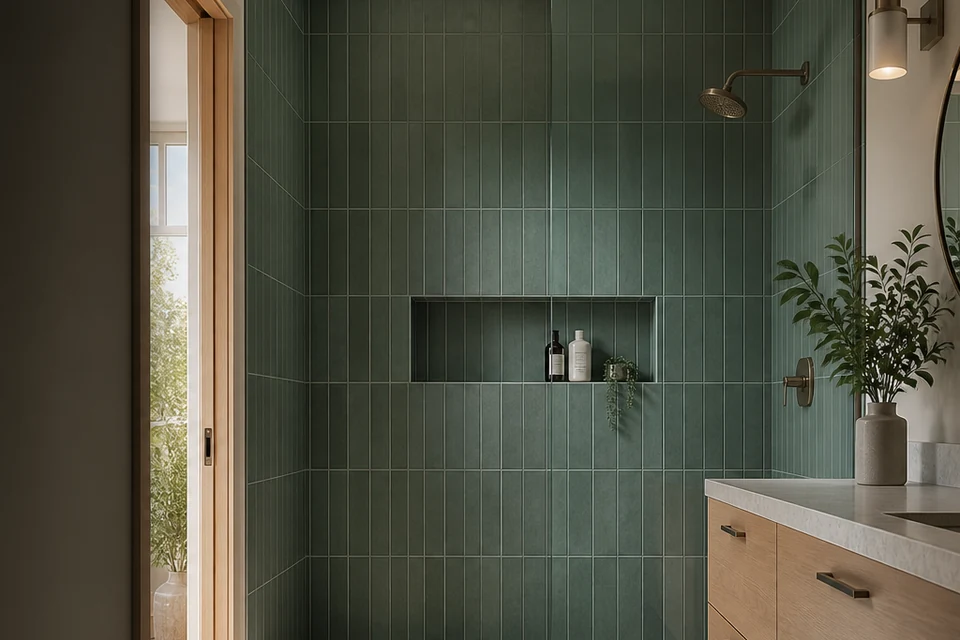
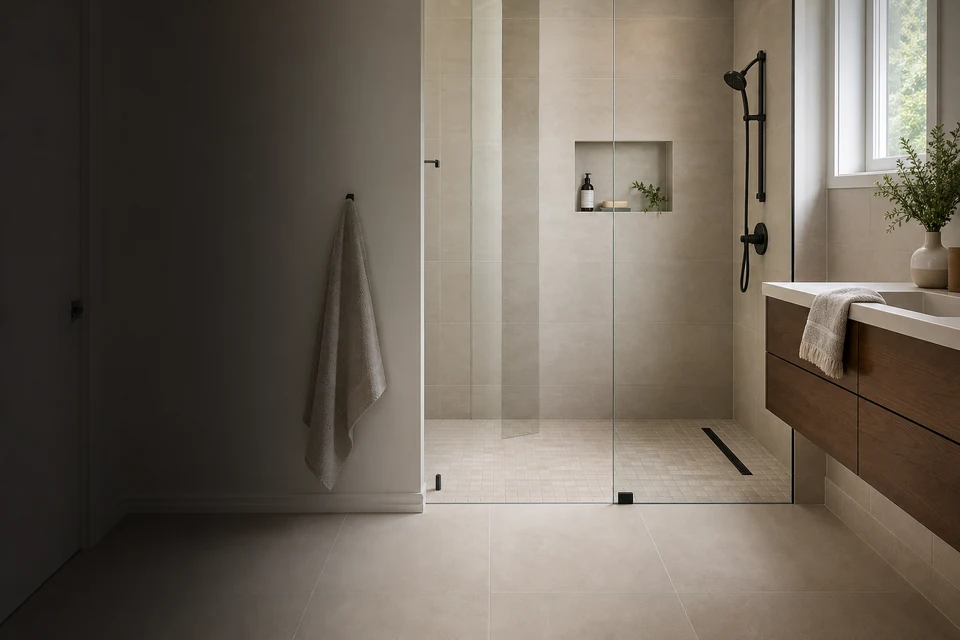
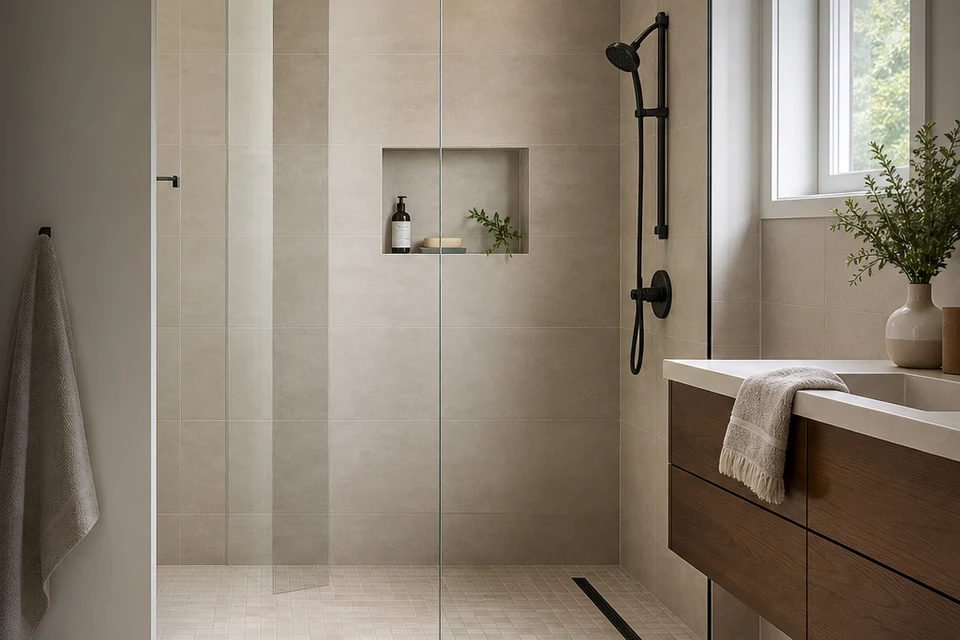
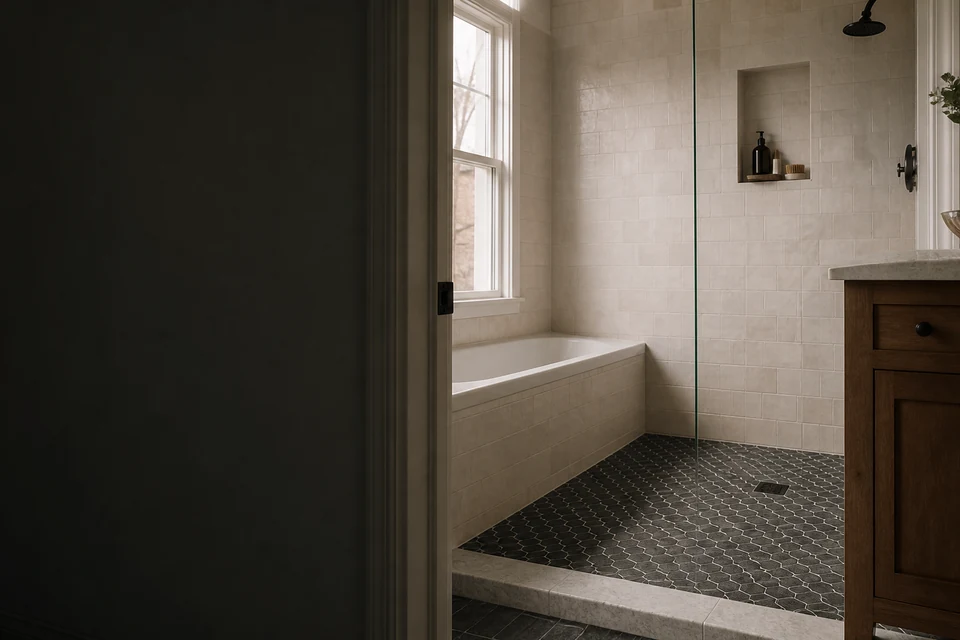
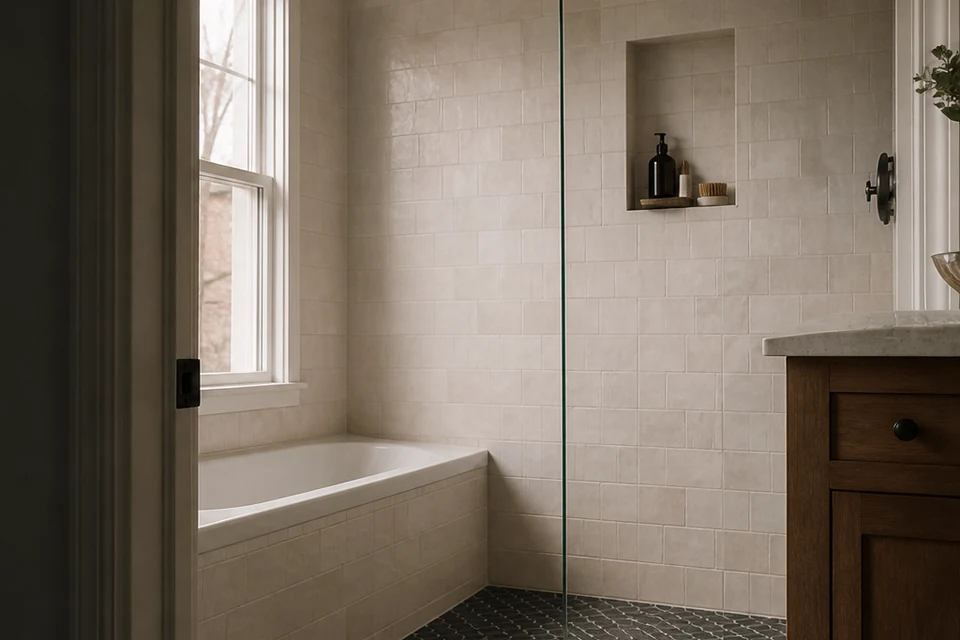
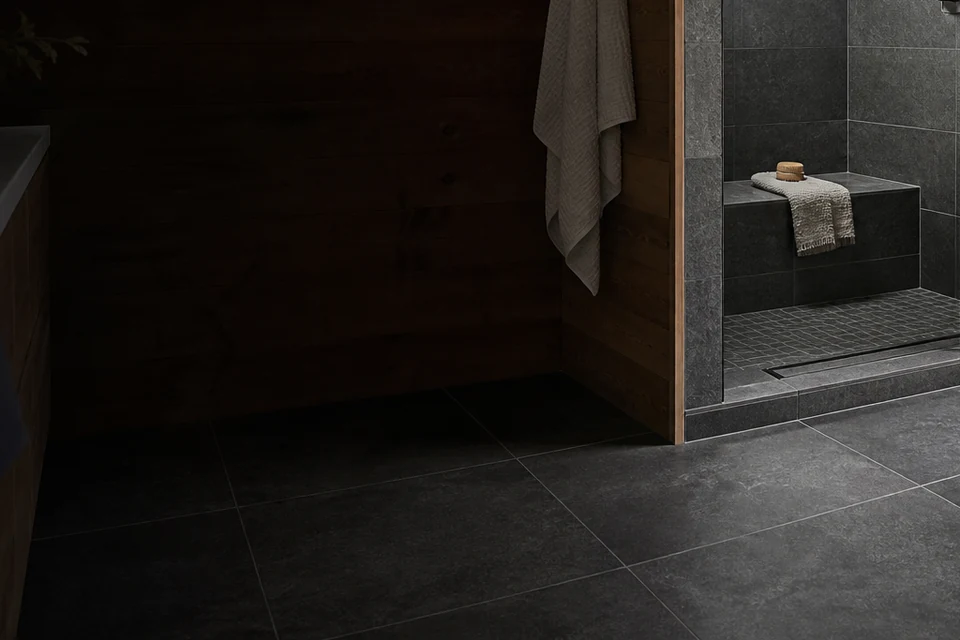
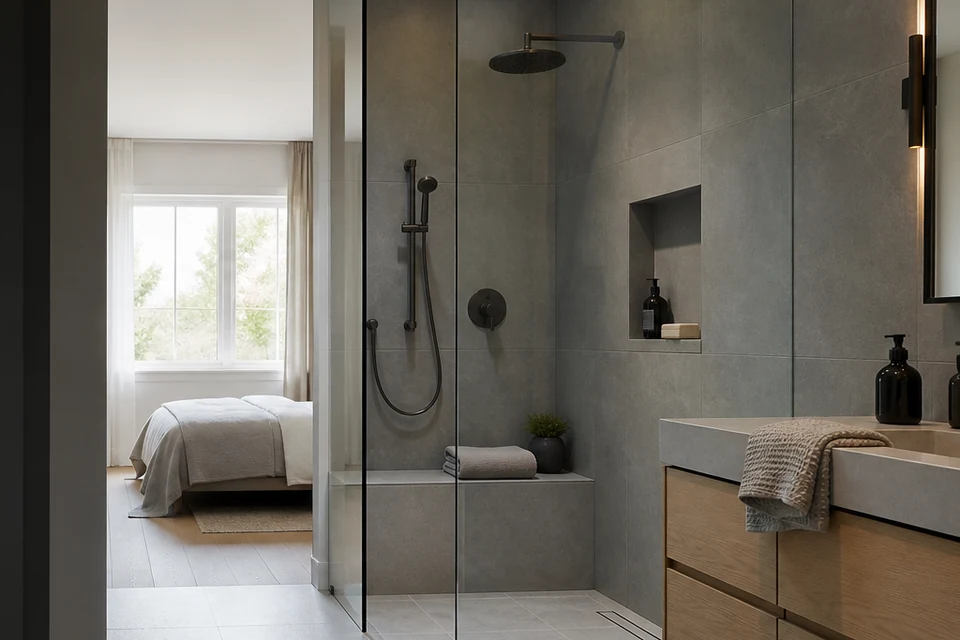
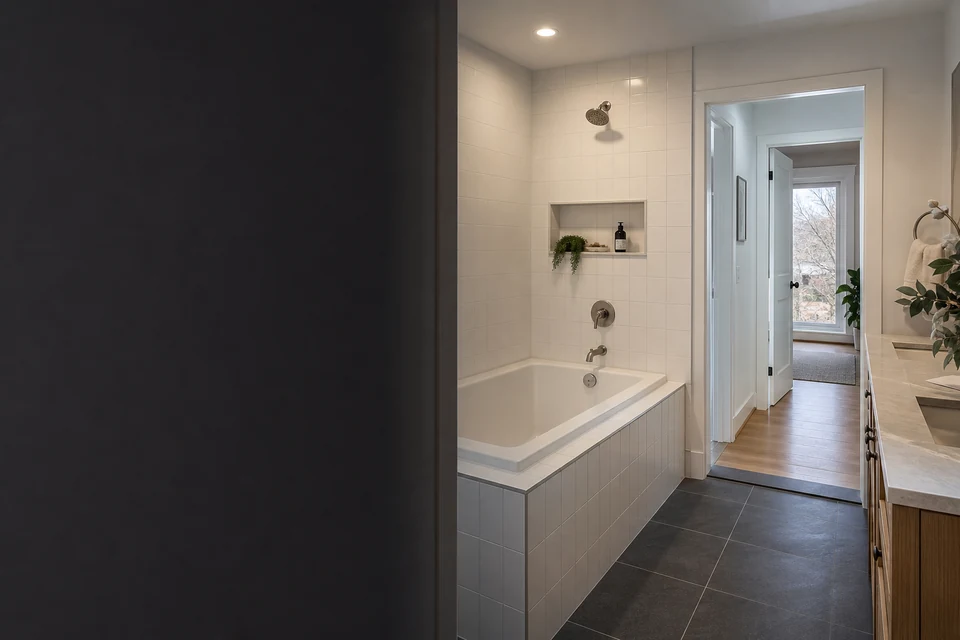
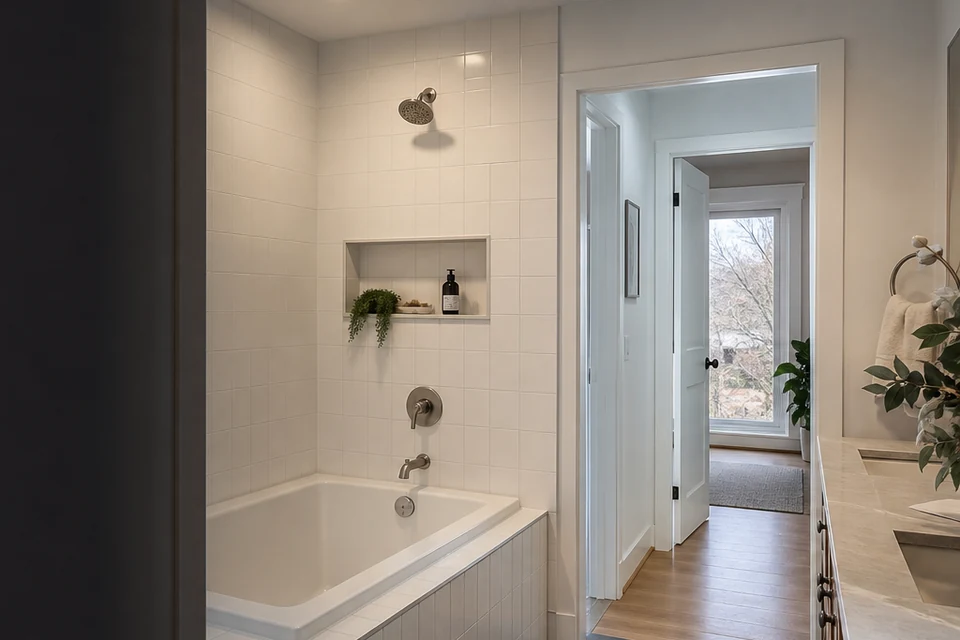
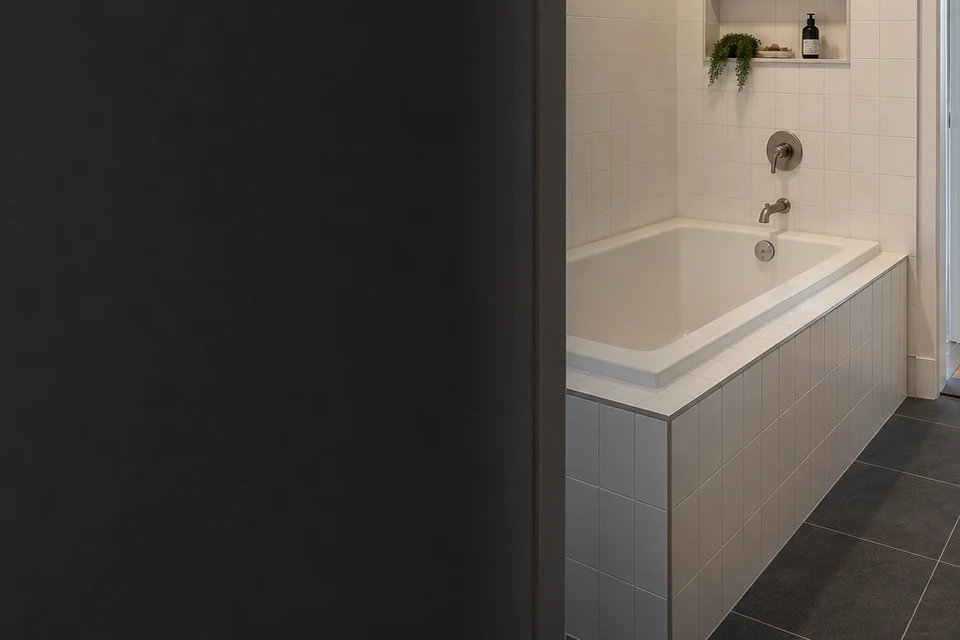
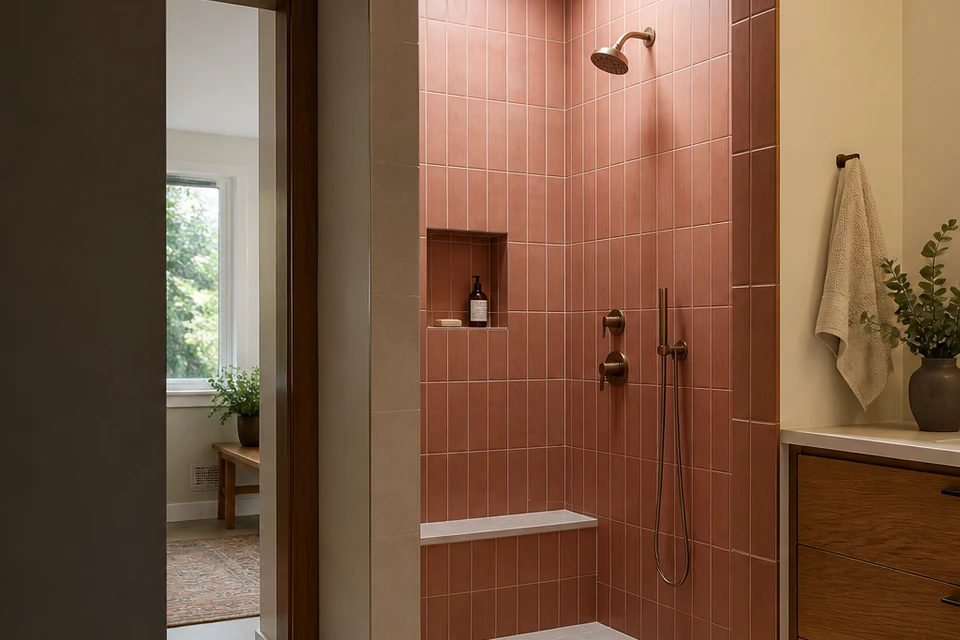
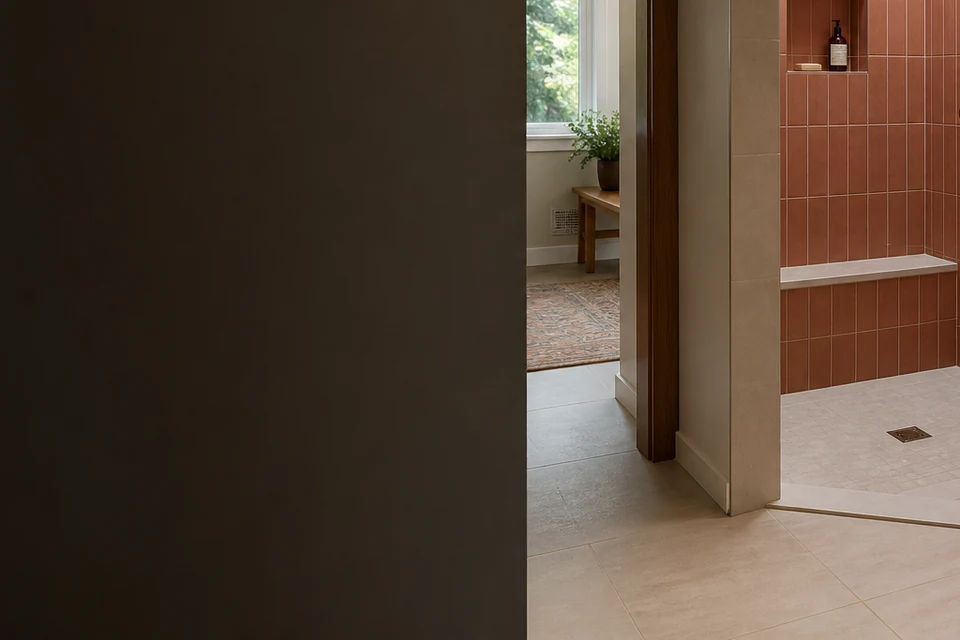
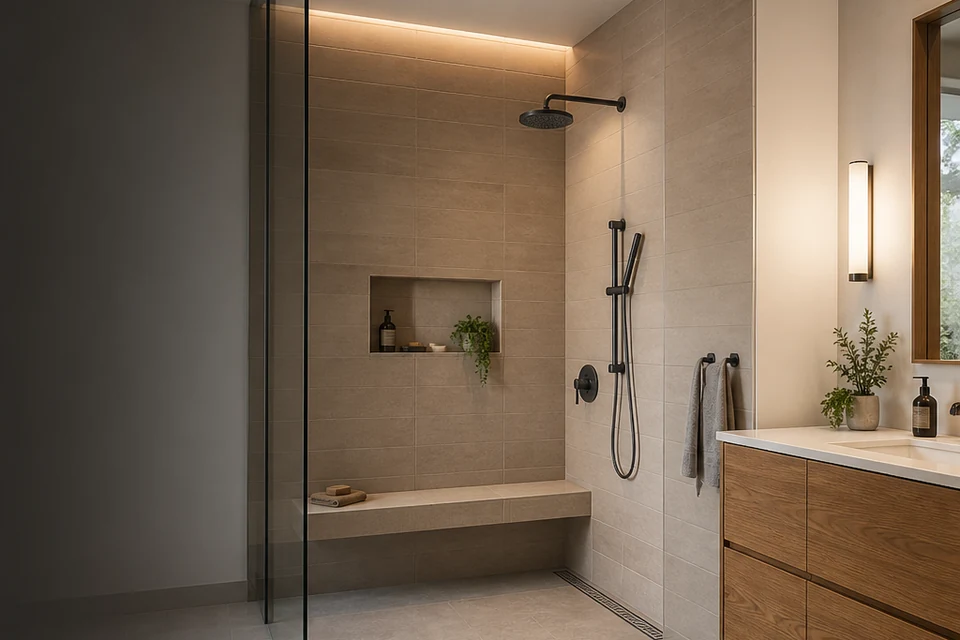
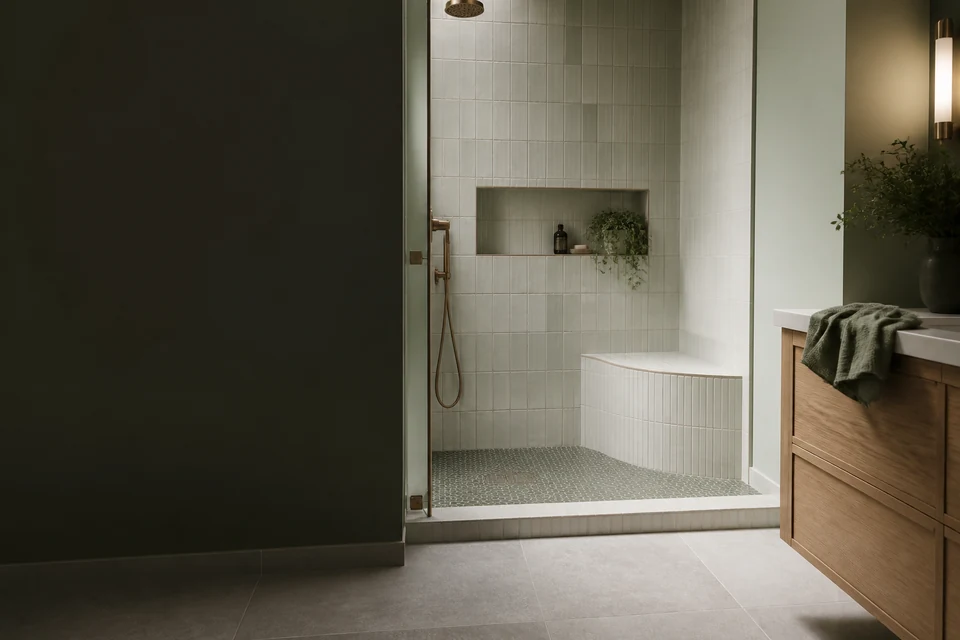
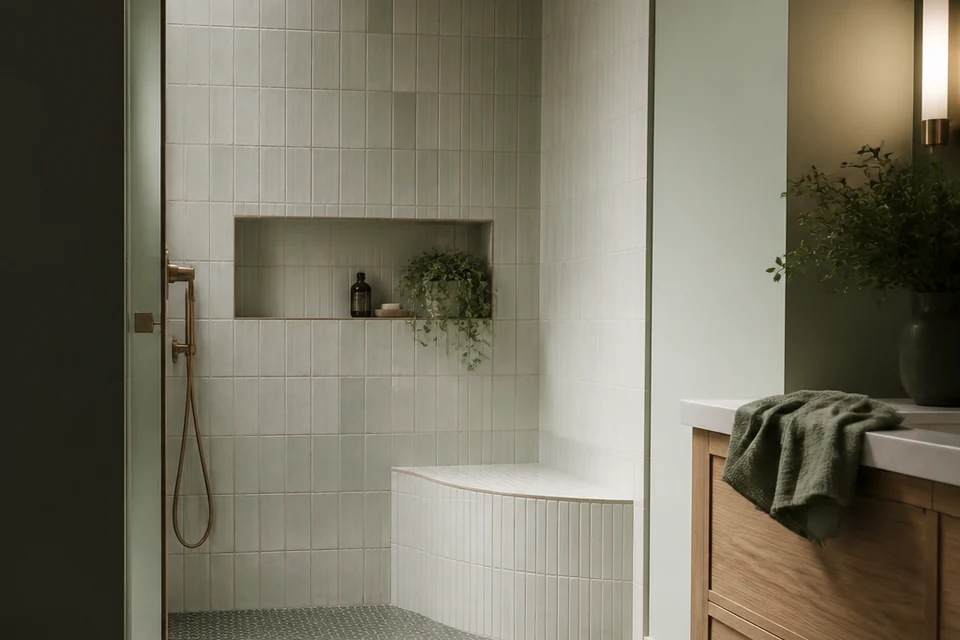
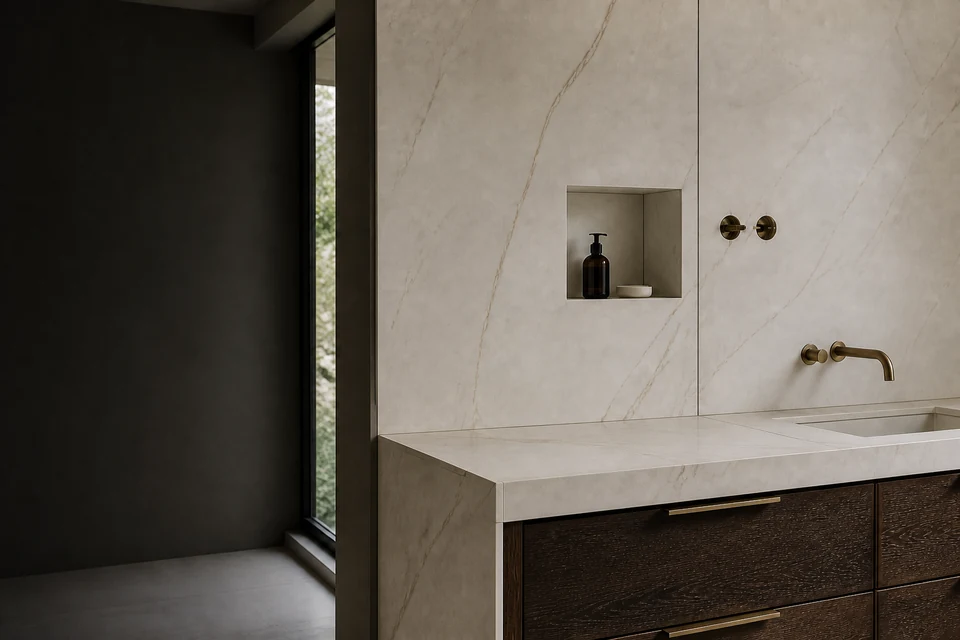
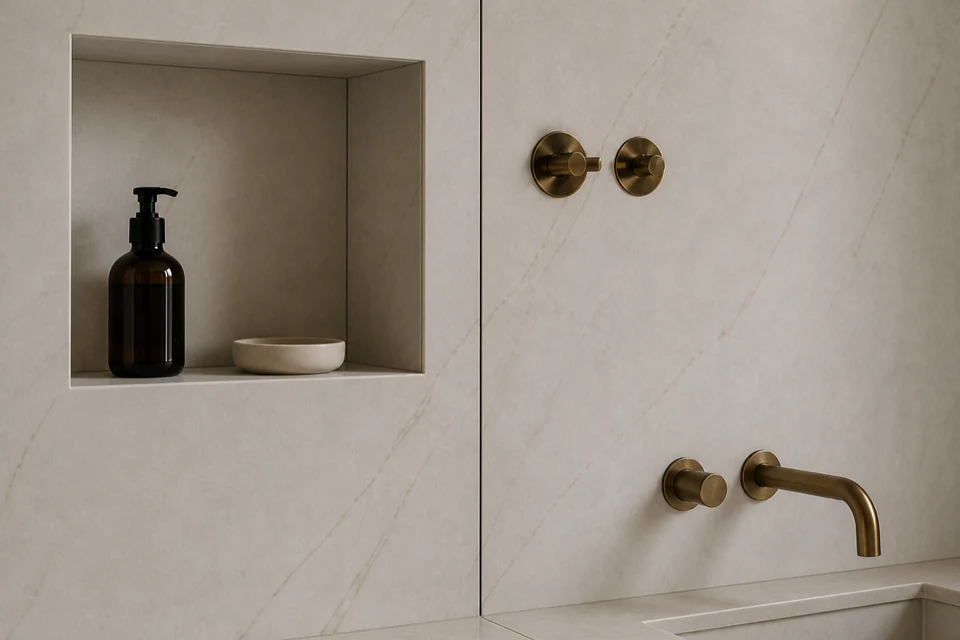
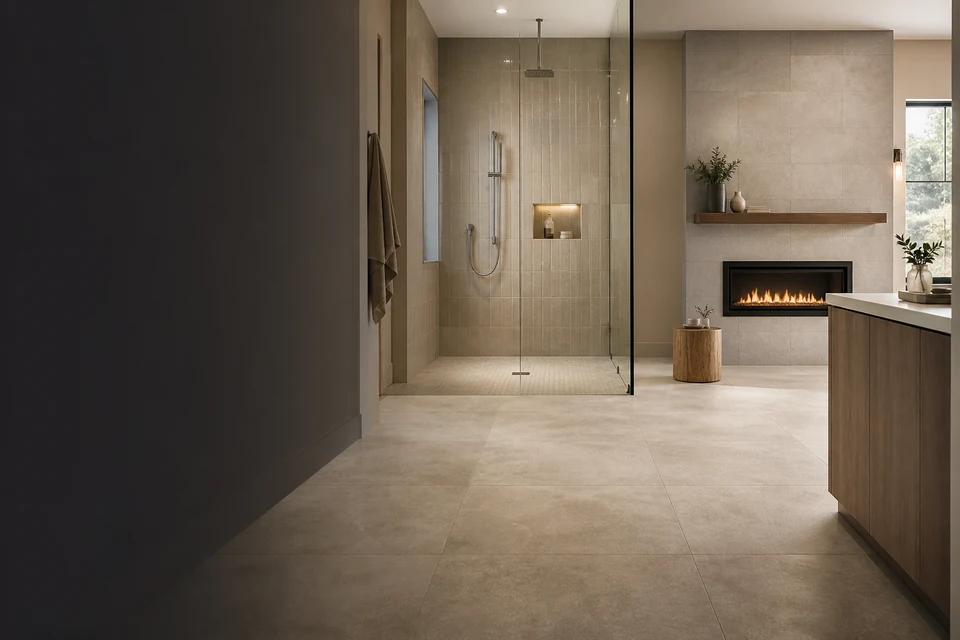
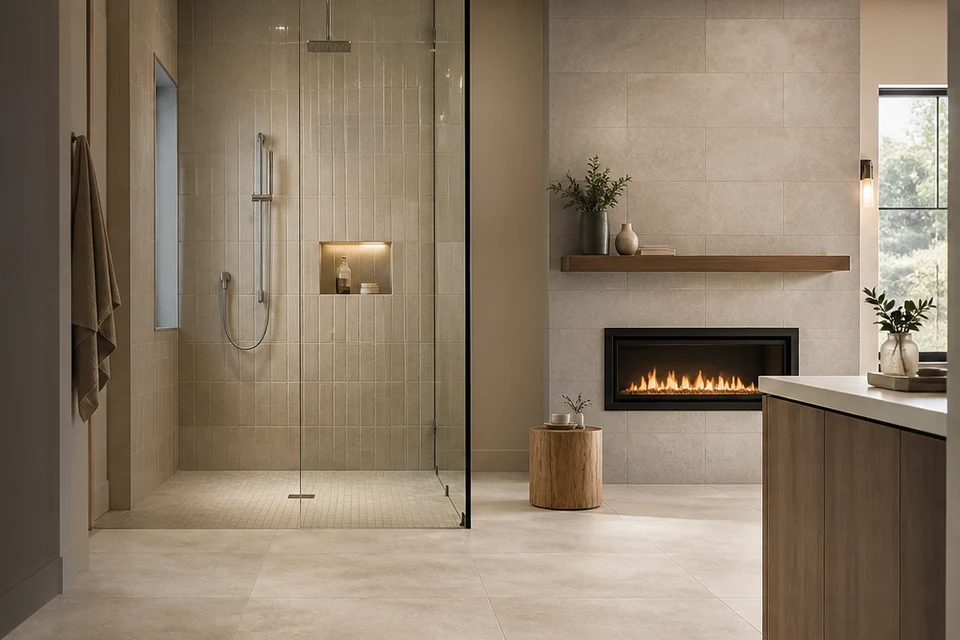
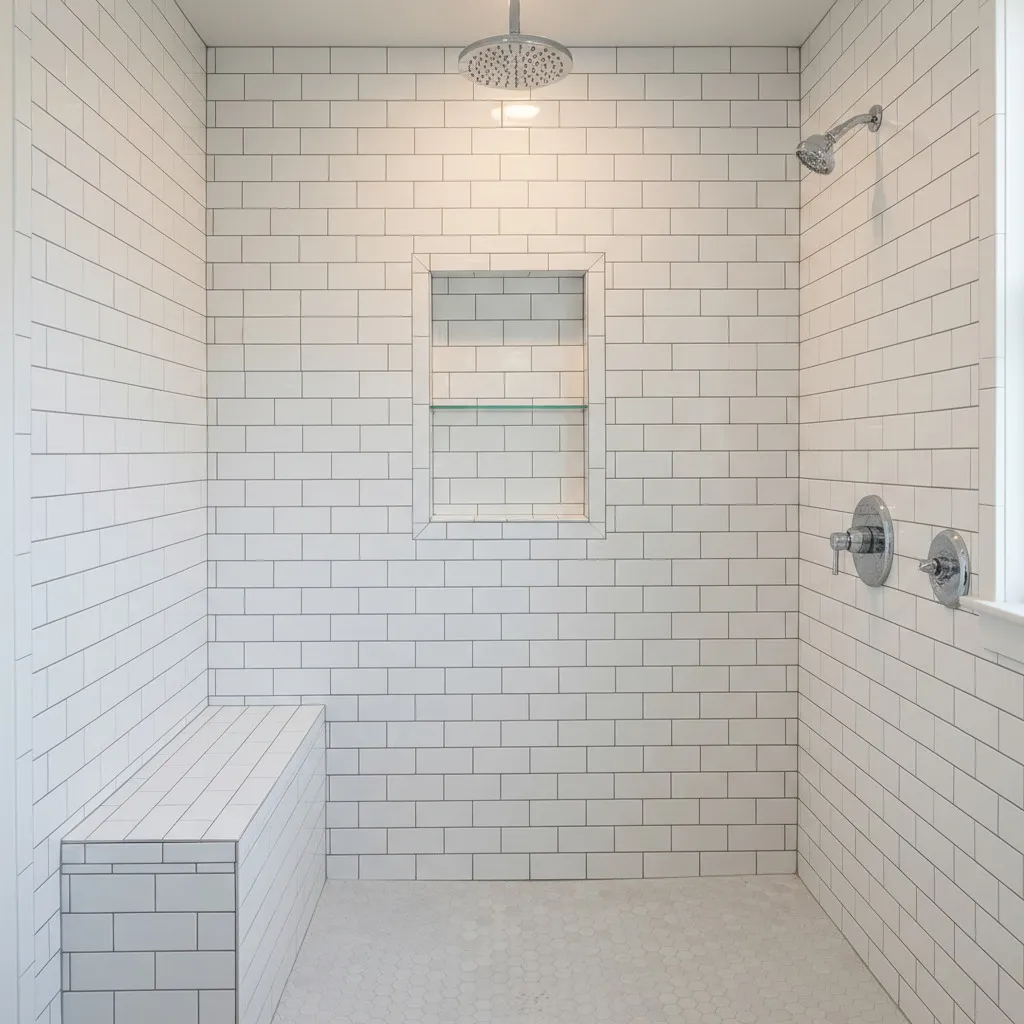
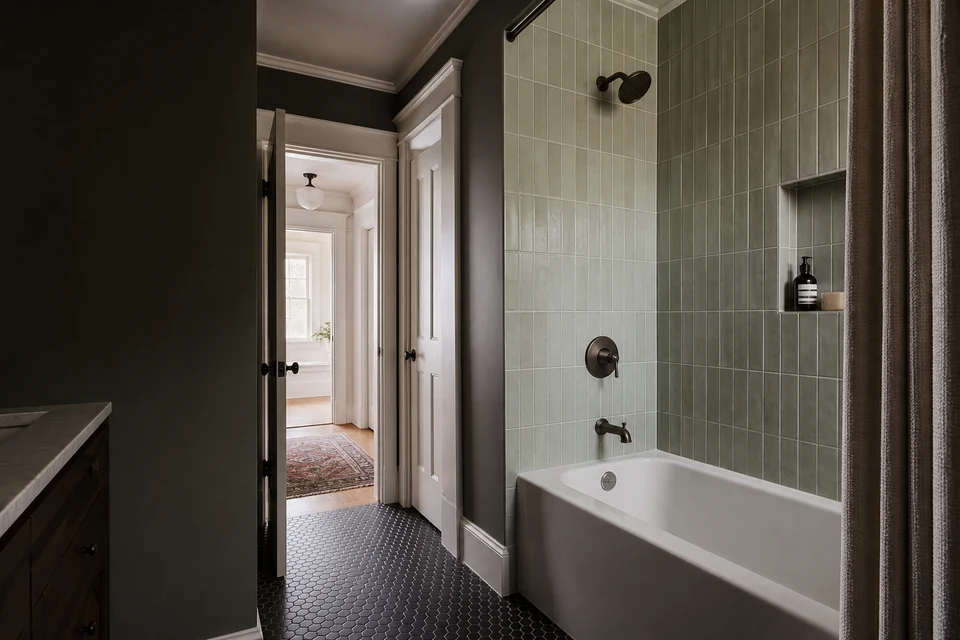
A bathroom is more than separate tiled surfaces. The shower, floor, niches, drain and exposed edges need to work together before the first tile is set.
Plan this projectArchitectural concept
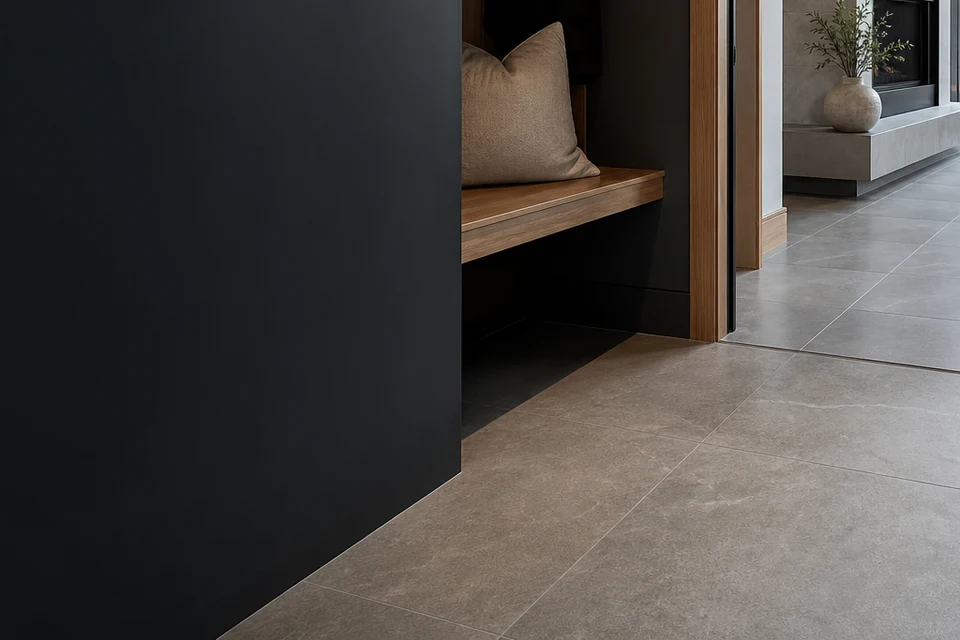
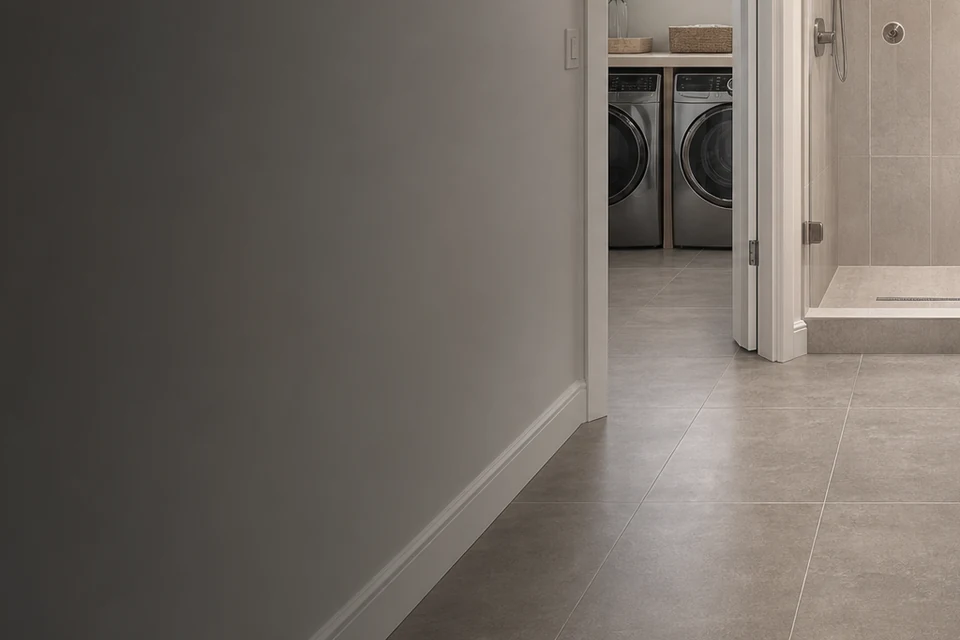
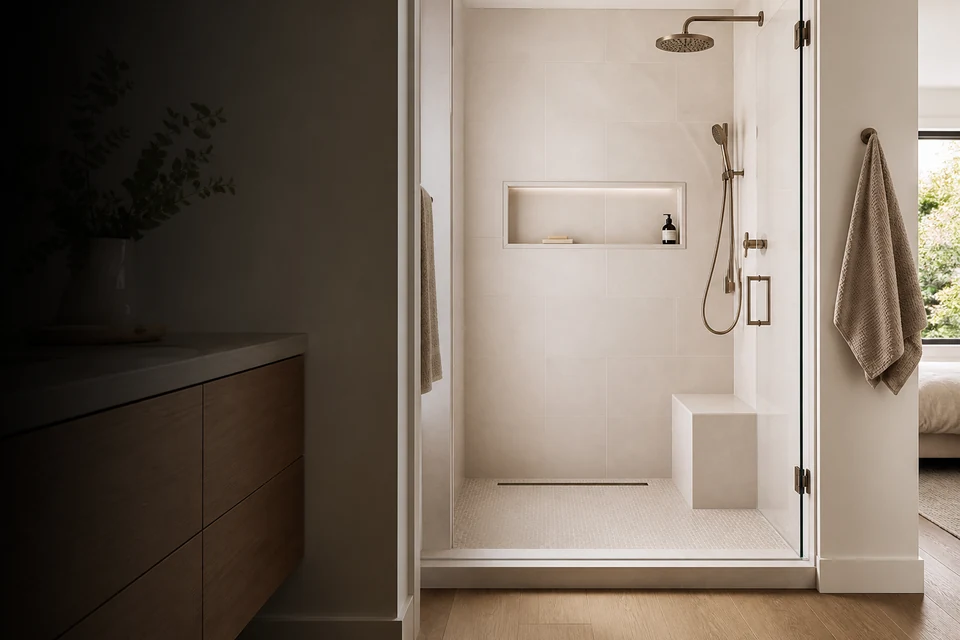
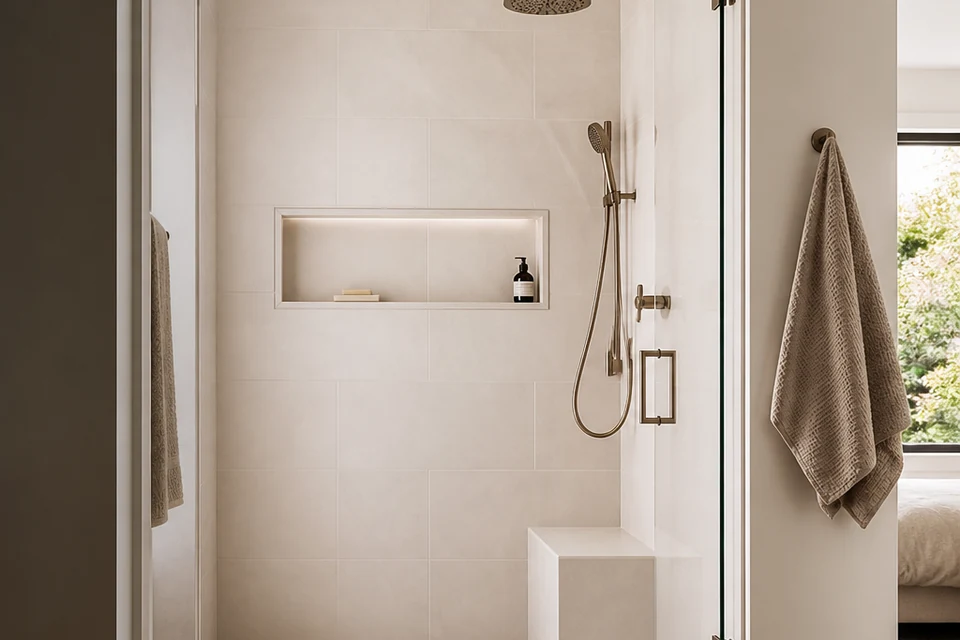
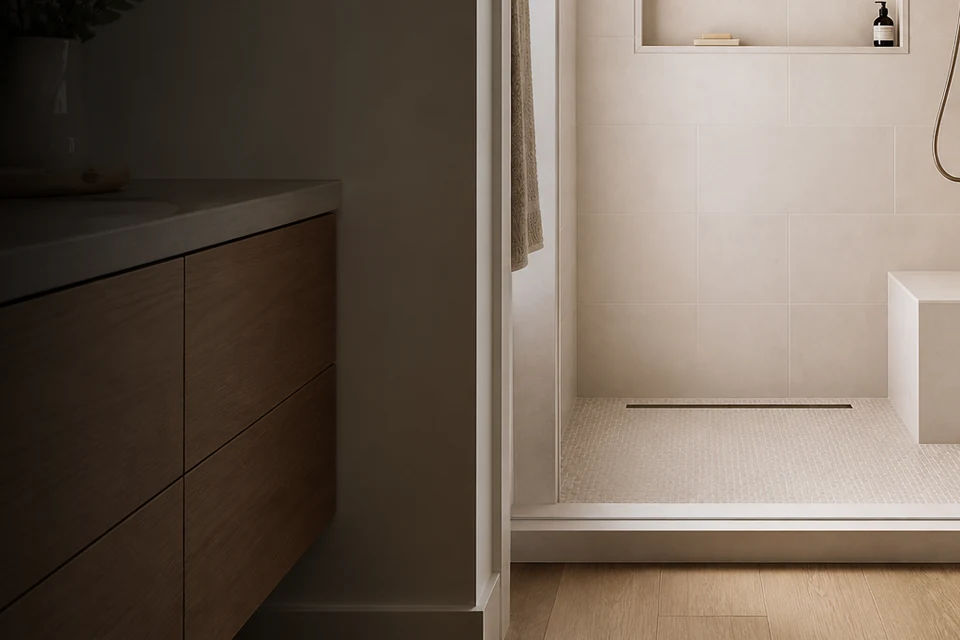
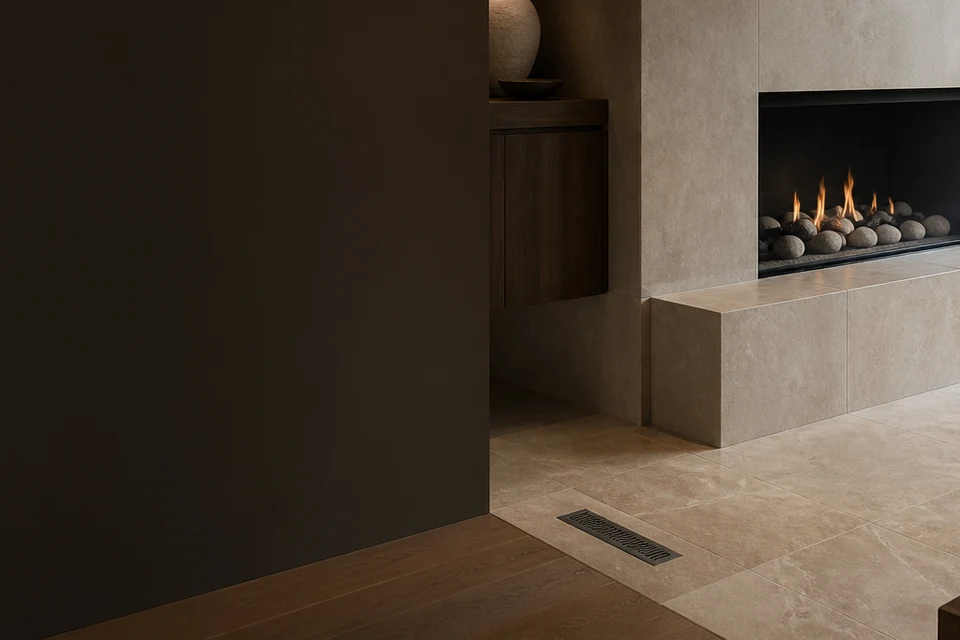
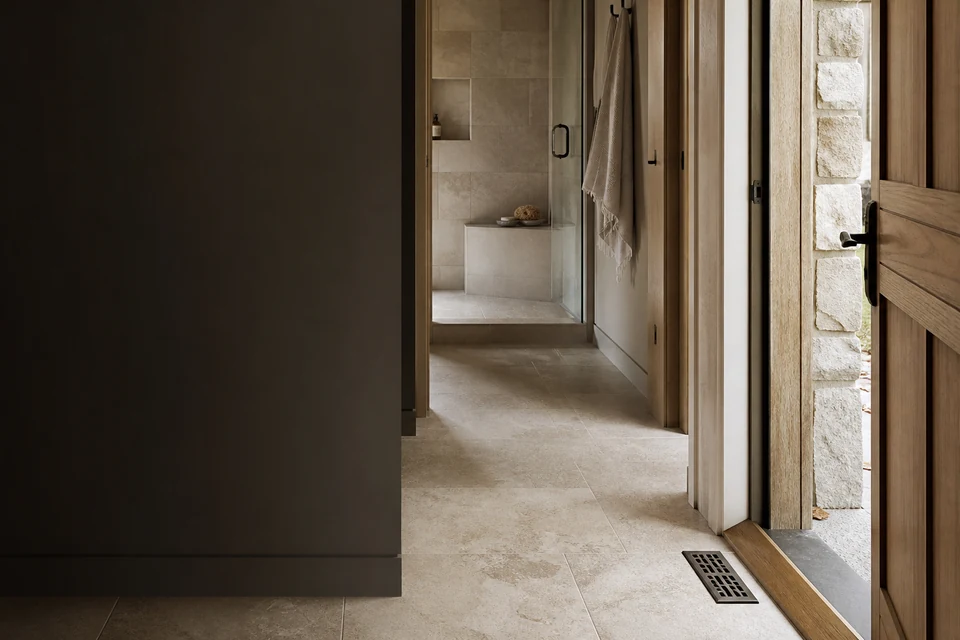
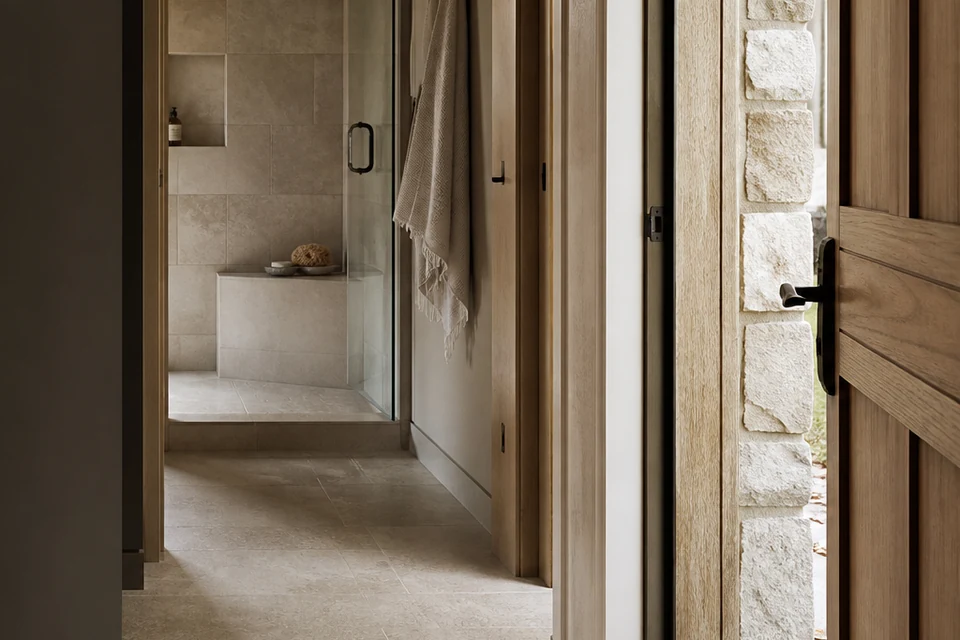
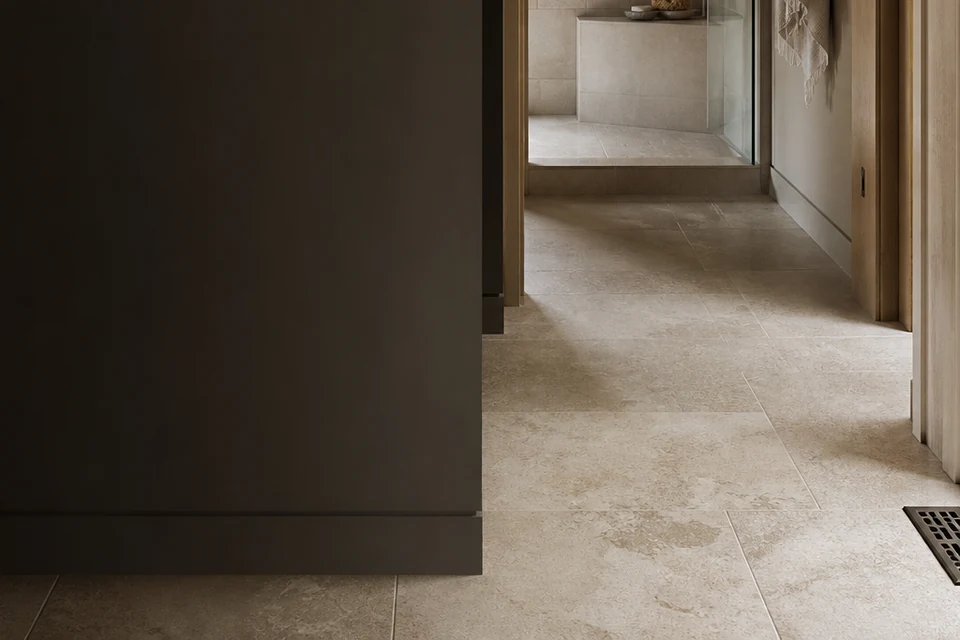
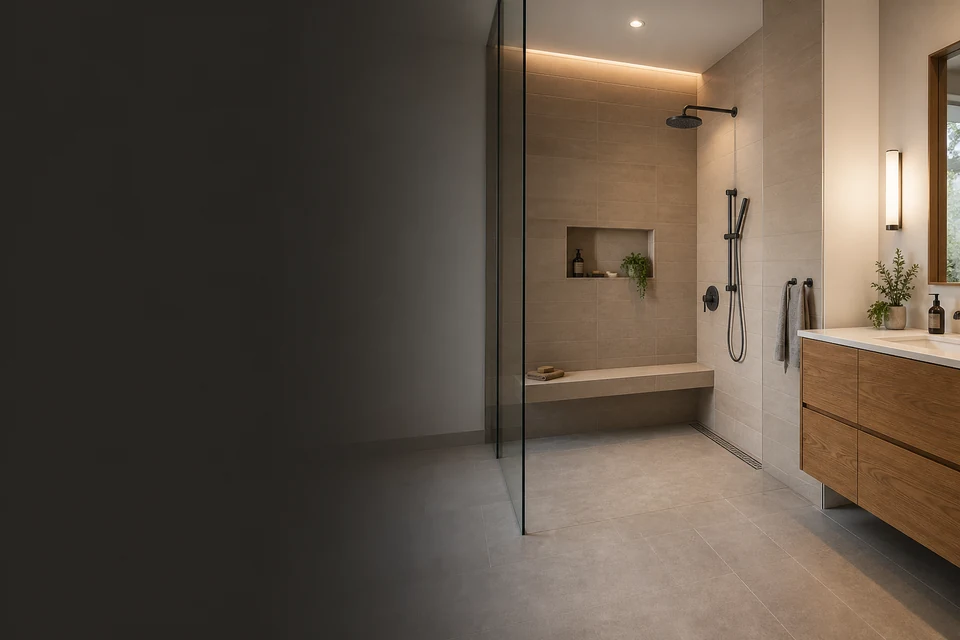
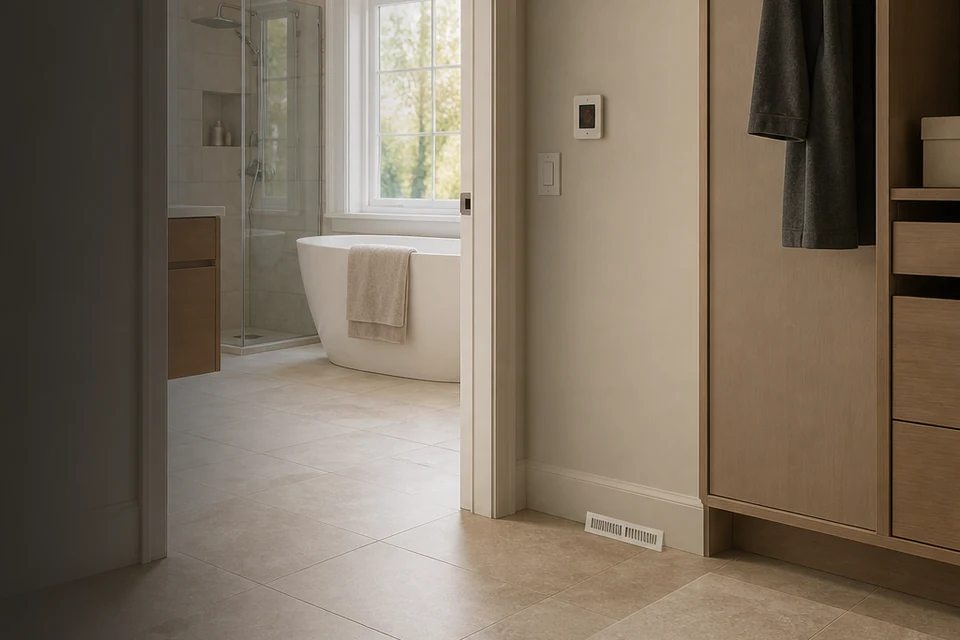
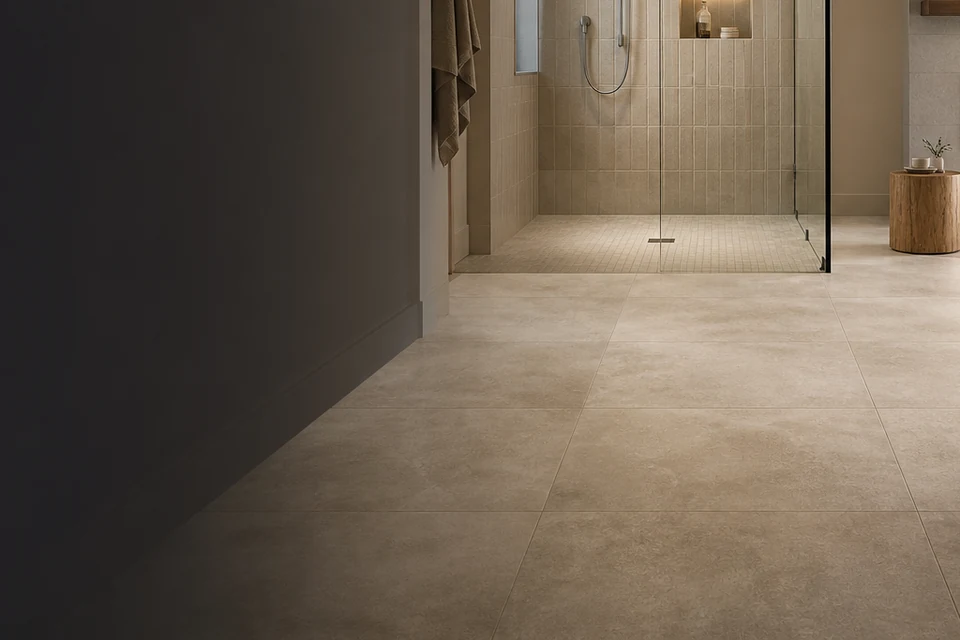
Move across the overview, then open the matching close views to compare joints, changes of plane, drains, edges and transitions.

Move to inspect
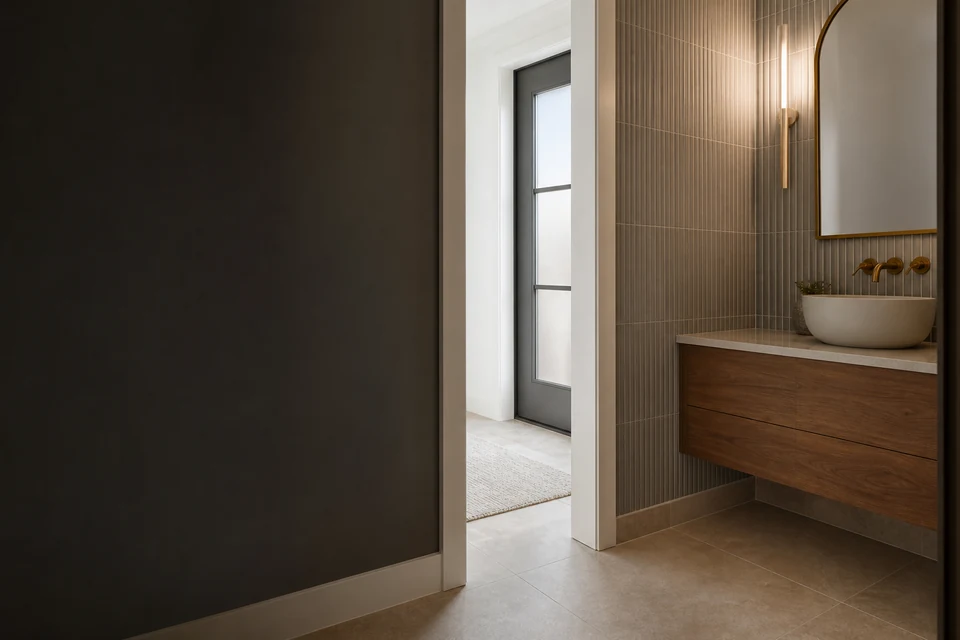
Architectural concept: Tile Installation in Toronto and the GTA project overview
Open full detailCompare a few common directions before you confirm the material and room measurements.
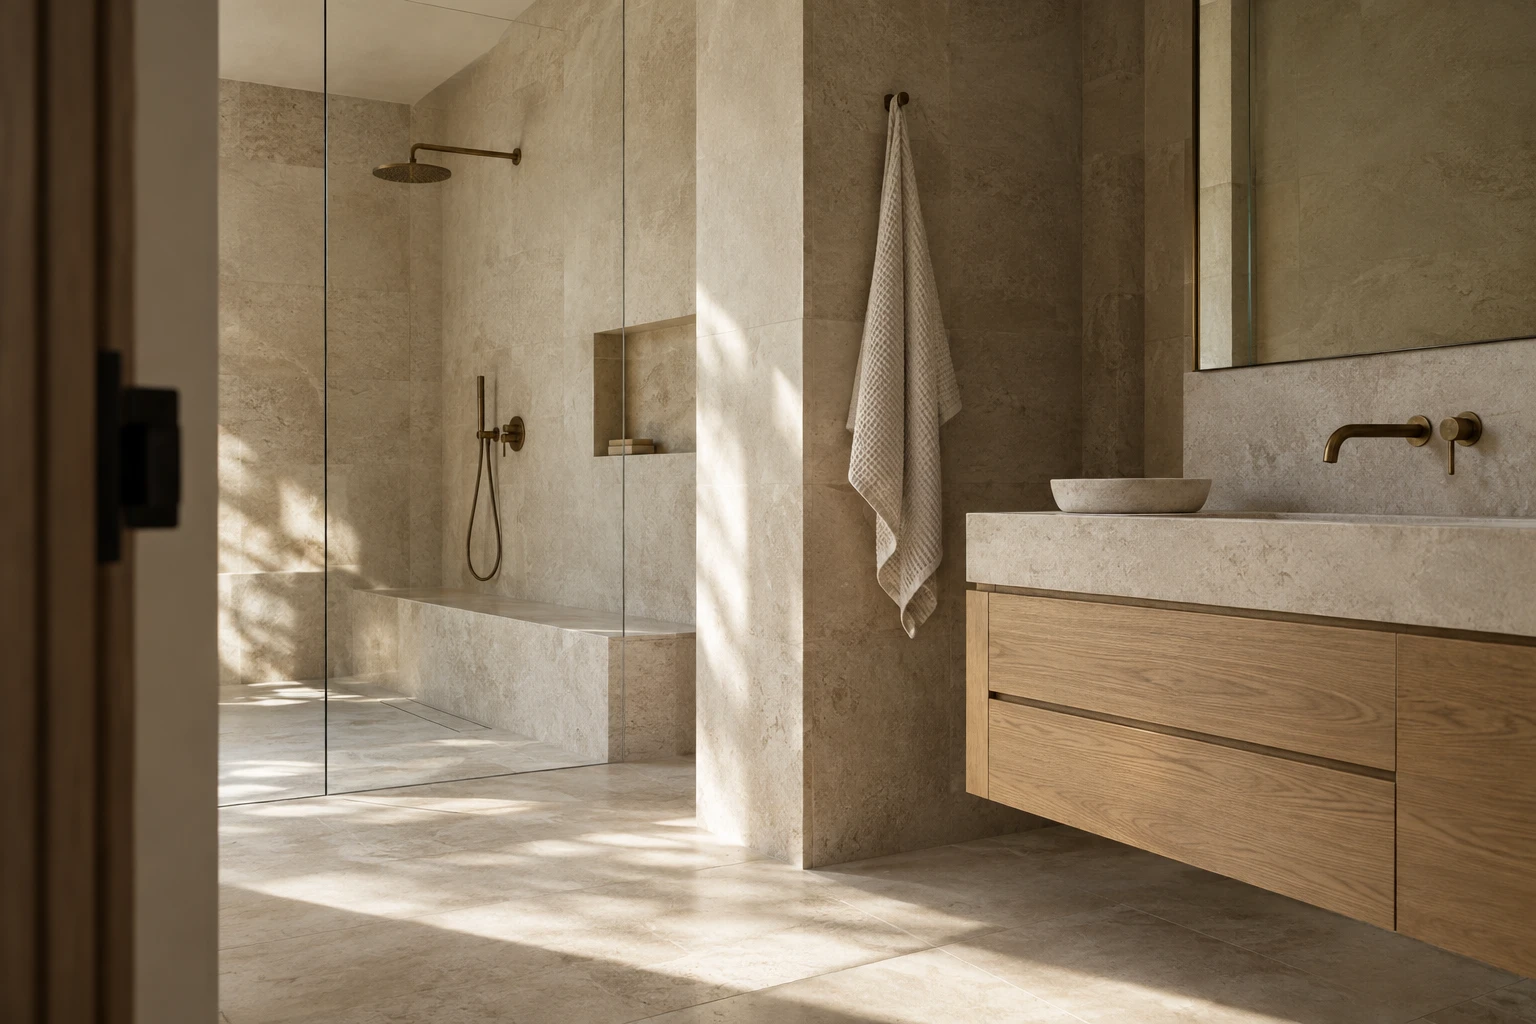
Warm limestone tile, warm white grout and a stacked layout.
Colours on screen are approximate; confirm them against the chosen tile and grout samples. Layouts use compatible tile shapes. Final cuts and joint positions depend on the room measurements and chosen material.
A useful estimate starts before a number
Photos, measurements and the selected tile help identify surface preparation, layout, edges, access and where another trade belongs. The estimate can then state what is included and what still needs to be confirmed.
See how the process worksProject locations
Each location page adds municipal, access and planning questions tied to that community. The full directory covers the wider service area.
Each step answers a different question, so you can decide with the full scope in front of you.
Share photos, measurements, the selected tile if known and the parts of the room you want tiled.
Review surface preparation, demolition, layout, edges, transitions and any responsibilities involving other trades.
Confirm tile size, pattern, grout, drains, niches and where cuts or exposed edges will land.
Read the included work and next steps before deciding when to schedule the installation.
A summary of recent feedback. Open the profile to read every review in its original context.
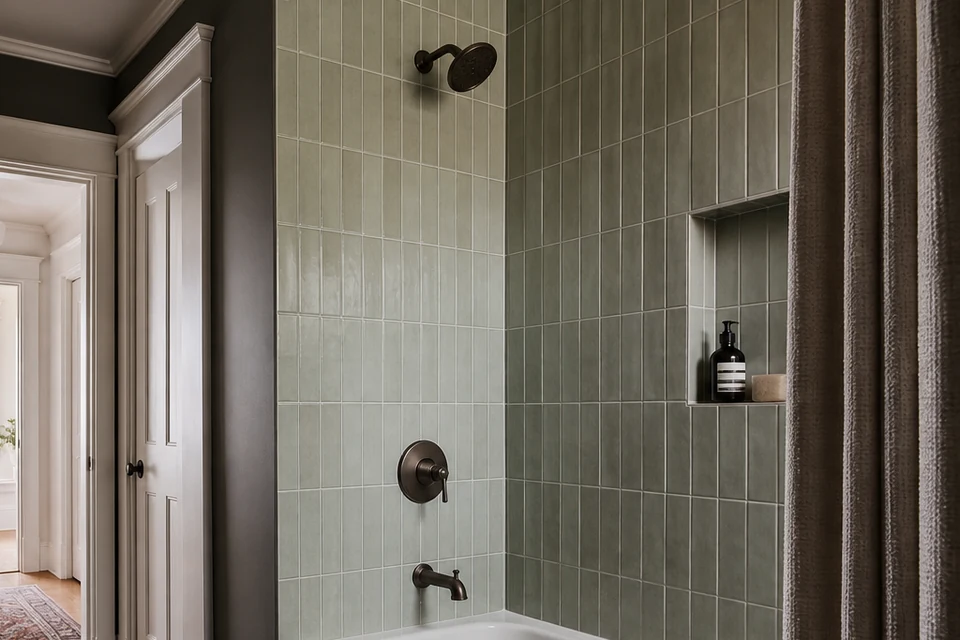
A recent customer said the team helped plan and carry out the shower portion of an older-home bathroom remodel.
Read the original reviews on GoogleCustomers mention a helpful, friendly crew.
Read the original reviews on GoogleRecent feedback also mentions punctuality, staying within the estimate and finishing on time.
Read the original reviews on GoogleReview theme 1 of 3
These answers help you gather the room and material details that affect scope.
Send the project address, clear room photos, measurements, the selected tile if known and a list of every surface you want included. Show doorways, drains, niches, cabinets, stairs and adjoining finishes. Identify planned plumbing, electrical, framing or demolition separately.
It gives an initial estimate from the choices and measurements entered. Existing conditions, access, demolition, preparation, exact material and connected trade work still need to be checked before the scope and final price are confirmed.
Mallet Tile plans residential and selected commercial tile work across Burlington, Oakville, Toronto, Newmarket and surrounding Ontario communities. Use the service-area finder for the project address, then send access and building details with the room information.
No. If the tile is selected, send its exact dimensions and product details. If not, share the room, intended surface and a few material directions. The tile size, finish and pattern still need to be confirmed before layout and preparation are finalized.
Those responsibilities depend on the project. The written estimate should separate tile work from plumbing, electrical, framing, cabinetry, glass, appliance or municipal approval work so scheduling and ownership are clear.
Continue with purpose
Share the material, measurements and project details. We will begin with a written estimate.
office@mallettile.ca