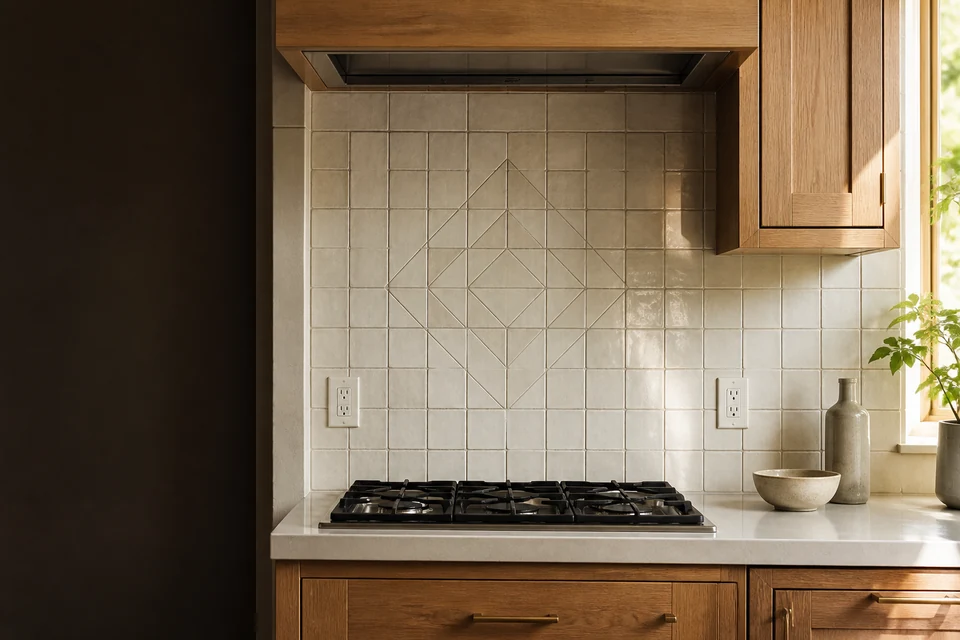
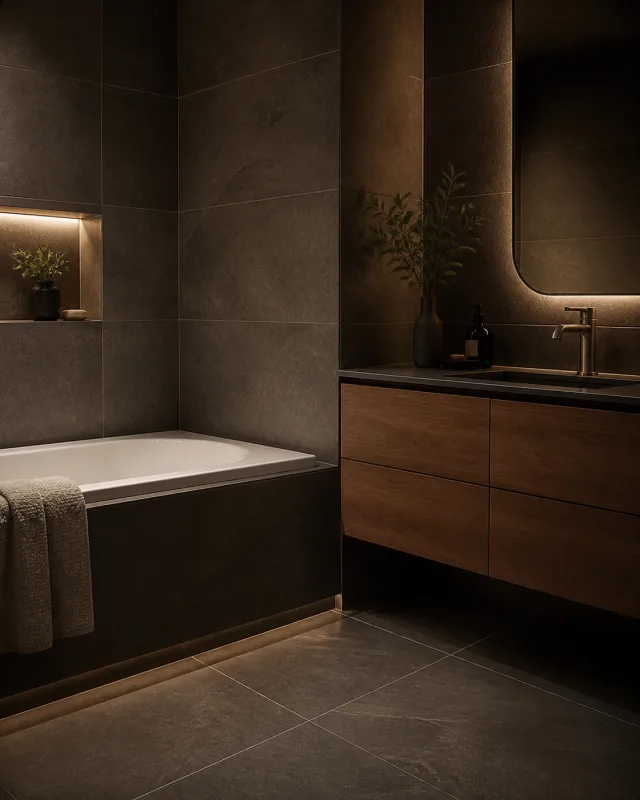
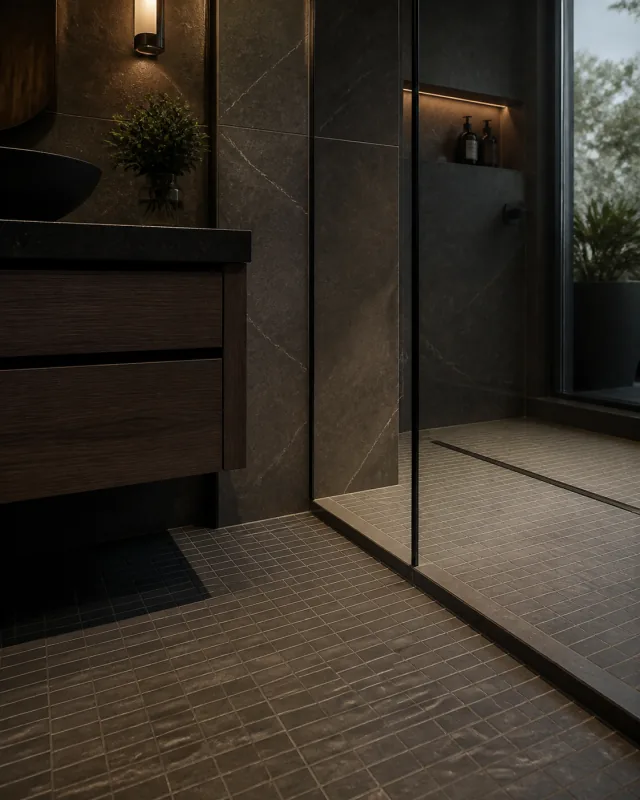
Begin with the appliance and applicable requirements
Identify the exact fireplace or insert and keep its current installation information with the project. Required clearances, facing limits and acceptable materials vary by appliance. The manufacturer, applicable code and authority having jurisdiction determine those conditions; an inspiration image does not.
Gas, electrical, venting and appliance work are separate scopes for appropriately qualified trades. Their final openings, access panels, controls and inspection needs should be confirmed before the tile or slab dimensions are promised. If the existing fireplace is being altered, resolve that work before treating the surround as a finish-only project.
Assess the base and surrounding structure
The facing material needs a suitable, stable base compatible with the fireplace conditions and selected installation system. Existing paint, drywall, old tile or stone may not be an acceptable starting surface simply because it appears solid. The condition and construction should be assessed rather than covered without review.
Large slabs and panels add handling, access and support questions. Confirm the route through doors and stairs, cutting space and how pieces will be held while installed. Structural or framing changes belong with an appropriate building professional or trade, and any required municipal review should be handled separately.
Set the focal line before choosing joint locations
The firebox opening, mantel, television, shelving and ceiling create a set of competing centre lines. Decide which one leads. In some rooms the firebox is the clear centre; in others the full wall or cabinetry arrangement provides the stronger reference.
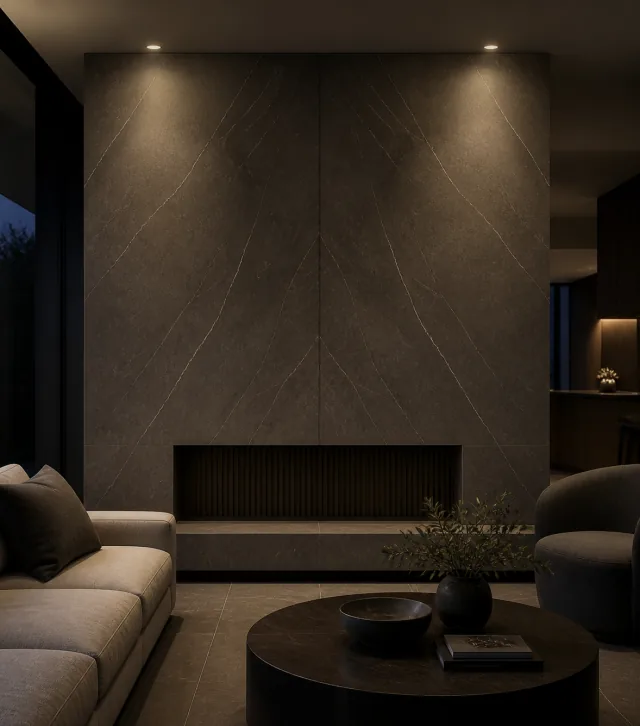
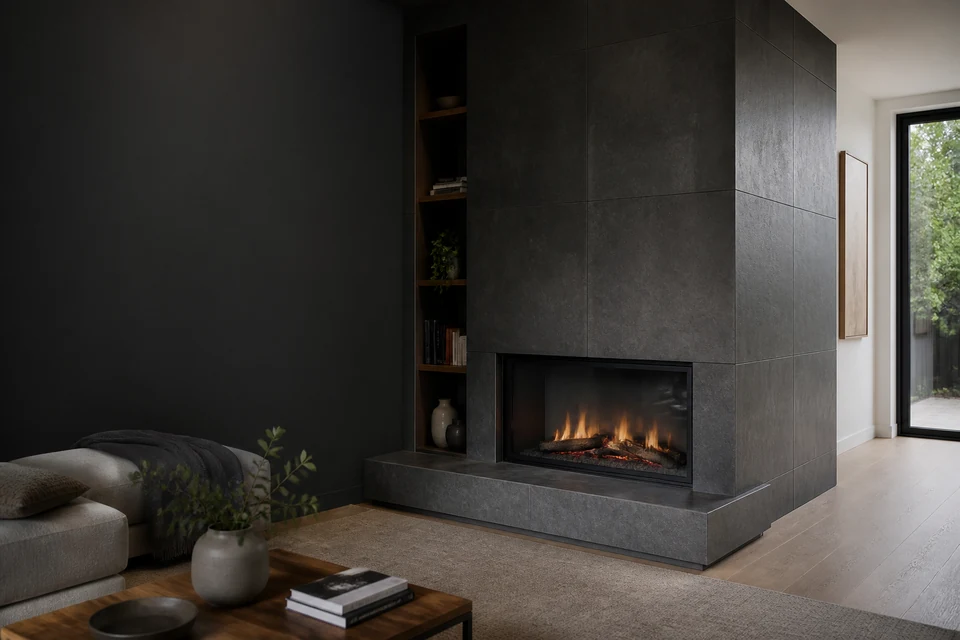
Draw the complete elevation, including the hearth and every return. For tile, test where full pieces and cuts land around the opening. For veined stone or porcelain panels, review how the pattern continues across seams and corners. Bookmatching or vein continuation should be confirmed from the actual pieces rather than assumed from a small sample.
Choose stone, porcelain or tile for the real conditions
Natural stone offers variation that should be reviewed across the selected pieces. It may have specific sealing and care needs. Porcelain panels can provide a broad surface with fewer joints, but require suitable fabrication, access and edge planning. Conventional tile provides more joint lines and can adapt to some layouts with smaller pieces.
Confirm that the product and installation materials are approved for the location and expected temperature conditions. Samples should be viewed vertically under the room's lighting. Polished finishes reflect windows and fixtures, while textured or honed surfaces respond differently to soot, dust and cleaning.
Resolve the hearth and floor transition
A raised hearth, flush hearth and finish-only surround create different floor details. The hearth dimensions and material must satisfy the fireplace requirements that apply. It should also meet adjacent flooring without an exposed weak edge or an avoidable trip point.
If a flush hearth meets hardwood, plan the finished heights and movement between materials before either surface is installed. Removing an existing hearth may reveal base or framing conditions that were not visible during the initial visit. The estimate should explain how concealed findings will be reviewed.
Finish edges and corners deliberately
Outside corners, wall ends, firebox returns and mantel intersections show how the installation was planned. Options may include a finished stone edge, fabricated porcelain return, compatible trim or tile designed to finish at the edge. Each choice changes dimensions and should be selected before layout.
Profiles, grout and flexible joints should be coordinated in colour without hiding their different jobs. Changes of plane and material transitions need treatment compatible with the selected system. Access panels and service clearances must remain usable rather than being lost behind a continuous-looking surface.
Review the complete wall before fabrication or setting
Confirm the appliance model, clearances, finished opening, material, hearth, mantel, television or shelving, power and service access. Then approve a measured elevation with joint or seam locations and edge details.
This sequence keeps the finish aligned with the appliance and room instead of forcing later trade work through completed material. It also makes responsibility clearer when the fireplace contractor, electrician, carpenter, fabricator and tile installer are working on connected parts of the same wall.
Common questions
Questions related to this guide.
Can any tile or stone be used around a fireplace?
No. The specific product, setting materials and base must suit the fireplace location and temperature conditions. Follow the appliance manufacturer and applicable requirements.
Who determines fireplace clearances?
Use the exact appliance manufacturer's instructions together with applicable code and the authority having jurisdiction. The tile layout must remain within those requirements.
Should a fireplace surround be centred on the firebox or the wall?
Either can be appropriate. Compare the firebox, wall, mantel, television, shelving and main room sightline in a full elevation before choosing the leading centre line.