Choose the focal area before the pattern
A kitchen backsplash is usually seen in sections rather than as one uninterrupted wall. The range, hood, sink, open shelf, window and cabinet runs compete for attention. Decide which view should feel most settled, then use the pattern to support it instead of centring every section independently.
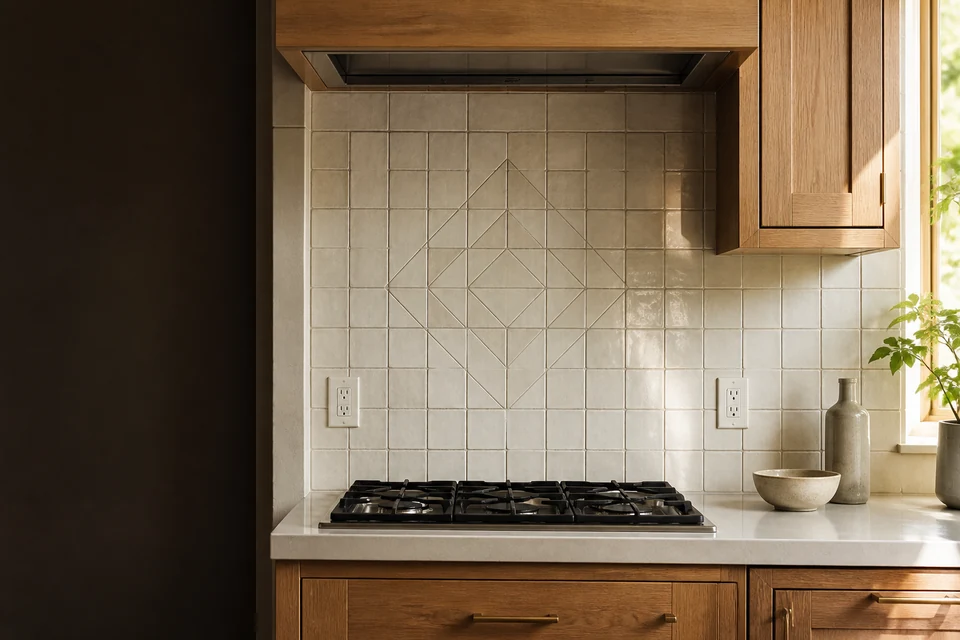
The space behind a range often becomes a focal area, but it is not automatically the correct starting point. A long counter run or a prominent window may matter more in the room. Photographs taken from the main entrances help reveal which alignments will be noticed and which are secondary.
Understand what common patterns change
A straight stack emphasizes clean horizontal and vertical lines. An offset layout softens that grid but changes where joints meet corners and openings. Herringbone or chevron arrangements create a strong direction and more perimeter cuts. Mosaics add joint density and can follow curves or small areas, but sheet boundaries and material variation need attention.
Pattern names alone are not enough. Tile proportions, edge variation, surface movement and grout contrast can make the same arrangement read very differently. Review a representative sample in the room lighting, and include the intended joint width when judging scale.
- Straight stack: clear grid, with alignment made more visible.
- Offset: a quieter rhythm that still needs balanced end cuts.
- Herringbone or chevron: directional focal pattern with more cut edges.
- Mosaic sheets: flexible scale, with seams and repeating sheets to monitor.
Plan outlets, corners and cabinet edges together
Outlets and switches interrupt a backsplash at eye level. Their positions can produce small fragments or split a patterned focal line. Changes to electrical boxes or wiring are separate electrical work and may require a qualified contractor, but the finished plate positions still need to be considered in the tile layout.
Inside corners, outside returns and the ends of cabinet runs also need a clear finish. Decide whether the tile stops at a cabinet edge, continues to a doorway or wraps onto another wall. Confirm available factory edges, trim profiles or mitred conditions before ordering, because not every material offers the same options.
Use material variation deliberately
Handmade-look ceramic, natural stone and some printed products can vary noticeably between pieces. That variation may be the reason the material was chosen, but it should be distributed across the wall rather than discovered one box at a time. Inspect representative pieces from the delivered material before setting begins.
Highly directional veining or a repeating print changes how pieces should be mixed and rotated. Natural stone may also have care and sealing needs that differ from porcelain or ceramic. Product information should guide those decisions; appearance alone does not establish suitability behind a range or around a sink.
Approve the starting line with real dimensions
Cabinets and counters are not always perfectly parallel, and nominal tile sizes can differ from measured pieces. A proposed starting line should be tested against the full height, important corners, outlets and focal area. This is where narrow cuts or drifting joints are easiest to catch.
The aim is a balanced backsplash, not identical cuts at every boundary. Agree which view takes priority and where minor adjustments can be absorbed. A simple marked elevation can make that hierarchy clear before adhesive and cut material make the decision harder to change.
Common questions
Questions related to this guide.
Which backsplash pattern makes a kitchen look larger?
No pattern guarantees that result. Lower grout contrast, longer horizontal lines and fewer visual interruptions can make a wall feel calmer, while lighting, cabinet colour and the amount of visible backsplash also shape the room.
Should a backsplash be centred on the range or the wall?
Choose the main focal view after considering the range, hood, sink, window, cabinet edges and room entrances. Centring one feature can create poor cuts elsewhere, so the full elevation should be compared first.
Can outlets be moved to improve the tile layout?
That is an electrical decision, not a tile adjustment. A qualified electrical contractor can advise what is possible and what approvals apply. Confirm any changes before the backsplash layout and schedule are finalized.
How much extra patterned tile should I order?
The amount depends on the pattern, room geometry, tile variation, breakage risk and future matching needs. Use the measured layout and supplier guidance rather than applying one percentage to every backsplash.