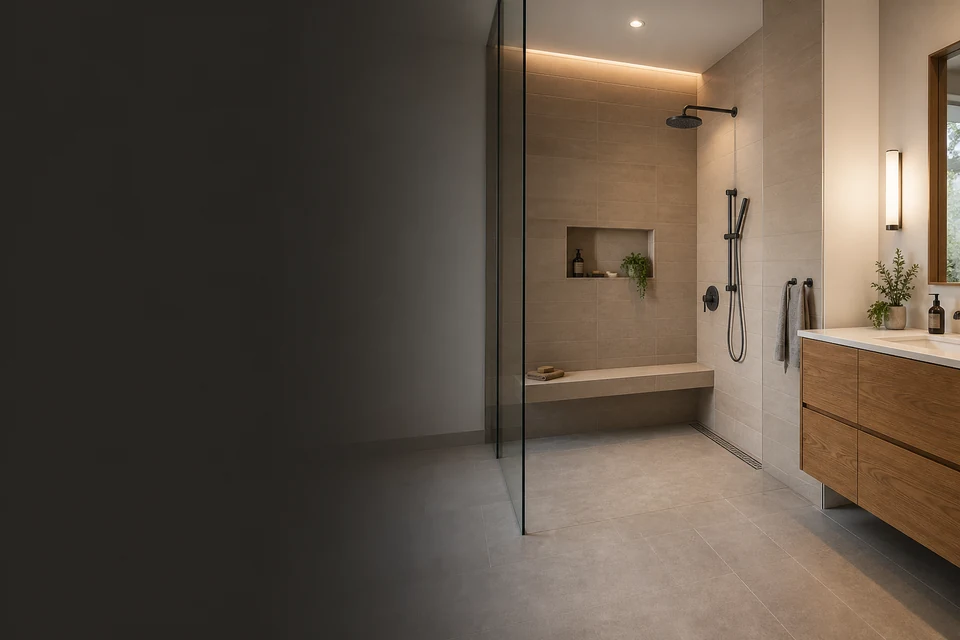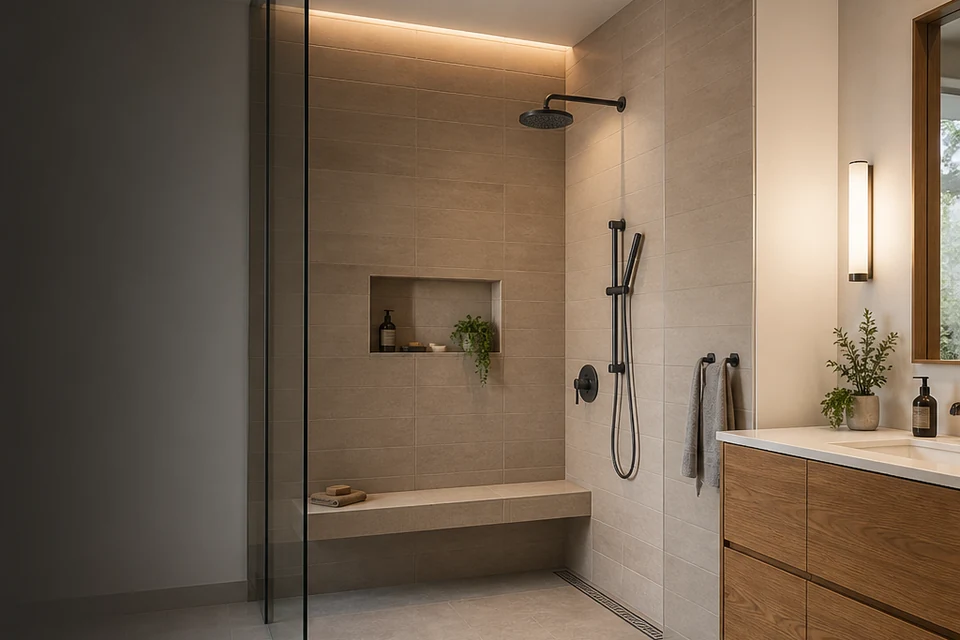
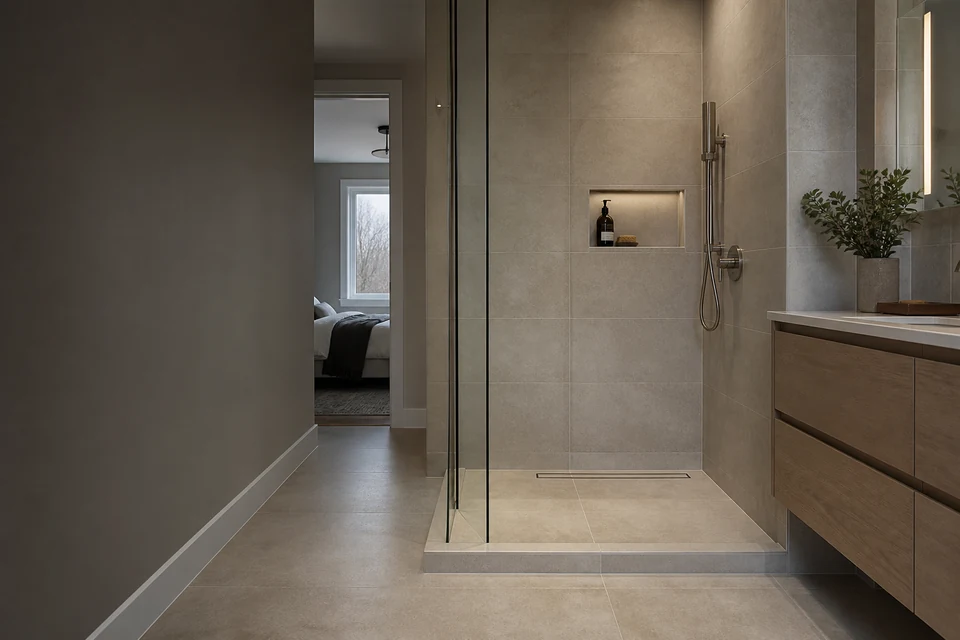
Give the shower one clear visual idea
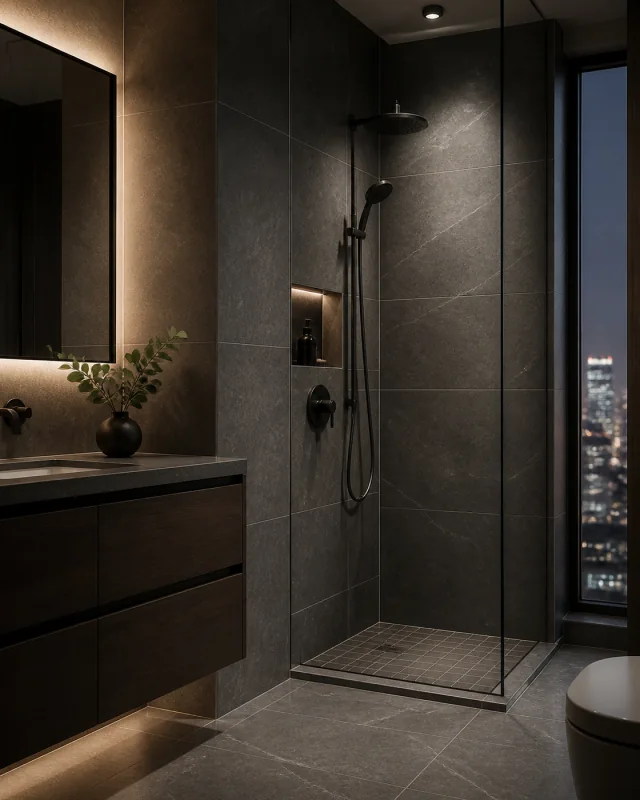
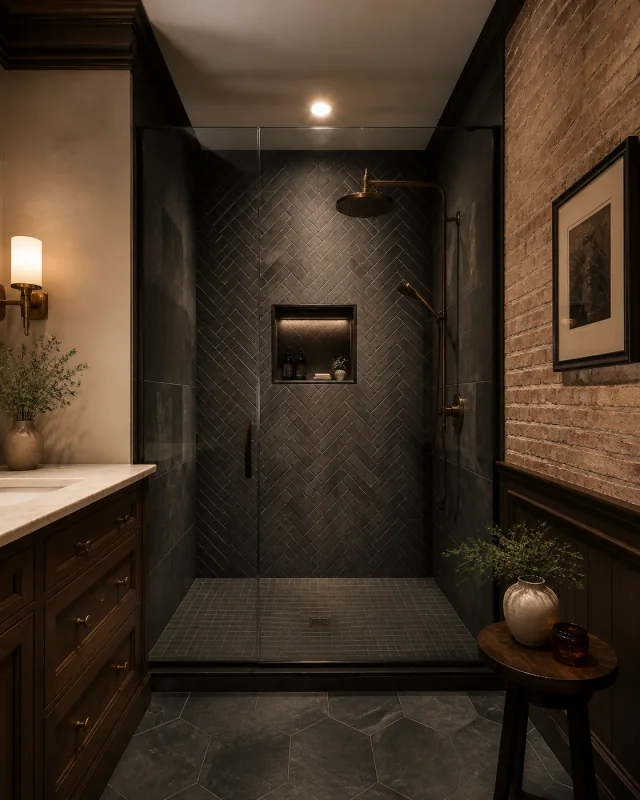
Choose what should lead: a full-height wall, a stone-look field, a shaped floor, a niche or a quiet continuous colour. When every surface changes material, pattern and grout, the shower can feel fragmented. Repeating one tile on more than one surface, or keeping grout tones related, often gives fixtures and glass enough room to belong.
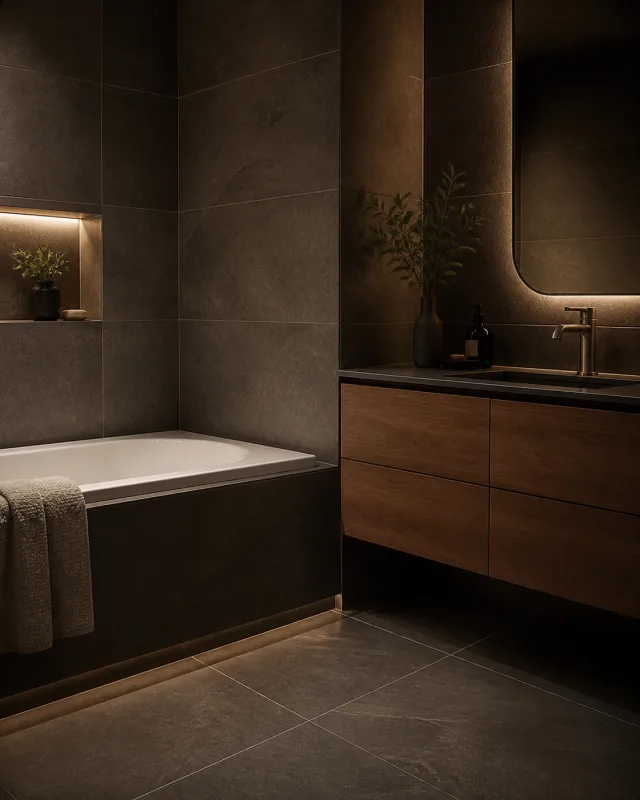
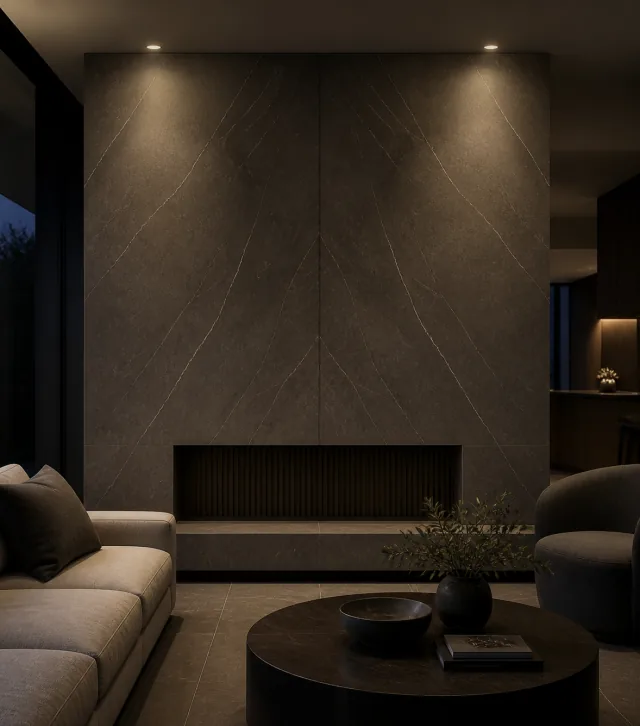
A feature wall works best when it aligns with something real, such as the vanity sightline, tub, window or shower entrance. Before choosing it, stand at the bathroom door and consider what is visible first. A feature hidden behind an open door or broken by several controls may not carry the room as expected.
Let the drain and slope guide the floor choice
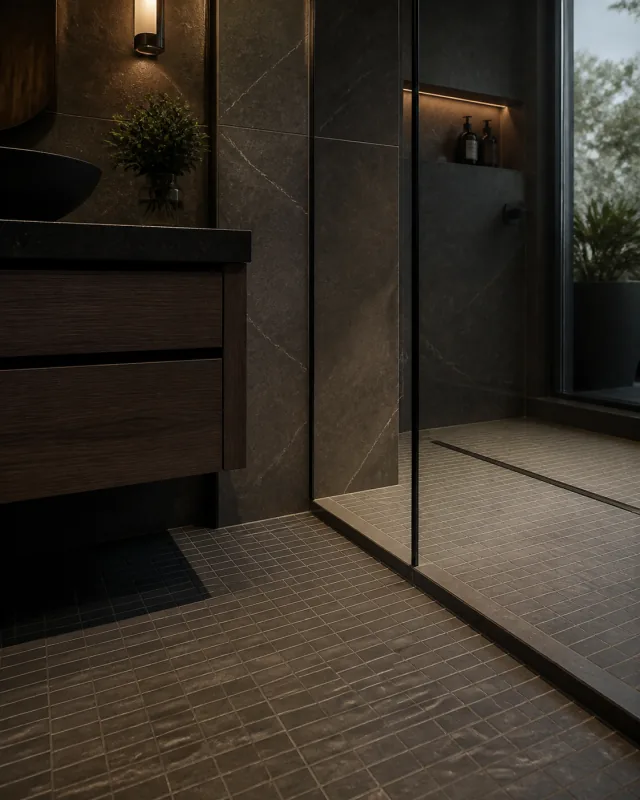
Shower floors must direct water to the drain. The drain type, shower dimensions and slope influence which tile sizes can follow the surface without awkward lipping or cuts. Mosaics are common because their many joints can follow smaller changes in plane, but sheet spacing and individual piece shape still need inspection. Some linear-drain layouts can support larger pieces, depending on the designed slope and product suitability.
Coordinate the drain finish with the tile thickness and floor build-up. A curbless entrance also depends on the surrounding structure, available depth and bathroom-floor transition. Plumbing and structural changes are separate scopes for the appropriate qualified trades, and municipal requirements should be checked where the broader renovation calls for them.
Build the niche around what it needs to hold
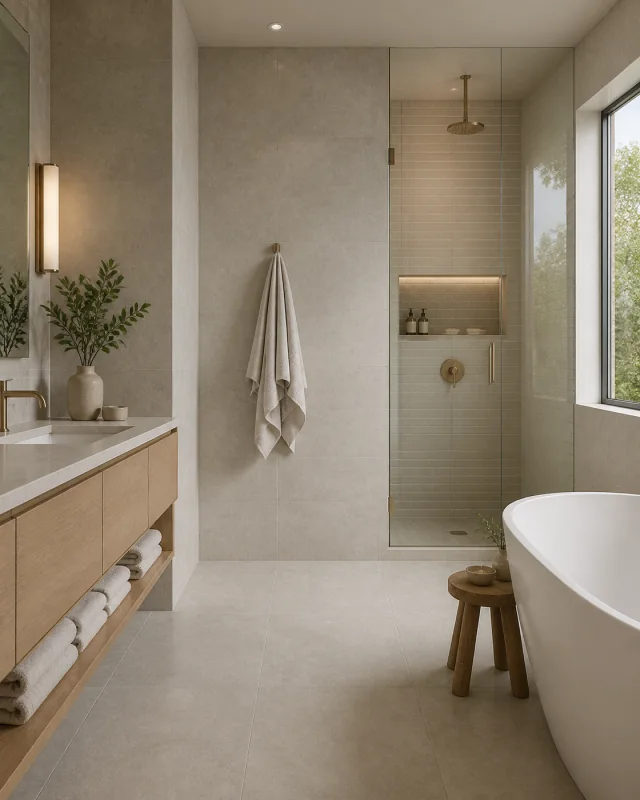
A niche should be sized for the bottles and items that will actually use it, not only for a grout-line photograph. Shelf thickness, tile edges, waterproofing and slope all reduce the clear opening. Decide whether the niche should align with the surrounding joints, sit within one large tile or deliberately contrast.
The wall structure and plumbing location may limit where the niche can go. Do not assume an exterior wall or a wall full of services can accept the planned recess. Its final position should be confirmed after the conditions are understood and before the field tile layout is locked.
Coordinate benches, glass and exposed edges
A bench introduces a seat, front face, corners and intersections with the floor and walls. Decide how the top sheds water, how its front aligns with the tile field and whether a slab, tile or other approved material forms the seat. A floating bench has different support and waterproofing considerations from a built-in bench.
Glass lines and door hardware should be planned with the finished surfaces in mind. The curb or entrance, wall returns and any half-wall need dimensions that work for both tile and glass. Exposed edges may use matching trim, profiles, stone or finished tile edges. Choose the approach early because it changes the layout and the finished opening.
Treat waterproofing and movement as part of the design
Tile and grout are the visible finish, not the complete water-management system. The shower assembly needs a compatible waterproofing approach, correctly detailed penetrations and a connection to the drain. Product instructions and the requirements that apply to the renovation should guide the assembly.
Corners and changes of plane experience movement differently from the middle of a wall. Their treatment should follow the selected system and material guidance. Covering every intersection with a decorative detail is less useful than making the underlying transitions clear before work begins.
Choose details that will still be practical to clean
Deep texture, many tiny joints and ledges can create a strong photograph while adding everyday cleaning. Compare that effort with the household's habits and water conditions. A quieter wall tile with one well-placed detail may be easier to maintain than several competing surfaces.
Keep samples of the actual tile, grout and edge finish together. Review the shower as a measured elevation, including controls, fixtures, niche, bench, drain and glass. The idea is successful when those parts look intentional and the room remains straightforward to use.
Common questions
Questions related to this guide.
Can large tile be used on a shower floor?
Sometimes, but it depends on the drain, designed slope, tile size, finish and shower geometry. Confirm the product's intended use and review the floor layout with the installer before ordering.
Should a shower niche line up with the wall grout joints?
It can, but alignment is only one consideration. Useful interior dimensions, wall structure, plumbing, shelf thickness, slope and edge treatment also matter. A measured elevation helps balance them.
Who handles plumbing or electrical changes during a shower renovation?
Those are separate scopes for appropriately qualified trades. Their routes and fixture locations should be resolved before the tile layout and installation schedule are finalized.