Tile installation can transform any space, making it look sleek and well-finished. But, just like baking a cake without a recipe, diving into tiling without knowledge can lead to a kitchen disaster of another sort. The importance of proper tile installation cannot be overstated; it impacts not only the durability but also the aesthetics of your space. Common mistakes can turn a smooth project rocky, affecting everything from the tile’s longevity to its overall look
Inadequate Surface Preparation
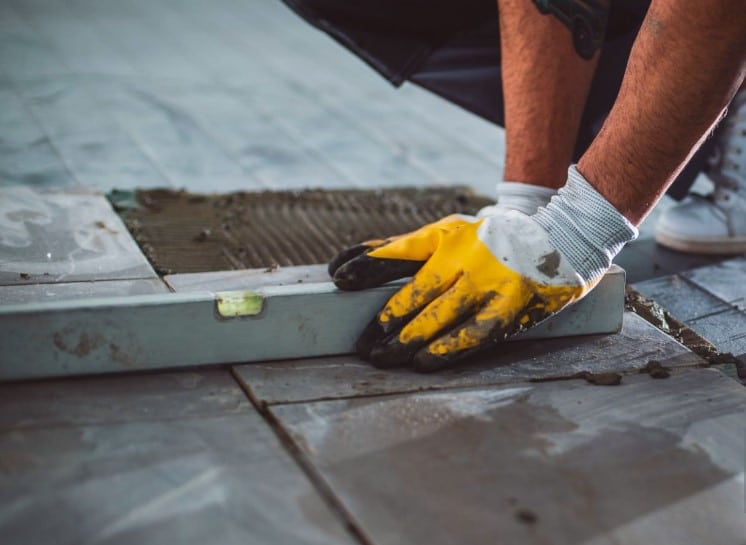
Planning and Preparation
Imagine you’re about to lay down some beautiful new tiles, whether in your kitchen, bathroom, or maybe as a fancy new backsplash. You might think choosing the right color or pattern is the most crucial part, but there’s something else, often overlooked, that plays a huge role in making sure your tiles look fantastic for years to come. This unsung hero is the surface underneath your tiles. Just like you wouldn’t build a house on a shaky foundation, laying tiles on a surface that’s not smooth, clean, and level is asking for trouble. It’s like building your house on sand. At first, everything might look fine, but eventually, the imperfections underneath will cause problems. Tiles might crack, become loose, or the floor might become uneven. So, before you start tiling, taking the time to properly prepare the surface is key. It’s a step that you absolutely shouldn’t skip if you want your tiles to look flawless and last a long time.
Materials and Tools
Choosing the right tools and materials for surface preparation might not be the most glamorous part of tile installation, but it’s certainly one of the most critical. Investing in a quality underlayment can prevent a multitude of sins from surfacing later on.
Common Pitfalls to Avoid
When laying tiles or putting together a piece of furniture like those from IKEA, it’s tempting to jump straight to the fun part and start seeing results. However, skipping the step where you check for small mistakes or flaws can lead to big problems later. Imagine you missed a tiny bump under a tile. At first, everything looks perfect. But as days pass, that one small bump can cause your beautiful tiles to crack or become uneven. Similarly, if you don’t follow the instructions for your IKEA furniture step by step, it might seem fine initially. But soon, you’ll notice it starts to wobble or even fall apart. Taking the time to do things right from the start ensures that your work remains solid and beautiful for a long time, saving you from future headaches and extra work. Just like in life, paying attention to the little things can prevent big issues later on.
Incorrect Adhesive Application
Selecting the Right Adhesive
Not all adhesives are created equal. The type of tile you’re installing, whether it’s on a wall or floor, indoors or outside, greatly influences the adhesive you should use. It’s like choosing the right type of flour for baking bread or pastries; the result depends on it.
Application Techniques
Understanding the thin-set method can greatly improve the bond between your tile installation and the surface preparation. Picture spreading peanut butter on bread: you want even coverage without empty spots or globs.
Common Pitfalls to Avoid
In the same way that Goldilocks searched for the porridge that was just the right temperature, using the correct amount of adhesive is crucial for any project. Imagine you’re putting tiles on a wall. If you use too much glue, it’s a mess, and if you use too little, the tiles won’t stick properly. It’s a bit like trying to glue two pieces of paper together – if you let the glue dry too much before pressing them together, they won’t stick. This is exactly what happens if you let adhesive “skin over” or start to dry before you place the tile. You want that bond between the tile and the wall to be strong, not weak because the glue dried out. So finding that “just right” amount and timing with your adhesive is key to making sure everything stays where it should, just like Goldilocks wanted her porridge – not too hot, not too cold, but just right.
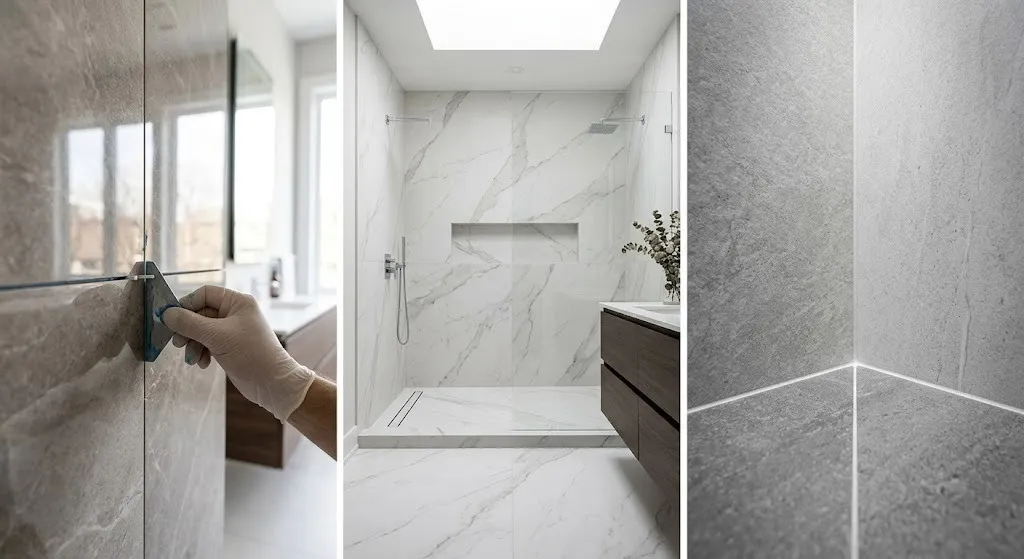
Misaligned Tiles and Inconsistent Grout Lines
Tools and Techniques for Alignment
Ever seen a photo on the wall that’s just slightly off? It becomes the only thing you can look at. Misaligned tiles are the same. Utilizing spacers and leveling systems is essential for avoiding this.
Grouting Challenges
Grout color and application inconsistencies can turn a beautifully laid tile job into an eyesore. The right grout and application technique can make or break the look of your installed tiles.
Common Pitfalls to Avoid
Underestimating the value of symmetry is like ignoring the rhythm in music; it might not always be front and center, but its absence is deeply felt.
Neglecting to plan your tile layout is akin to going on a road trip without a map; you might reach your destination eventually, but expect some unnecessary detours.
Ignoring Expansion Joints
Understanding Expansion Joints
The science behind tile expansion might sound boring, but it’s as crucial as understanding why your car needs oil. Without proper expansion joints, tiles can press against each other and crack.
Installation Tips
Strategically placing expansion joints can be as crucial as the placement of pieces in a game of Tetris. Each piece needs its space to fit perfectly into the bigger picture.
Common Pitfalls to Avoid
Skipping expansion joints to save time is like skipping sunscreen on a sunny day; you might not notice the effects immediately, but they’re coming.
Incorrect placement and sizing of expansion joints can lead to tiles popping up like daisies in spring.
Lacking Proper Waterproofing in Wet Areas
The Importance of Waterproofing
Water damage under tiles can cause more than just aesthetic issues; it can lead to structural damage. Waterproofing is not just a precaution; it’s a necessity.
Waterproofing Techniques and Materials
Choosing between membranes, sealers, and backer boards can feel overwhelming, but it’s similar to selecting the right protective gear for a sport: each serves its purpose to keep moisture at bay.
Common Pitfalls to Avoid
Inadequate or excessive waterproofing is like dressing for the weather; too little and you’re cold, too much and you’re uncomfortably hot.
Overlooking corners and edges in waterproofing is like forgetting to seal the edges of a painted room. No matter how well you paint the center, the unfinished edges will ruin the look.
Conclusion
Avoiding common tile installation errors boils down to patience, precision, and preparation. Rushing through or cutting corners can result in a less-than-satisfactory outcome. Like most things worth doing, tile installation is best approached with care and attention to detail.
Frequently Asked Questions
Q: Can I correct misaligned tiles after the adhesive has dried?
A: While minor adjustments might be possible before the adhesive sets completely, once it’s dried, repositioning tiles can be challenging and often requires starting over.
Q: How long should I wait before grouting tiles?
A: It’s generally recommended to wait at least 24 hours after the tiles have been laid down and the adhesive has been set. This ensures a strong bond and makes grouting more effective.
Q: Is a waterproof membrane necessary for all bathroom tile installations?
A: While not all areas require waterproofing, any space with direct water exposure (such as showers) needs a waterproof membrane to prevent water damage.
Q: How do I choose the right type of grout for my tile?
A: The choice of grout depends on the type of tiles, the area of installation (wet or dry), and personal preference regarding maintenance and aesthetics.
Q: Can tile installation be a DIY project, or should I hire a professional?
A: DIY tile installation is certainly possible with the right preparation and tools. However, for complex projects or areas with high moisture, consulting a professional is advisable to ensure longevity and proper waterproofing.
Remember, tile installation isn’t just about putting pieces together; it’s an art that requires thought, patience, and a bit of elbow grease. With these tips in hand, your next tiling project is sure to look like it was done by a seasoned pro!