- 5.0
- Since 2010
- GTA +100Km
We keep projects moving with clear steps, documented scopes, and tidy sites. Expect precision surface prep, certified waterproofing where needed, and clean finishing—plus straightforward communication from start to finish for your tile installation project across Toronto, the GTA & Beyond!
5-Star Reviews
Every project follows a systematic approach designed to deliver durable, beautiful results while keeping your site organized and your timeline predictable.
Share photos and rough dimensions for a same-day ballpark through our cost calculator or call us now for a quick estimate
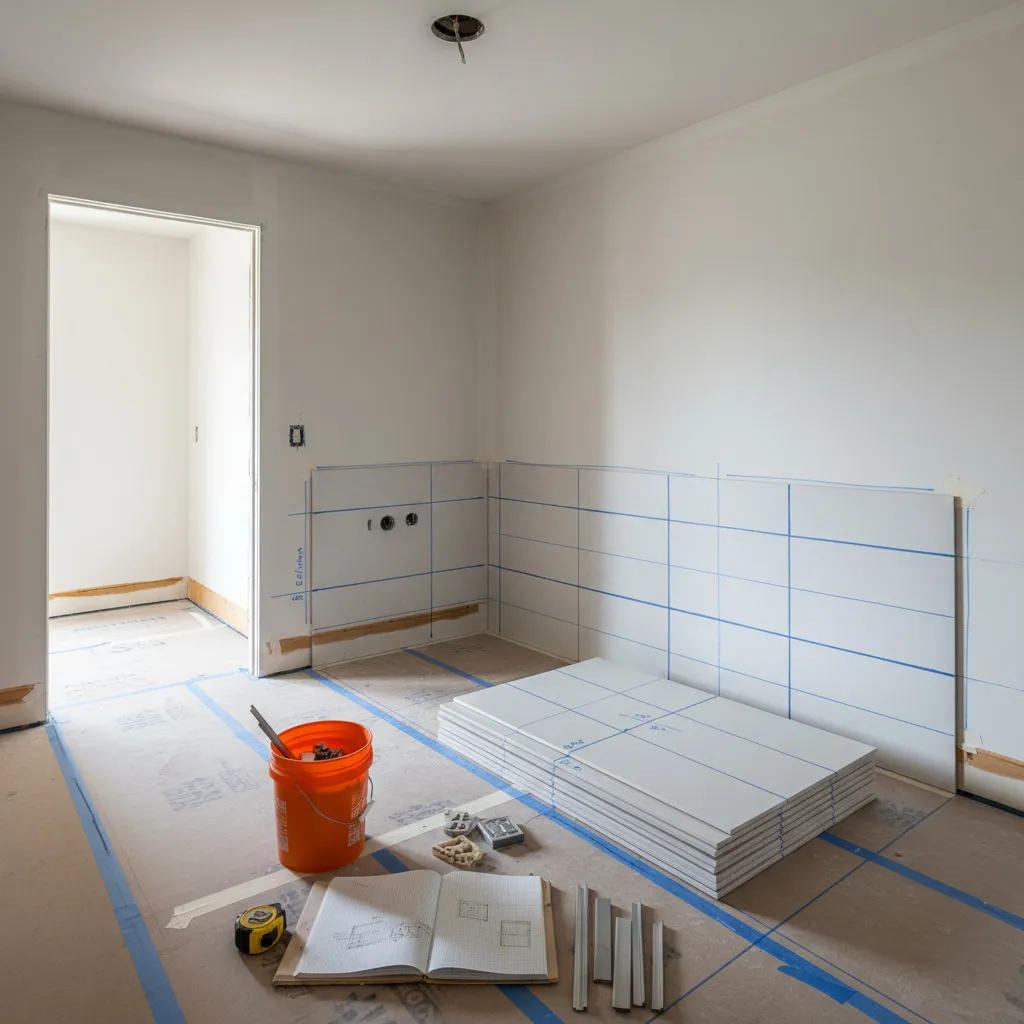
Floor protection, dust control, and zip walls where needed. We correct flatness, moisture-test, and stabilise substrates before tile.
Experienced with Schluter® systems (KERDI/DITRA/DITRA-HEAT). We use 2 mm grout lines and EJ171 movement joints at plane changes.
Daily tidy plus a thorough final clean, care tips, and next-day check-in so you can enjoy the space sooner.
A clear, homeowner-friendly sequence that reduces risk, keeps your home tidy, and delivers durable results in Toronto & the GTA.
Send photos, rough measurements, tile type/size if known, and timing goals. Use our Cost Calculator for a fast ballpark; a site visit confirms the final estimate and schedule.
We verify measurements and map the layout: grout joint alignment, cuts, edges/profiles, transitions, heat zones, and drain positions—so the finish looks intentional.
Dust control and floor protection first. We correct flatness (grind/SLC/dry-pack), moisture-test, then waterproof wet areas (Schluter® KERDI/DITRA where needed) and plan EJ171 movement joints.
Directional trowelling and back-buttering for full coverage, ≤33% offsets on rectangles, 2 mm joints, lippage control, and edges finished with mitres or slim profiles. Silicone at plane changes.
Daily tidy, thorough final clean, care notes, and next-day check-in. You get a clean space ready to use—backed by our lifetime workmanship warranty.
We tailor our process to occupied homes and active job sites—clear expectations, tidy work areas, and documentation that keeps projects on track.
Photos of the space, rough dimensions, tile type/size if known, target start date
Floor protection, dust barriers/air scrubbers, safe tool setup, careful access routes
Clear start/finish times, what happens each day, when areas need to stay off-limits
Respect for quiet hours, pet/child safety plans, daily tidy and trash removal
Drawings, finish schedules, milestones/turnover dates, site rules, delivery/access notes
WSIB clearance, $2M liability insurance, safety compliance; pre-start toolbox talk if needed
Layout map (cuts, joints, profiles, transitions), heat/drain locations, hold-points for sign-off
Photo logs (e.g., waterproofing before cover), area protection, deficiency close-out
Durable tile starts with a flat, stable substrate. We protect surfaces, control dust, and correct flatness before any tile is set—reducing lippage, boosting bond strength, and improving the final look.
We target ≤ 1/8″ variation over 10′ for most floors, and tighten to ≈ 1/16″ over 6′ on large-format tile. The result: consistent joints and fewer shadow lines.
We target ≤ 1/8″ over 10′ (≈ 1/16″ over 6′ in critical areas) so panels sit flush and glossy tiles don’t telegraph waves or dips.
• Survey & mark: Straightedge and laser to map highs/lows at multiple angles
• Correct: Grind high spots; fill lows with SLC/skim or dry-pack as appropriate
• Re-check: Verify tolerances before waterproofing and again before setting tile
• Protect: Floor protection, dust barriers, and tidy end-of-day cleanups throughout
Clear scope means no surprises. Below is what we include, what you’ll supply for finishes, and optional upgrades that many Toronto & GTA clients choose.


Note: We’ll confirm quantities during planning.

Electric underfloor heating systems
Modern drainage solutions for showers
Custom built-in storage and seating
Integrated counters and surfaces
Questions about scope or materials? We’ll walk through everything during the planning phase to ensure complete clarity before work begins.
Prompt starts thanks to a 6-person crew with >100 projects/year capacity. Condo logistics, service elevators, protection, and quiet hours are scheduled as needed. We’ll outline the daily sequence and agree on access windows that fit your household or site.
Dedicated team ensures consistent quality and faster completion
Experienced capacity for reliable scheduling and prompt starts
Service elevator bookings, protection protocols, and building compliance
Quiet hours, access windows, and household coordination
Small choices add up. We prioritize full mortar coverage, flexible movement joints, clean edge profiles, intentional layouts, and straightforward care—so your tile performs and looks great for years.
We use directional trowelling and back-buttering (on large-format) to achieve near full coverage under every tile. This reduces hollow spots, improves bond strength, and yields a more solid underfoot feel. Where needed, we use lippage control systems to keep faces flat with 2 mm joints for clean, consistent lines.
Large-format tiles receive back-buttering on key areas, while smaller formats benefit from consistent trowel direction and proper combing techniques. Every tile is checked for proper seating before adhesive begins its initial set.
Tiles and buildings move. We follow EJ171 principles: soft joints at plane changes and perimeters using colour-matched 100% silicone (not grout). Result: fewer stress cracks and cleaner corners—especially in showers and sun-exposed areas.
We use high-quality, colour-matched silicone that resists mildew and maintains flexibility over time. Clean installation and proper tooling ensure joints look intentional rather than like an afterthought.
Exposed edges are finished with slim metal profiles (e.g., Schluter®) or neat 45° mitres where appropriate. Proper profile installation protects vulnerable tile edges from chipping while maintaining clean, professional lines.
The right profile choice can make the difference between an installation that looks built-in versus added-on.
We map sightlines, centre fields on focal points, and avoid sliver cuts in visible areas. Rectangles use ≤ 33% offsets to minimize warping shadows. Drains, niches, benches, and thresholds are aligned so the installation looks intentional, not improvised.
The goal is an installation that feels intentional and complete—where every cut tile looks like it belongs there, and transitions between materials enhance rather than interrupt the design flow.
Use pH-neutral cleaners, microfibre mops, and avoid harsh acids/solvents. Re-seal natural stone as recommended; refresh silicone at corners over time as needed. We provide simple care notes at handover to keep maintenance painless.
During handover, we’ll demonstrate proper cleaning techniques and explain the simple daily practices that keep your installation looking fresh. Most tile installations will look great for decades with basic care.
Free tile cost calculator with instant estimates based on your specific project requirements.
Waterproofing expertise
Trusted 15+ years
Proven client satisfaction
Safety & Compliance
+ 100km radius from Toronto
We’re happy to walk through how our systematic approach will work for your specific project.
Most standard bathrooms take about a week once prep starts, depending on scope and cure times. Larger spaces or custom features (benches, niches, slab accents) may add days. We provide a day-by-day plan before work begins.
Most standard bathrooms take about a week once prep starts, depending on scope and cure times. Larger spaces or custom features (benches, niches, slab accents) may add days.
Yes. Use our Cost Calculator for a same-day ballpark. A site visit confirms measurements, layout, and the final estimate and schedule when needed.
You purchase the visible finishes (tile, any specialty trims). We handle installation materials: mortars, grout, waterproofing, and standard profiles.
We set up floor protection, plastic barriers, and clean cutting stations. Tools connect to vacuums or air scrubbers. We tidy daily so walkways remain clear and safe.
We install sheet or membrane systems such as Schluter®-KERDI to create a continuous waterproof assembly. Corners get flexible joints (100% silicone) to manage movement and reduce cracking.
Yes. We frequently install Schluter®-DITRA-HEAT. It’s embedded beneath the tile for even warmth. We map heat zones during planning and coordinate electrical connections with your electrician.
We target ≤ 1/8″ over 10′ for most floors and tighten to about 1/16″ over 6′ for large-format tile. This reduces lippage and keeps joints consistent.
Yes. We help with service-elevator bookings, set up hallway protection, and noise windows. We provide WSIB clearance and liability insurance documents as requested by the building.
We include installation materials, waterproofing where required, movement joints, profiles, and daily protection/cleanup. You supply the visible finishes and any custom fixtures (e.g., linear drains). We confirm everything during planning.
If an issue arises due to our installation, we fix it. Manufacturer defects are covered by product warranties
Start with our Cost Calculator to outline budget and timing, or call to discuss your space.