

01 / 04
Surfaces: walls, fireplaces and floors
Each surface brings its own backing, flatness and support requirements. Wet areas carry stricter requirements than a fireplace surround, so the panels, waterproofing and openings are planned together.
Bathrooms and everyday surfaces
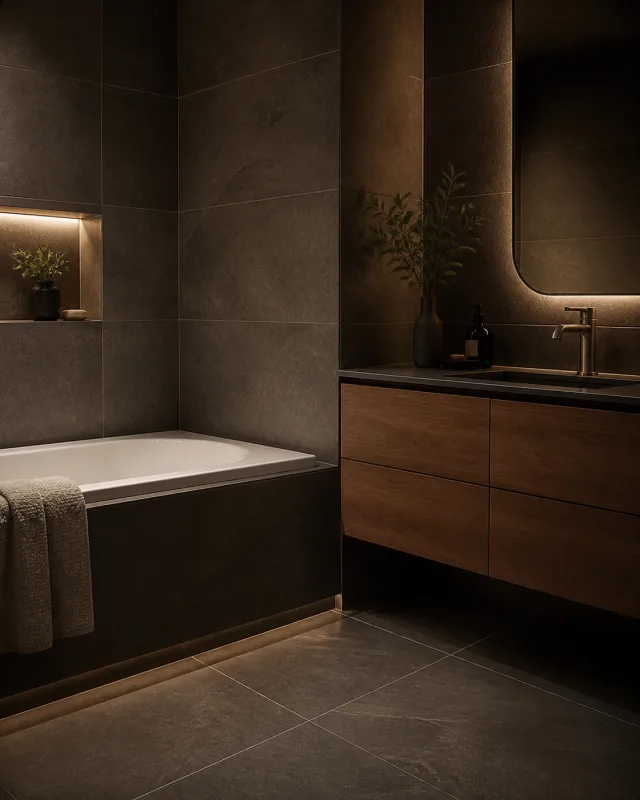
Specialty tile work
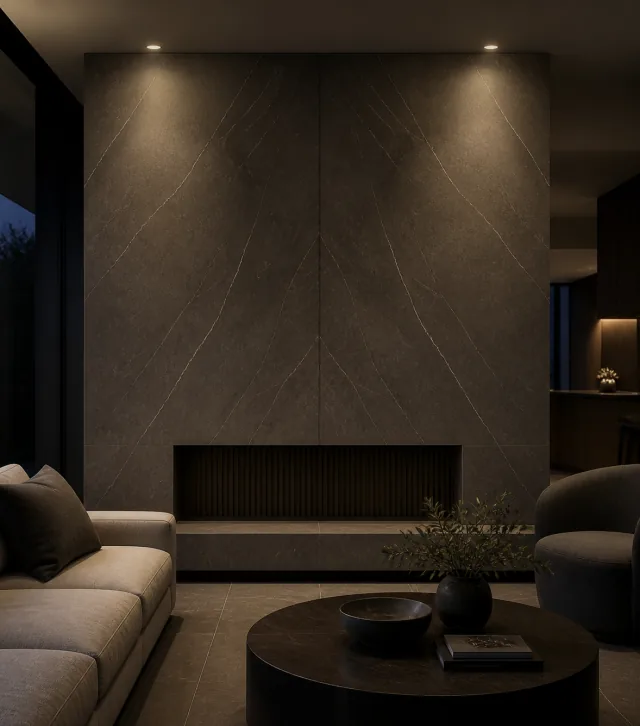
Plan the installation
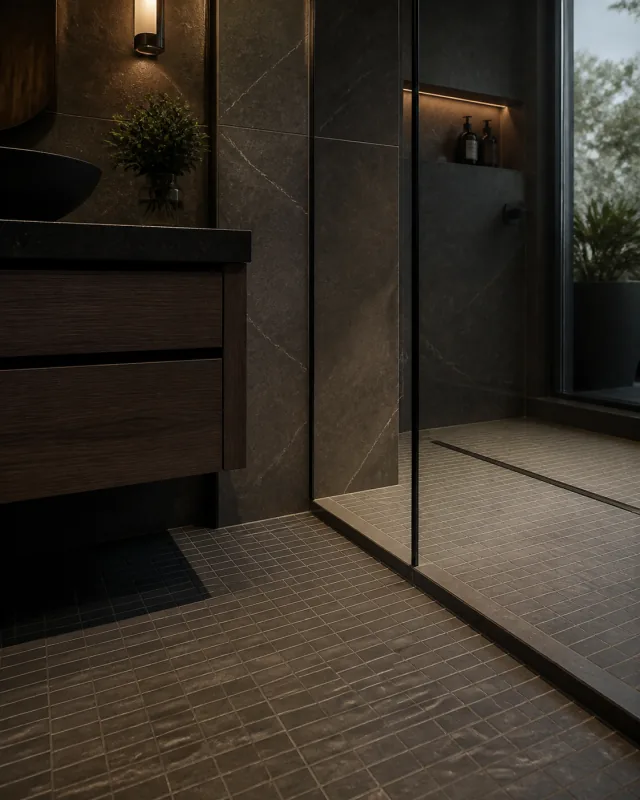
York Region and Toronto
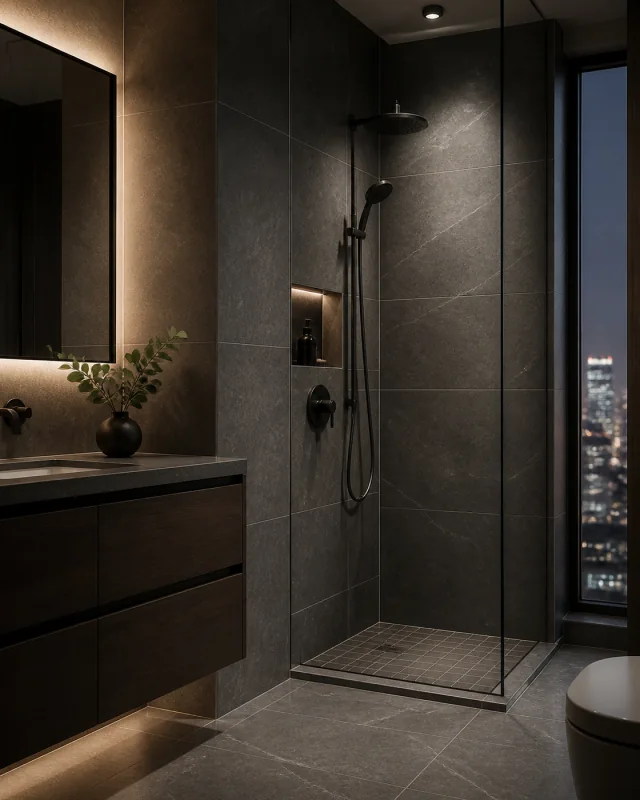
Halton and Peel
Hamilton and Niagara
Porcelain Slab Installation
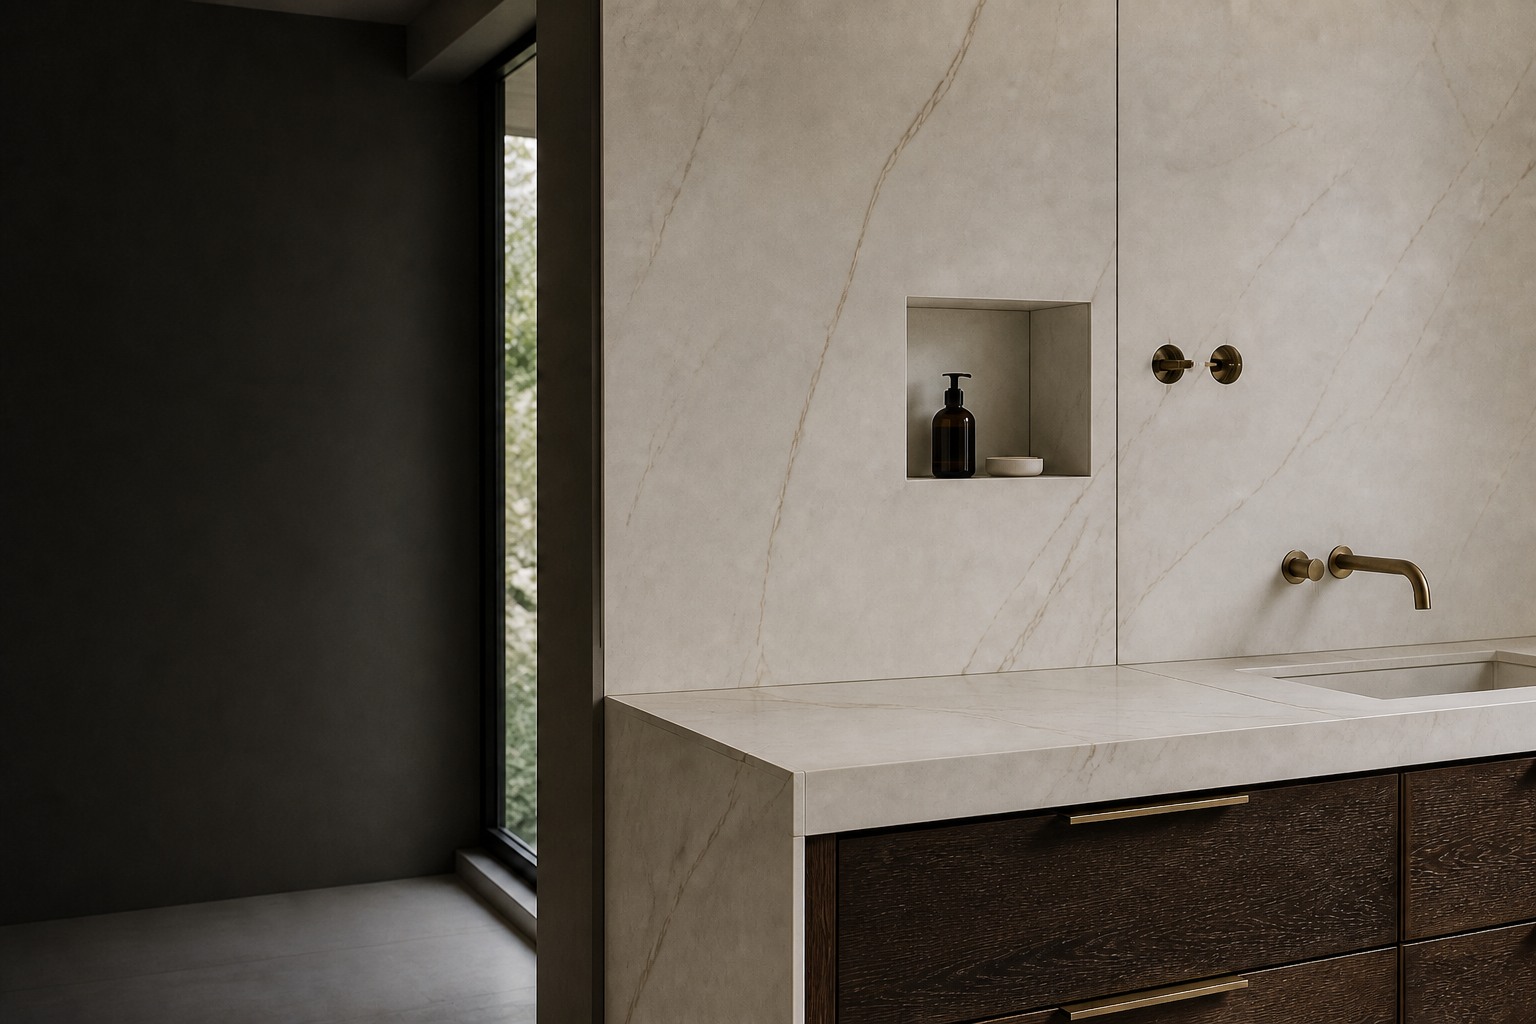
Porcelain slabs create broad surfaces with fewer joints. We install the panels with care for their handling, layout and exposed edges, from fireplace surrounds to other feature surfaces.
Choose the closest match, then send us the project address, approximate measurements and a few photos. If you have already chosen the tile, include a photo or product link. That is enough to get started.
01 / 04
Each surface brings its own backing, flatness and support requirements. Wet areas carry stricter requirements than a fireplace surround, so the panels, waterproofing and openings are planned together.
02 / 04
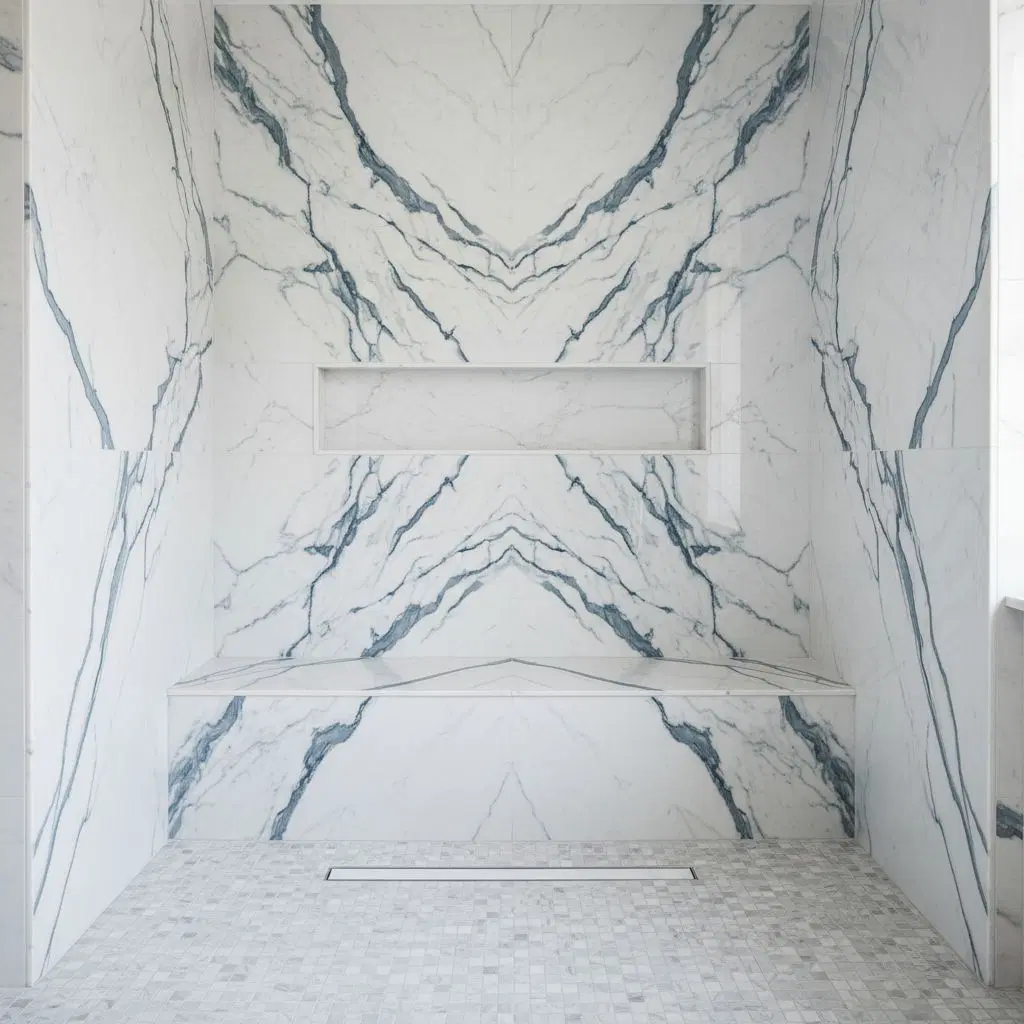
Gauged porcelain panels are thin and oversized, so size and thickness change how they are moved, supported and cut. The panel product decides the practical layout before anything is ordered.
03 / 04
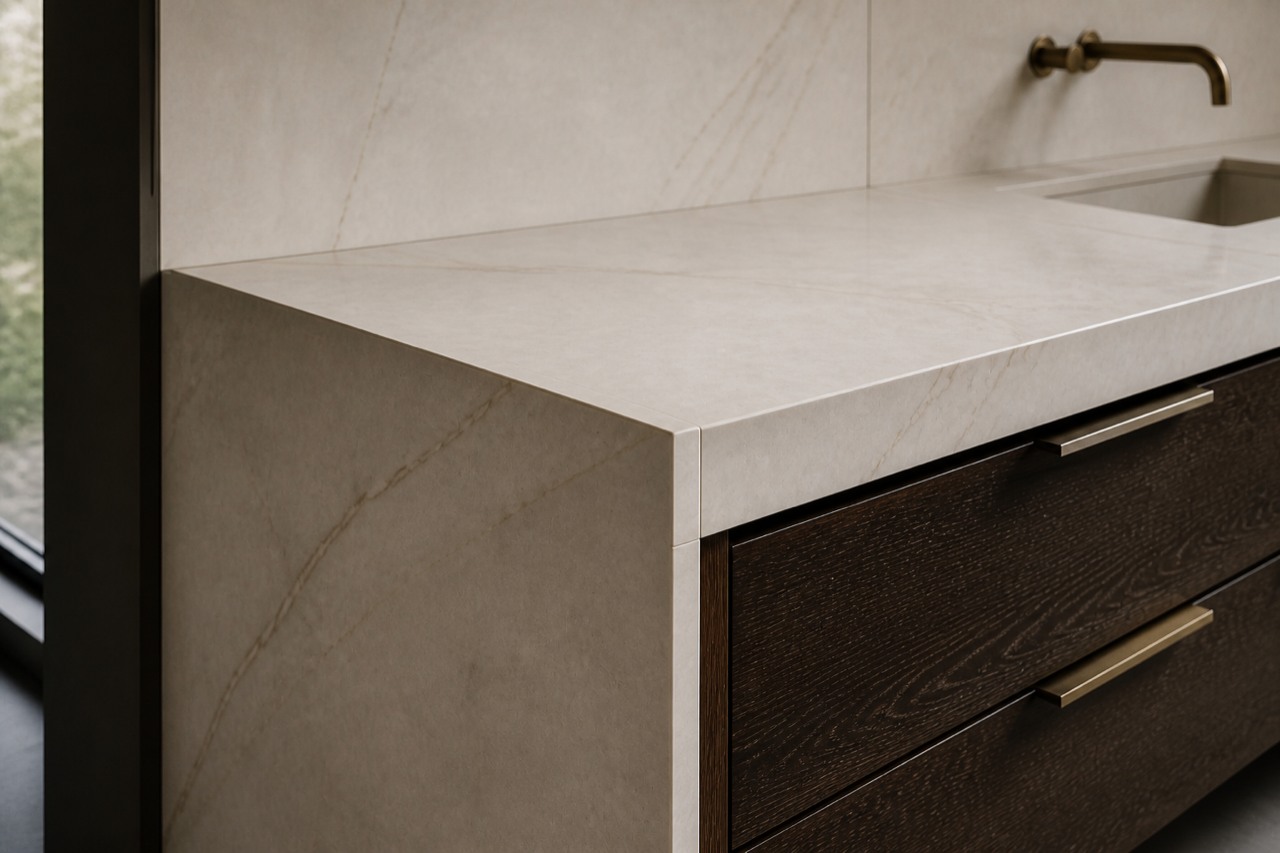
Oversized panels need a clear route into the room and careful handling. A few access photos let us flag a concern early instead of discovering it on installation day.
04 / 04
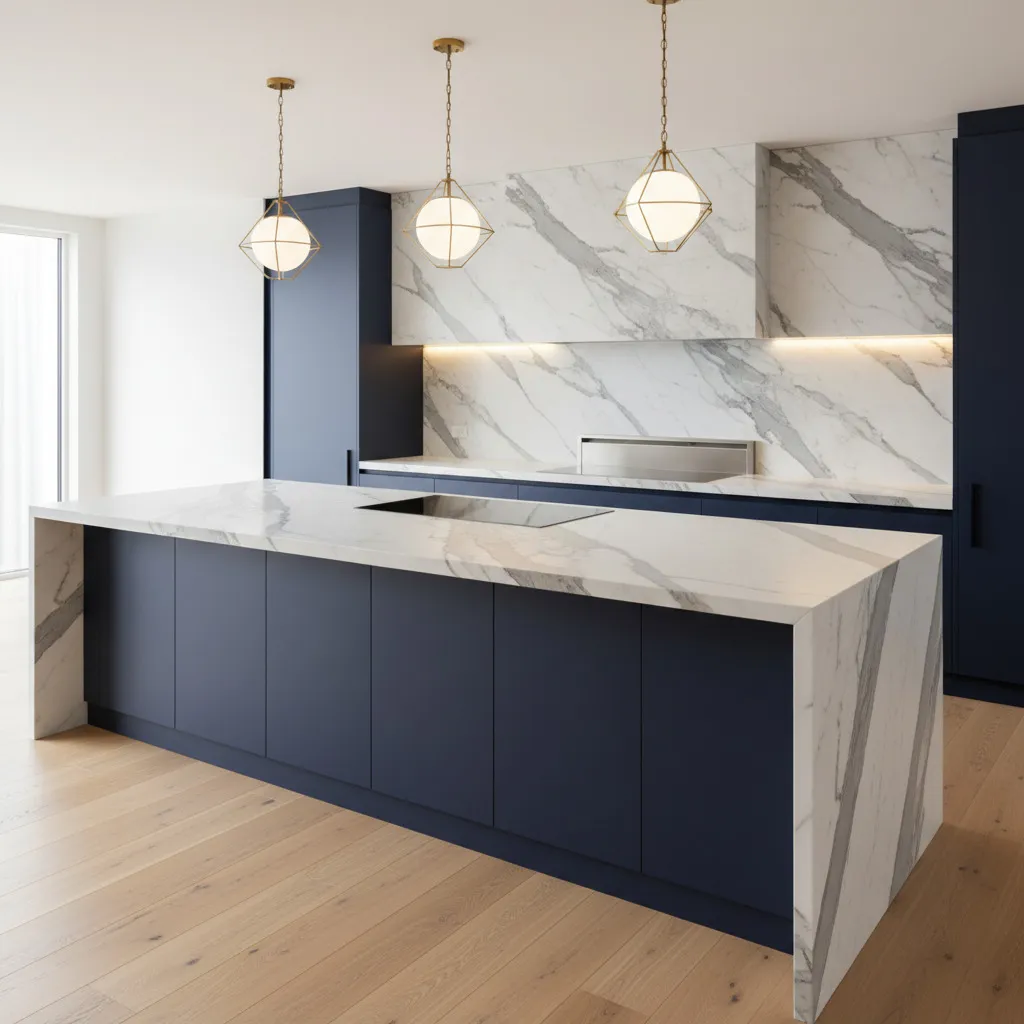
Outlets, niches, valves and exposed edges add cutting and finishing decisions we plan after booking. Your estimate states the porcelain work included and identifies any plumbing, electrical or framing work that belongs to another trade.
One room, three views
Compare the overall tile layout with closer views of the joints, edges and transitions.
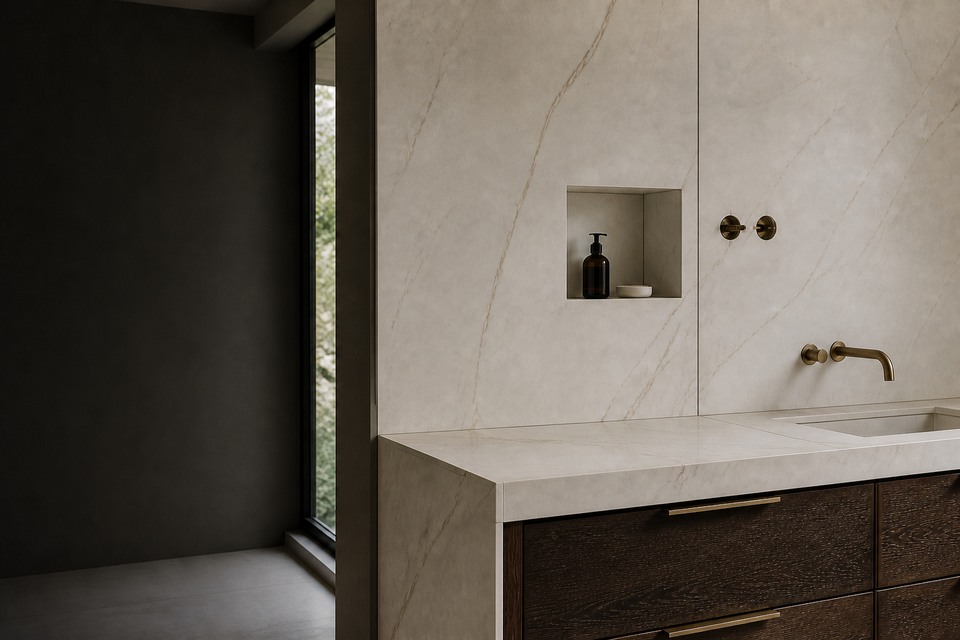
Compare the overall tile scale, grout lines and transitions into the surrounding room.
Open larger viewChange the material, grout colour and layout to compare the look.
 Warm limestone-look porcelain with light grout in a stacked layout.
Warm limestone tile, warm white grout and a stacked layout.
Colours on screen are approximate; confirm them against the chosen tile and grout samples. Layouts use compatible tile shapes. Mallet Tile installs the products you select. Final cuts and joint positions depend on the room measurements and chosen material.
Send the project address, approximate measurements, a few clear photos and the tile size or product link if you have chosen it. We use those details to prepare your preliminary written estimate. You do not need to decide the pattern, grout or edge details before requesting it.
Request an estimateYour written estimate shows the tile work and price included. Once you book, we confirm the layout, grout and edge details with you before the installation begins.
View our workYou do not need every finish decision made before you request an estimate.
Send the address, approximate measurements, a few photos and the tile information if you have it.
We review what you send and provide a preliminary estimate showing the tile work and price included.
When you are ready to proceed, approve the estimate and we will arrange an installation date.
After booking, we confirm the layout, grout and edge details with you before the installation begins.
Selected five-star Google reviews, grouped by the topics customers mention. Open Google to read the full review history.
Review topic 1 of 4
Answers about tile installation, preparation and planning.
No. The panel size, room, access and required openings may make a joint necessary. We confirm the practical layout after booking and before the material is cut.
No. The best edge depends on the panel, its thickness and where the corner will be used. We confirm a suitable detail for the selected material after booking.
That depends on the project. Your estimate will state the porcelain work included, and we will identify any plumbing, fireplace, electrical or framing work that must be completed by the appropriate trade.
Send the project address, approximate dimensions, room and access photos, and the panel product or size if selected. Include any drawings you already have, but you do not need to create new ones just to request an estimate.
The main drivers are the surfaces being tiled, the panel size and thickness, the route into the room, the number of openings and exposed edges, and the preparation the surfaces need. Panels are oversized and thin, so handling and support requirements grow with the panel. Your estimate reflects the actual work in your project rather than a generic rate, and the cost calculator can give you a preliminary figure before you request a written estimate.
Larger panels usually involve more handling and preparation, not always more area. An oversized panel needs a clear access route, careful moving, a flat receiving surface and more planning before cutting. A smaller panel in a cramped room can involve more work than a larger one in an open space, which is why the estimate is prepared from your measurements and photos rather than panel size alone.
Tell us what you'd like tiled, the project location and the measurements of each area. Include the tile size or product link if selected. We'll review the details for your preliminary estimate.
Email your project photos to office@mallettile.ca.