Get an estimate
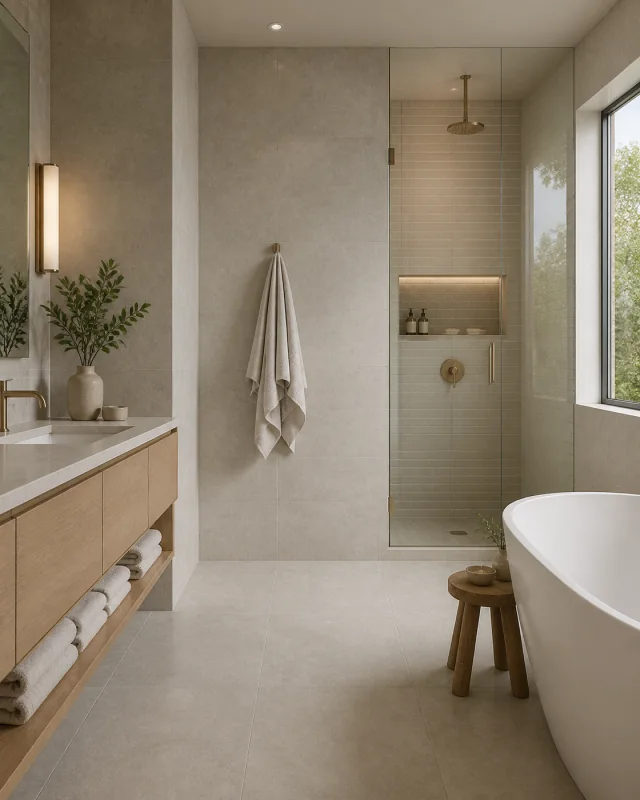
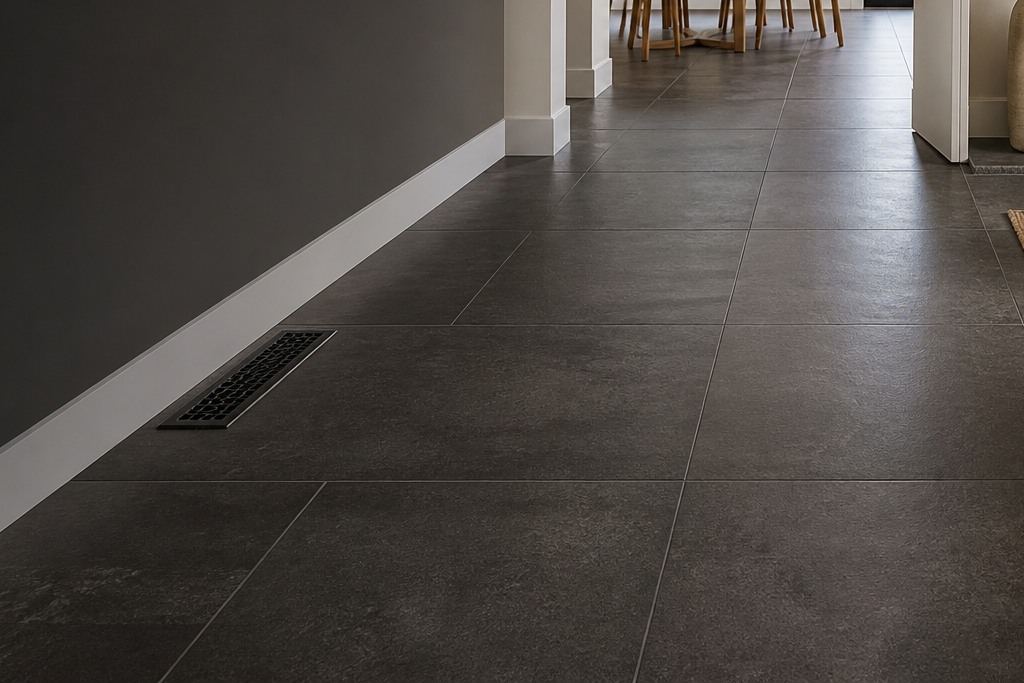
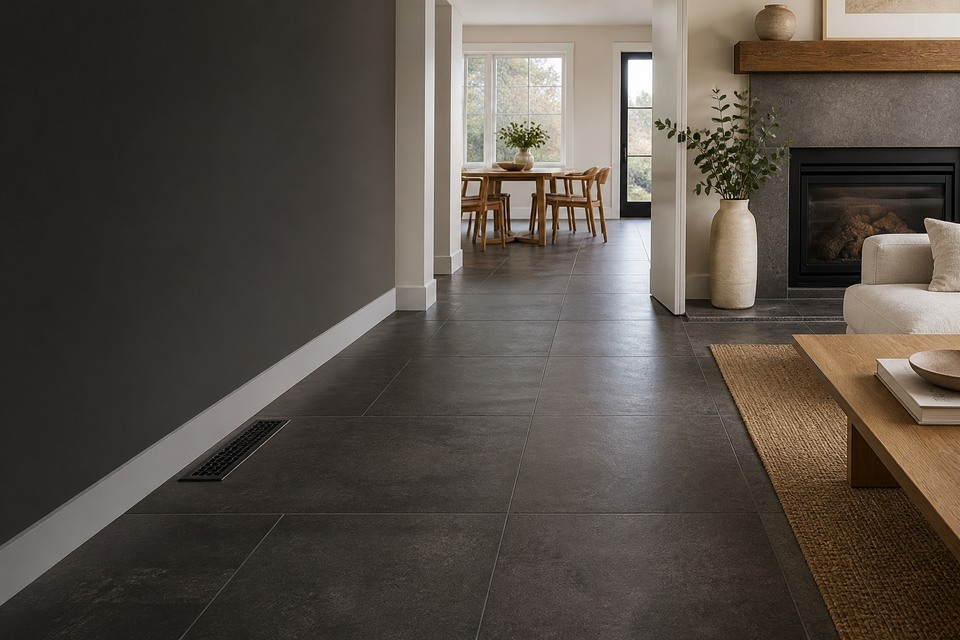
Floor Tile Installation room view showing tile scale, joint layout and adjoining finishes

Floor Tile Installation

Floor Tile Installation

A durable floor starts with an honest assessment of the structure and surface. Plan the tile, preparation, finished height and transitions as one scope.

5.0 on Google
Plan the project

What needs to be decided for floor tile installation?

Choose the closest part of the scope. Each card shows a decision worth settling before material is ordered or work is scheduled.

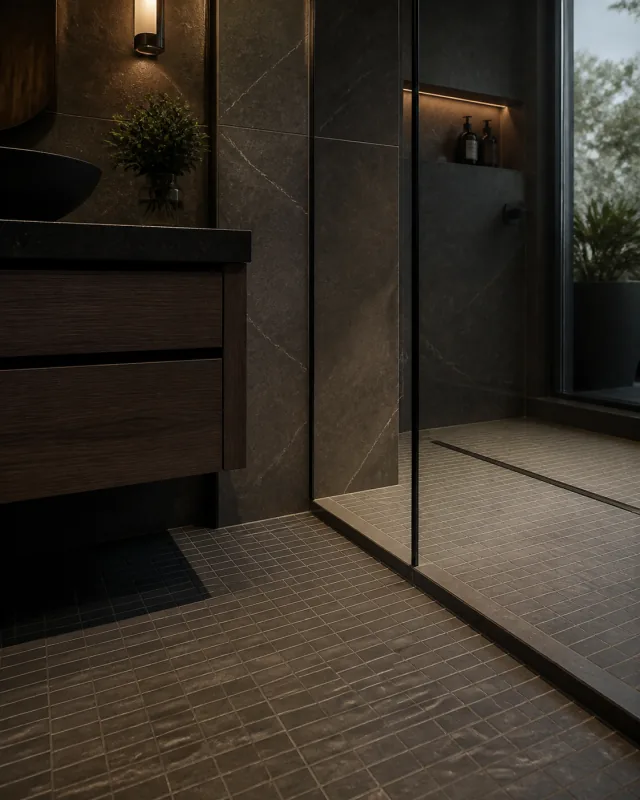
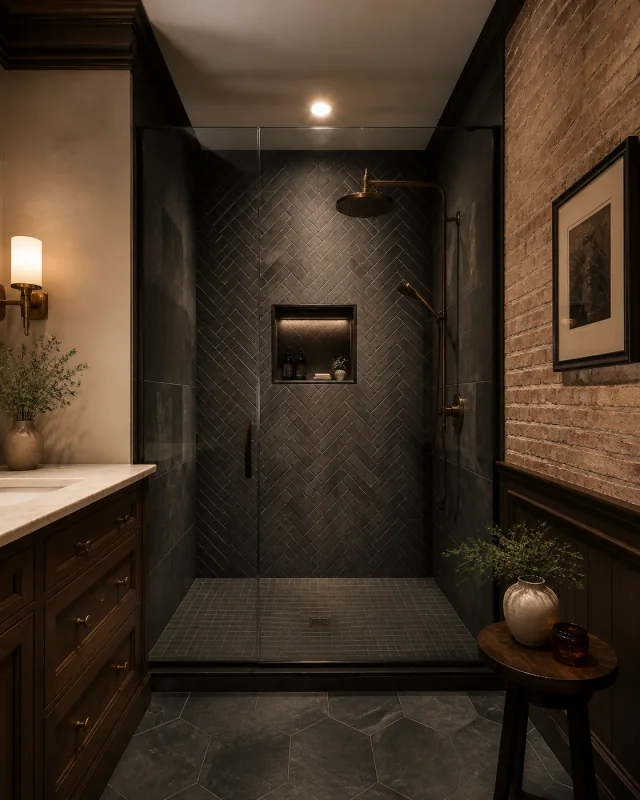
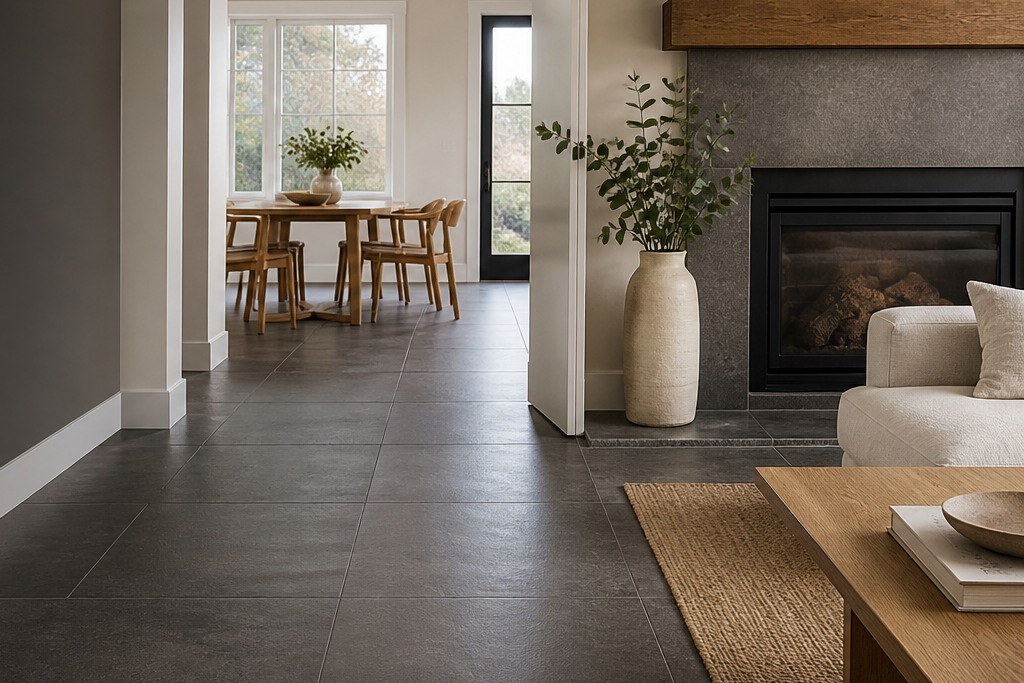
Detailed view for Floor Tile Installation showing joint alignment, edges and changes of plane

01 / 04

Existing structure and surface

Identify the framing or slab, layers already in place, movement, damage, moisture concerns and anything that must be removed.

View planning details
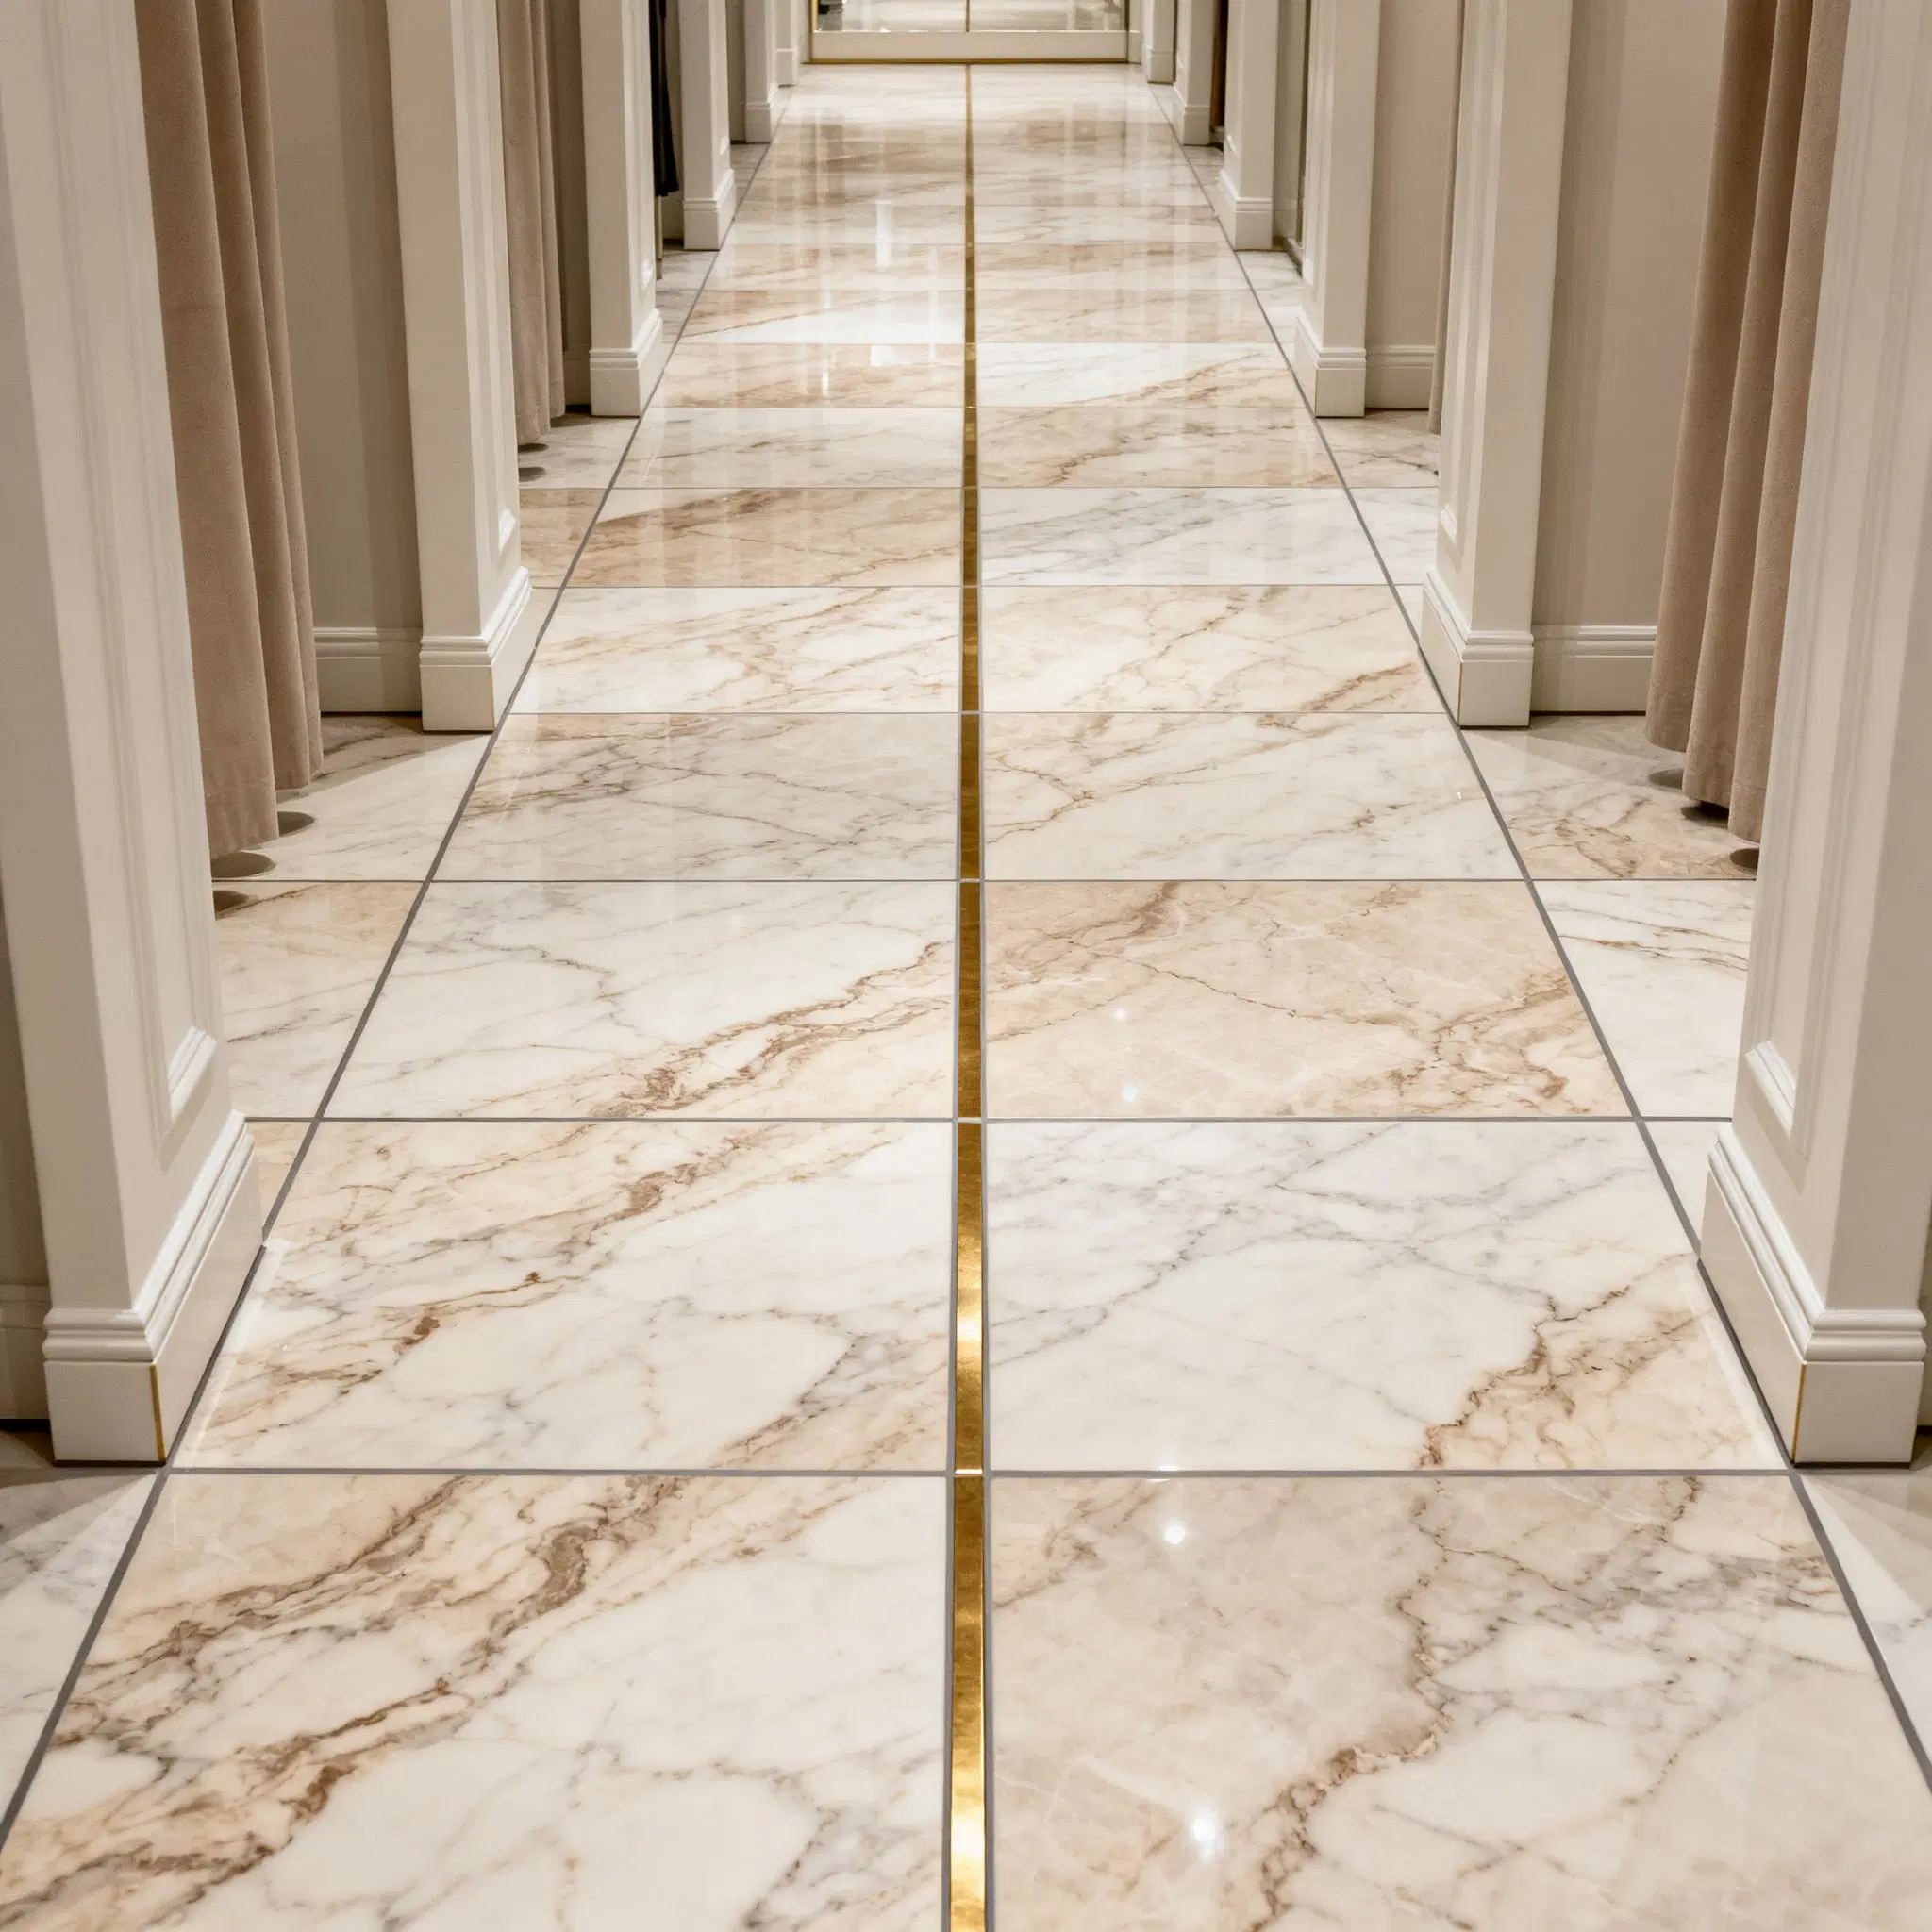
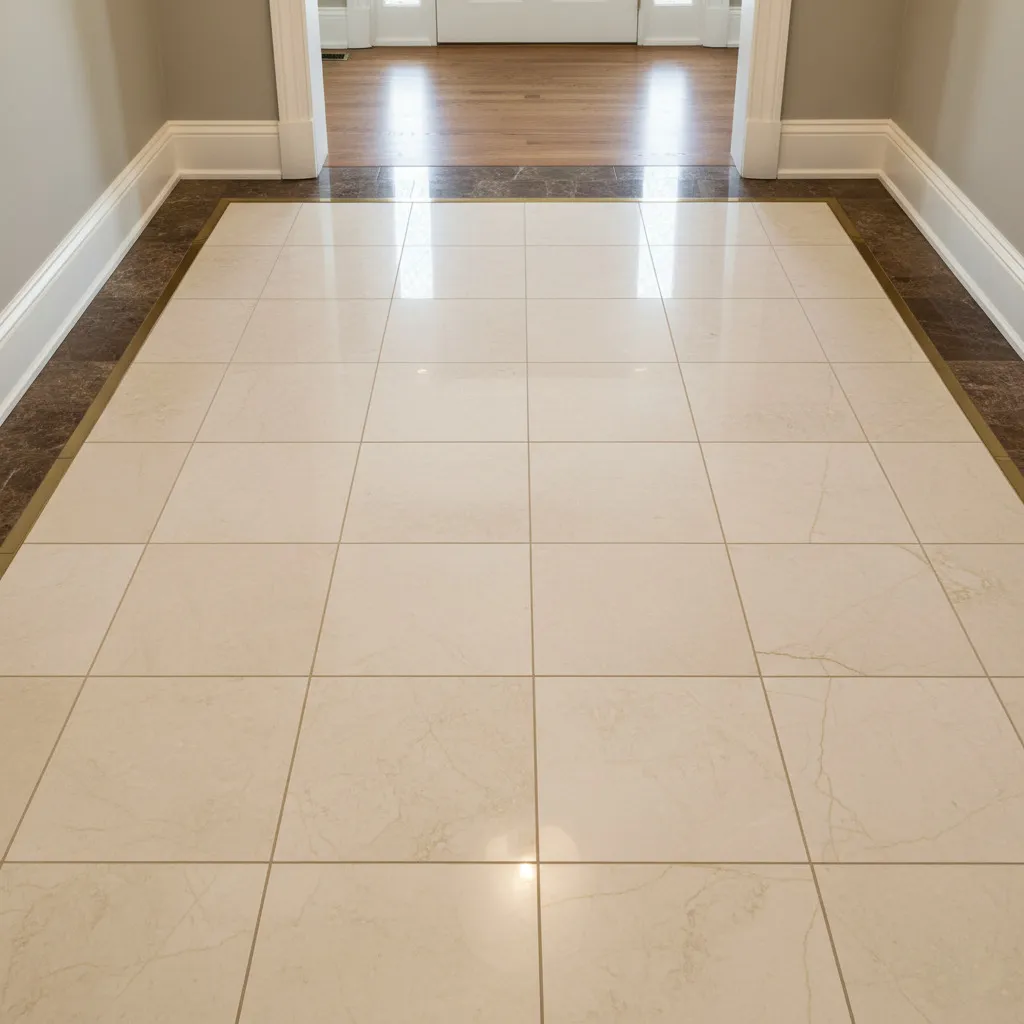
Marble floor tile with a narrow brass inlay

02 / 04

Flatness and preparation

Tile size and layout affect the surface tolerance. The preparation method is confirmed after the floor is measured and checked.

View planning details
Detailed view for Floor Tile Installation showing tile cuts, grout joints and surface transitions

03 / 04

Finished height and transitions

Compare adjacent floors, doors, stairs, cabinets, appliances and trim before selecting added layers or transition profiles.

View planning details
Entry floor tile with a contrasting border

04 / 04

Layout and movement

Confirm focal lines, perimeter cuts, room-to-room alignment, grout joints and required movement accommodation before setting begins.

View planning details

One room, three views

Look closely at the tile layout.

Use the overview and two close views to compare joints, edges, drains and transitions before deciding what belongs in your estimate.

Floor Tile Installation room view showing tile scale, joint layout and adjoining finishes

Compare the overall tile scale, grout lines and transitions into the surrounding room.

Open larger view
View our work

See how the material, grout and layout work together.

Compare realistic surface directions and common grout colours before you confirm the actual products and room measurements.

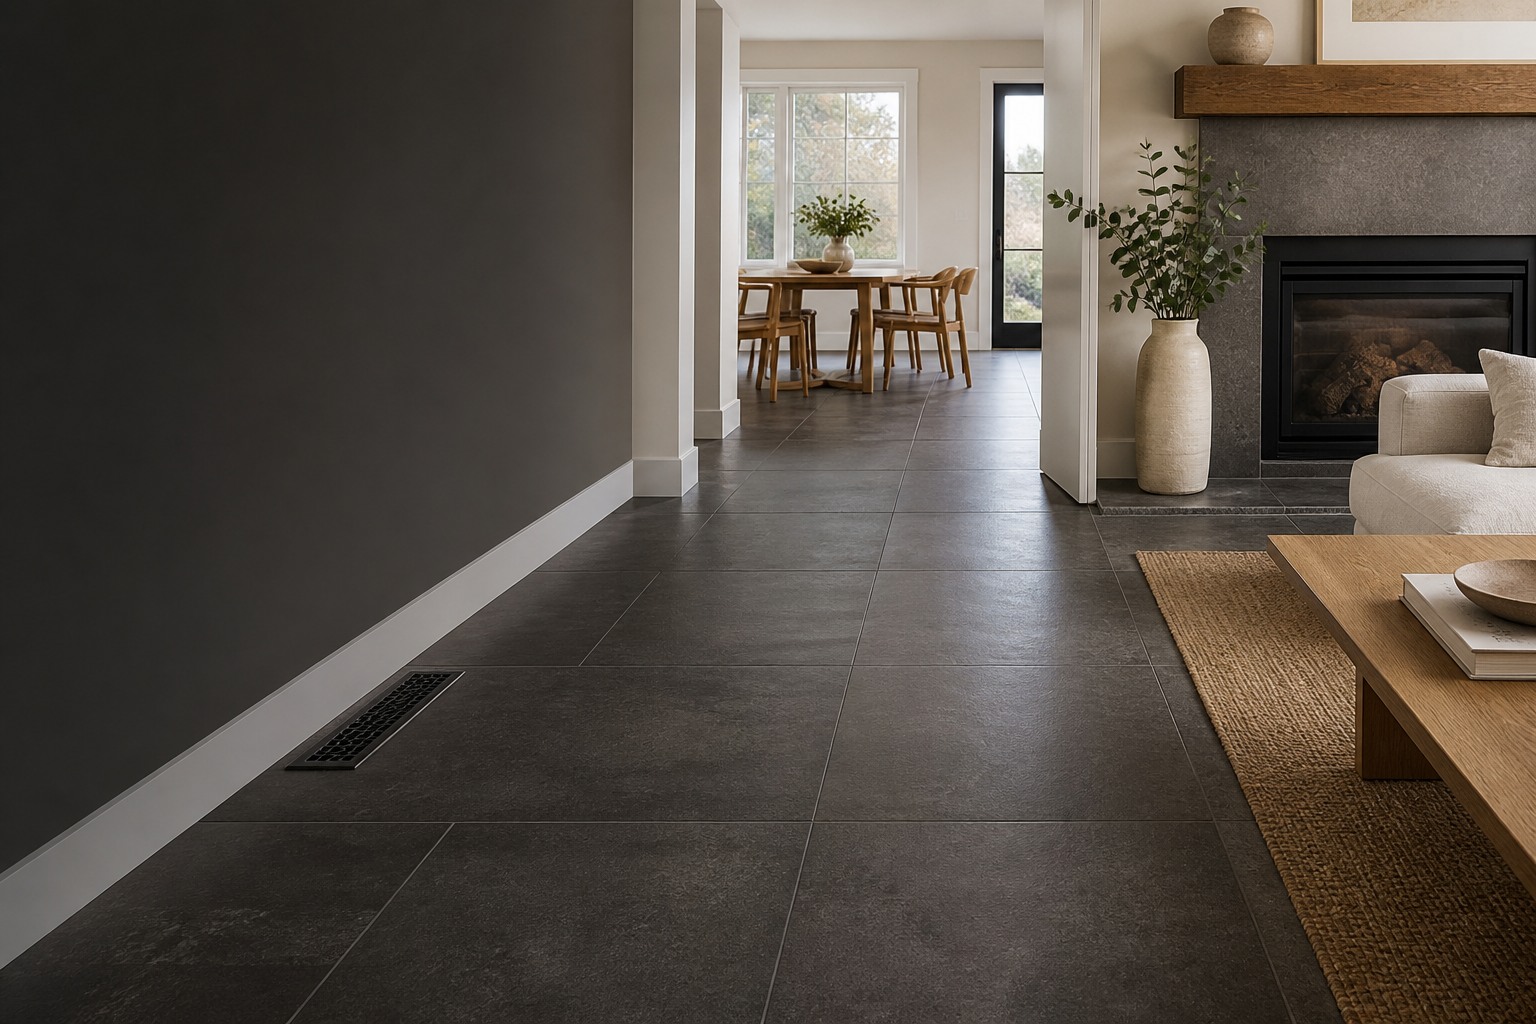
Warm limestone-look porcelain textureWarm limestone-look porcelain with light grout in a stacked layout.
Material look
Grout colour
Layout

Warm limestone tile, warm white grout and a stacked layout.

Colours on screen are approximate; confirm them against the chosen tile and grout samples. Layouts use compatible tile shapes. Mallet Tile installs the products you select. Final cuts and joint positions depend on the room measurements and chosen material.

Build the floor tile installation scope from the room outward

Useful floor-tile planning connects the selected tile to the actual building. These items should be visible in the estimate or confirmed before work begins: Substrate and removal assumptions; Surface preparation and levelling boundaries; Tile pattern, direction and focal lines; Perimeters, transitions and movement joints; Access, protection, disposal and other trades. The written estimate should name any condition that still needs an on-site check rather than treating it as already confirmed.

Start your estimate
Marble floor tile with a narrow brass inlay
Joint alignment beside the metal inlay
Entry floor tile with a contrasting border
Border corners and field-tile alignment

Settle the visible details before material is cut

Identify the framing or slab, layers already in place, movement, damage, moisture concerns and anything that must be removed. Tile size and layout affect the surface tolerance. The preparation method is confirmed after the floor is measured and checked. Looking at those decisions together makes the finished layout and the responsibilities around it easier to understand.

View our work

From the first photos to a written estimate.

Each step answers a different question, so you can decide with the full scope in front of you.

Large-format limestone-look floor design crossing a bright entry and living space

Send the room details

Share photos, measurements, the selected tile if known and the parts of the room you want tiled.

Confirm what belongs in the work

Review surface preparation, demolition, layout, edges, transitions and any responsibilities involving other trades.

Resolve the visible decisions

Confirm tile size, pattern, grout, drains, niches and where cuts or exposed edges will land.

Review the written estimate

Read the included work and next steps before deciding when to schedule the installation.

Where we work

Floor Tile Installation across the Mallet Tile service area

Mallet Tile plans floor tile installation from Burlington and Oakville through Toronto, Newmarket and surrounding Ontario communities. Send the project address with room and access details so travel, building requirements and the tile scope can be considered together.

What customers value about working with Mallet Tile.

Selected five-star Google reviews, grouped by the topics customers mention. Open Google to read the full review history.

5.0 on Google

Christian Quaresma

5.0Google review

Chris and his crew were a huge help in planning and executing the shower area of a bathroom remodel in an old home.

Read on Google

What customers mention

Help with difficult bathroom decisions

Planning and problem-solving in older bathrooms

See every Google review

M L

5.0Google review

Mallet Tile has done a masterful job on our project. I had 2 separate issues. Mallet Tile fixed both.

Read on Google

Kris Menon

5.0Google review

This team is the real deal - professional, on time, within estimate. Helpful and friendly - and clearly care about customers.

Read on Google

What customers mention

Clear, friendly communication

Helpful service and an easy working relationship

See every Google review

Ryan Eidt

5.0Google review

Mallet was fantastic, professional and friendly crew and we couldn’t be happier with our new shower.

Read on Google

Alex Rawlins

5.0Google review

Very good service and friendly people, knowledgable, and finished on time with no issues at all.

Read on Google

Mario Herrera

5.0Google review

We have been working with mallet tile for some time now, they are a professional, punctual, organized and a clean company.

Read on Google

Kevin Harshaw

5.0Google review

I recently had a heated tile floor installed by Chris and his team and they did a great job!

Read on Google

What customers mention

Results tied to the actual room

Specific feedback on a heated floor and an upstairs bathroom

See every Google review

JesseScotts

5.0Google review

Fast efficient quality. Thank you. My upstairs bathroom was leaking into my ceiling below.

Read on Google

Review topic 1 of 4

Questions to answer before installation.

Use these answers to prepare the room details for your estimate.

Can floor tile be installed over the existing floor?

Sometimes, but only after the existing assembly is identified and checked for bond, movement, height, moisture and compatibility. The written scope should not assume an overlay from photos alone.

How flat does the floor need to be?

The acceptable variation depends on the tile size, pattern and governing product or installation requirements. The surface should be measured, and the preparation method and limits should be written into the scope.

Who handles doors, baseboards and appliances?

Those responsibilities vary by project. Confirm removal, storage, cutting, reinstalling, protection and any appliance or cabinet work before the installation date.

What should I send for a floor tile estimate?

Send the address, room measurements, clear photos, tile dimensions and pattern, adjacent floor heights, access details and any known demolition or heating work.

Floor Tile Installation room view showing tile scale, joint layout and adjoining finishes

Tell us about the room and tile.

Share the material, measurements and project details. We will begin with a written estimate.

GET AN ESTIMATE

Call us directly at

Get Estimate Call Now