
Substrate and bond surface
Identify concrete, wood framing, backer, an existing finish or another base, along with contamination, loose areas and previous coatings that may affect bonding.
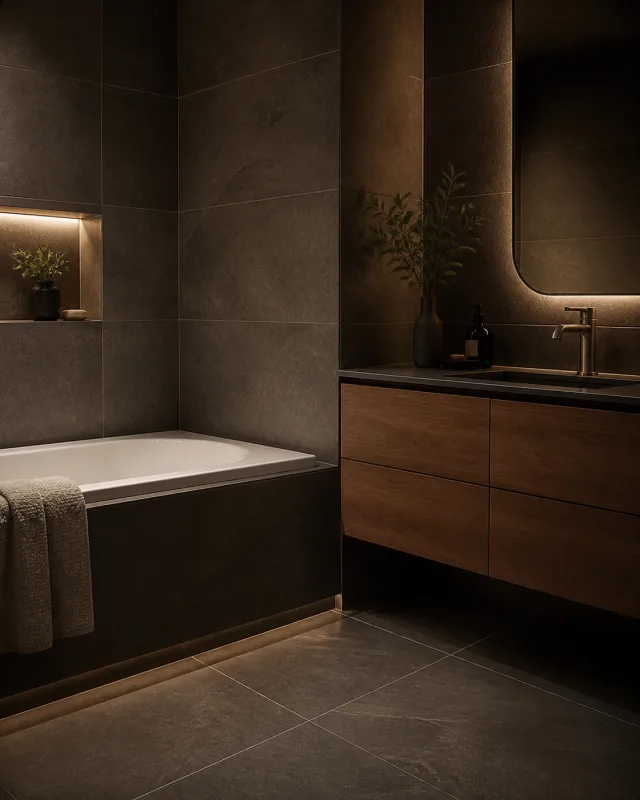
Bathrooms and everyday surfaces
Specialty tile work
Plan the installation
York Region and Toronto
Halton and Peel
Hamilton and Niagara
Surface preparation for tile
Surface preparation starts by identifying the existing substrate, its condition, how flat and stable it is, where moisture or movement may be present and the finished height the tile needs to meet.
What needs to be checked
A floor can be level but not flat, or flat but intentionally sloped. The chosen tile, room use and adjoining surfaces determine which conditions matter and what preparation method is suitable.
Identify concrete, wood framing, backer, an existing finish or another base, along with contamination, loose areas and previous coatings that may affect bonding.
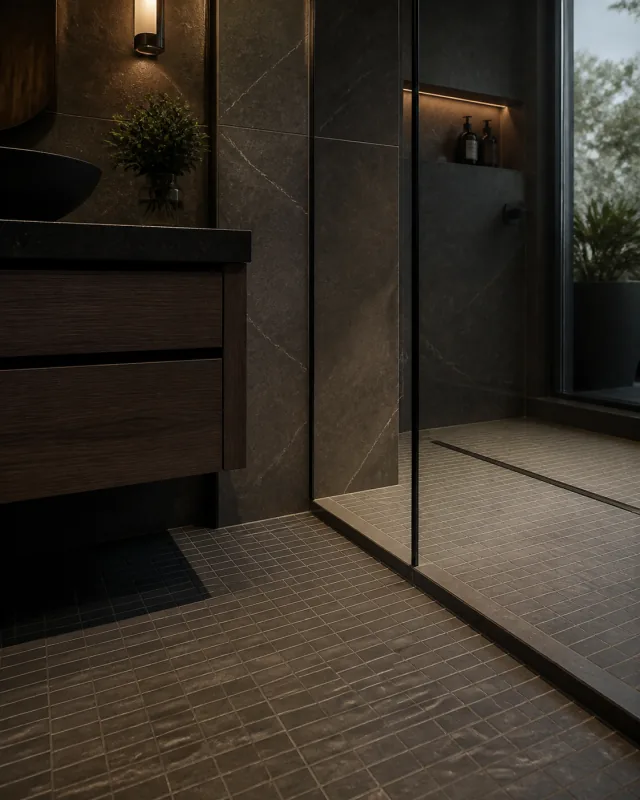
Check the surface against the selected tile and room. Wet areas may require intentional drainage while large tile can make variations more visible.
Perimeters, control or movement locations and transitions between different assemblies need a compatible detail rather than being covered without thought.
Preparation, tile and setting materials add height. Doorways, stairs, drains, cabinets, appliances and adjoining floors should be reviewed together.
A condition-led approach
Not every project needs the same products or amount of preparation. The sequence below keeps the method tied to observed conditions.
Use wide and close photos, measurements and an on-site check when needed to identify material, variation, cracks, movement and transitions.
Tile dimensions, thickness, room use, moisture exposure, drainage and finished height all affect the preparation decision.
Cleaning, removal, patching, skimming, levelling, mortar beds, underlayments or waterproofing are considered only where appropriate to the actual assembly.
Confirm the prepared surface, heights, slopes, movement details and transitions before layout and setting begin.
What to send
Include the full room, close views of the existing base, doorway and floor transitions, drains, stairs, cabinets, appliances and any known water or movement issue. Add the selected tile dimensions and thickness if available.
Request an estimateUseful answers
Answers about tile installation, preparation and planning.
No. The method depends on the actual substrate, variation, room requirements, selected tile, finished height and product compatibility.
Not always. Flatness and level are different. Some areas also need intentional slope. The correct target depends on the room, selected tile and adjoining conditions.
Preparation and tile add height. Reviewing transitions early helps identify threshold, clearance and edge decisions before the assembly is built up.
Confirmed preparation can be described in the written scope. Conditions that still need an on-site check should remain identified as open rather than being treated as already known.
Tell us what you'd like tiled, your city, the approximate area and timing. Include the tile size if you know it. We'll ask if we need anything else for your preliminary estimate.
Have photos to share? Email office@mallettile.ca.