- 5.0
- Since 2010
- GTA +100Km
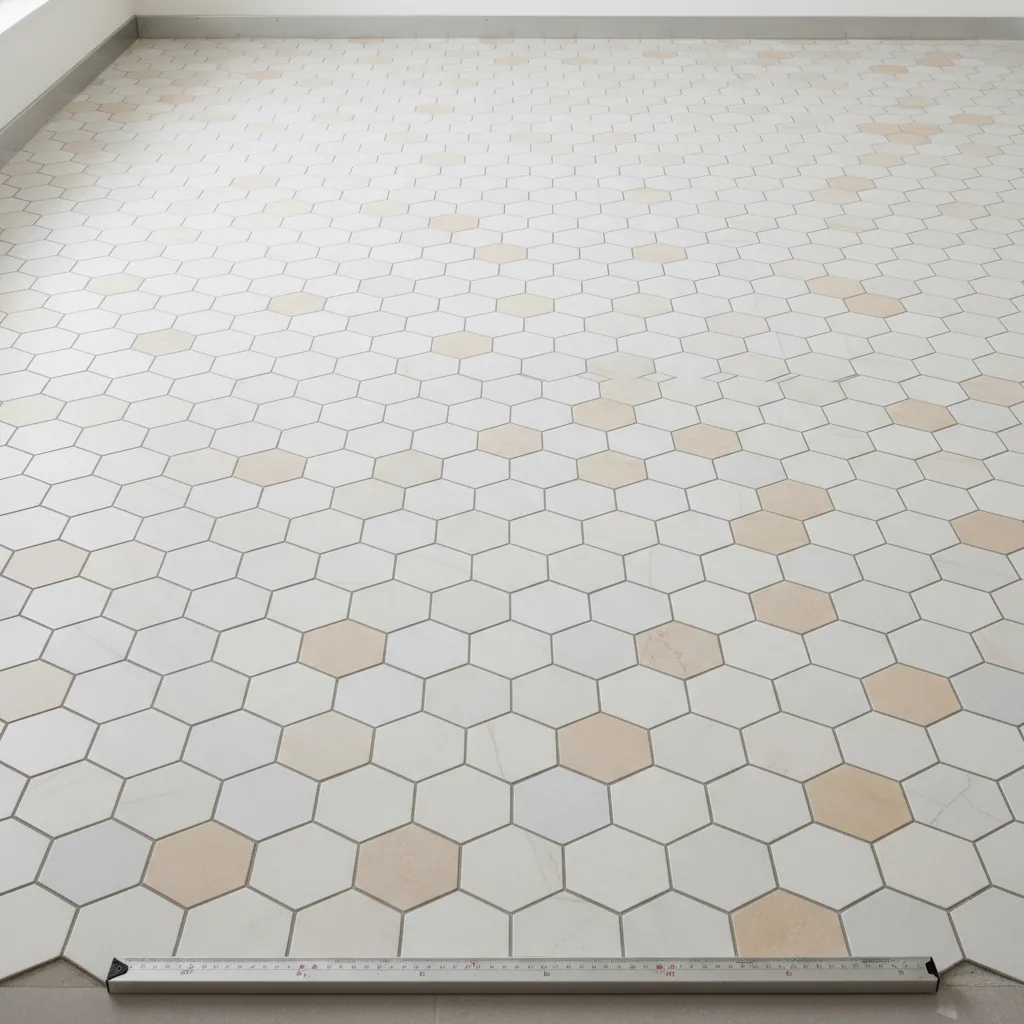
Small tiles add texture, grip, and pattern—but they magnify layout accuracy. Our professional crew trues substrates, aligns sheets, and blends seams so patterns read continuous. We plan cuts around outlets and fixtures, protect edges with slim profiles, and finish wet areas with colour-matched silicone at plane changes for a durable, low-maintenance result.
From layout planning to final finishing, we follow a proven workflow that ensures proper sheet alignment, hidden seams, and long-lasting mosaic installations.
Establish reference lines to key walls/fixtures; dry-fit sheets.
We establish reference lines to key walls and fixtures, then dry-fit mosaic sheets to ensure proper pattern alignment and minimize cuts at prominent edges.
Flatness checks; confirm shower slopes where relevant.
Thorough substrate preparation including flatness verification and slope confirmation for shower areas to ensure proper drainage and mosaic sheet adhesion.
Stagger sheets, trim where needed, and roll surface to uniform plane.
Careful setting of mosaic sheets with strategic staggering to hide seams, edge trimming where needed, and surface rolling to achieve uniform plane.
Choose grout for use-case; apply silicone at plane changes.
Application of appropriate grout type (epoxy or high-performance cement) based on use case, plus silicone sealant at all plane changes for movement accommodation.
Profile caps, final clean, and care notes for easy maintenance.
Installation of profile caps at exposed edges, thorough final cleaning, and provision of care notes for long-term maintenance and performance.
Get an estimate for your mosaic project. Our proven workflow ensures aligned patterns, hidden seams, and lasting results.
Beyond the initial visual impact, these are the lasting qualities that make your mosaic and small-format tile installations both beautiful and practical.

Ideal for shower floors and entries; many patterns add traction without feeling rough.

Sheets staggered and seams blended so grids don't telegraph.

Profiles at exposed ends; colour-matched silicone at plane changes.

Epoxy grout available for splash zones and heavy-use areas.
See how we stagger sheets, trim edges, and maintain pattern continuity for different mosaic and small-format tile layouts.
Stagger sheets to hide seams, trim factory edges to avoid visual lines, prevent pattern drift on long runs.
Round tiles require precise spacing control to maintain uniform gaps and prevent visible sheet lines.
Simple grid pattern that highlights alignment; any deviation in spacing is immediately visible.
Small-format herringbone requires careful sheet alignment to maintain the zigzag pattern flow.
Every wet zone presents unique challenges for mosaic installation. See how we handle slopes, edges, and transitions to ensure lasting performance.
Slopes and drain centring for even cut lines
Edge protection with slim profiles
Silicone at vertical corners and changes of plane
Outlet and fixture cut strategies for continuous patterns
See some of our recent tile installation projects across Toronto, the GTA, and beyond!
Join hundreds of satisfied homeowners. Get hood-centered layouts, precise outlet cuts, and clean edge terminations that transform your kitchen.
Ultra-white, non-sag mortars for mesh sheets, controlled 2 mm joints, profile-protected edges, and planned movement joints for a stable, easy-clean finish.

Waterproofing Systems
Adhesives & Grouts
Installation Products

Tile Supplier

Innovative Tile

Professional Tools

Flooring & Tile

Tile Tools

Tile Retailer

Flooring Supplies

Premium Surfaces

Natural Stone
Built for small-format & mosaics: we use deformable adhesives, target 2 mm joints, neat terminations, and movement accommodation for long-lasting, clean results.
Watch our customers describe their tile installation experience and see the quality results we deliver across Ontario.
Mosaics add texture, grip and pattern—but they also magnify layout accuracy. We prepare surfaces, square the layout and blend seams so patterns read continuous. Start planning with the tile installation cost calculator and we’ll align timeline, materials and site prep.
Mosaics telegraph every dip. We laser-check planes, correct crowns and low spots, then confirm shower slopes before setting. This prevents high corners and keeps grout lines consistent.
Where tolerances demand, we prime and patch or pour self-levelling compounds to achieve a uniform plane so sheets press into one surface without rocking. See our surface preparation approach.
Porcelain mosaics with a lightly textured surface provide traction and conform to slopes. Small pieces follow the contour without creating flat spots that hold water.
We avoid glossy finishes on floors and verify that the sheet calibration supports a clean rhythm of joints so the pattern looks deliberate and drains well. For walls or niches, glass and stone can add contrast when rated for the application.
Many uncoupling and floor-warming membranes specify a minimum 2″ × 2″ tile. Very small mosaics may require alternative build-ups or different underlayments to support point loads. We choose assemblies that respect manufacturer limits and your design intent.
We square the space, dry-fit sheets, then set in a staggered sequence that breaks up factory sheet edges. After placement, we roll or beat in with a protected block to level micro-variations and keep pieces co-planar.
At transitions and exposed edges, we finish with slim profiles and consistent reveals for a crisp boundary that protects the field.
For porcelain and stone, we select polymer-modified thinsets suited to the substrate and traffic. Glass mosaics often call for white, non-sag mortars and extended cure windows on non-porous membranes. We match grout to use-case—high-performance cement for easy upkeep, or epoxy where chemical resistance and stain control matter.
Material selections follow current technical data sheets and your finish goals. For glass, we confirm backing compatibility before approval.
Movement accommodation prevents tenting and cracked grout. We keep perimeters free, add soft joints where conditions demand, and use colour-matched silicone at plane changes in showers. This preserves lines while allowing safe movement.
Joints are planned to be discreet, coordinated with layout, and documented before setting so expectations are clear.
We sample two or three tones under your room lighting and choose a width that keeps the pattern readable and cleaning practical. Contrast highlights geometry; tonal matches feel calmer. Our tile layout & grout colour notes show typical outcomes.
Absolutely. Popular pairings include slab walls with a mosaic shower floor, or large-format floors with a mosaic border. We plan heights, reveals and profiles so seams are protected and patterns align with the main field. Explore options: porcelain slab tile installation.
We map cuts around receptacles, keep courses level, and protect edges with slim profiles or mitres where suitable. Power is de-energized during work, and plates are reinstalled with even reveals. See our kitchen backsplash installation approach.
Use pH-neutral cleaners, soft pads, and regular rinse cycles. In wet areas, maintain ventilation and refresh silicone at plane changes when needed. For stone, re-seal per product guidance. Practical routines are outlined in tile care & maintenance.
Aligned patterns, protected edges, consistent joints and clean transitions. We provide care notes for the first weeks and remain available for aftercare questions. See examples in our portfolio.
Waterproofing expertise
Trusted 15+ years
Proven client satisfaction
Safety & Compliance
+ 100km radius from Toronto
Get your personalized mosaic tile installation estimate in just 1 minute using our cost calculator.
Get answers to common questions about mosaic installation, sheet alignment, grout selection, and our specialized techniques.
Mosaics are small tiles (often 10–50 mm pieces) mounted as sheets or loose, used for floors, backsplashes, and feature walls. Their tight joint pattern adds grip on floors and allows curved or complex layouts.
Yes. The many small pieces create more grout lines for traction and slope control around drains. We pair mosaics with continuous waterproofing and flexible sealant at plane changes. Learn more in the Schluter®-Shower System resources and curbless showers.
Mosaics telegraph imperfections, so we flatten and clean the surface, remove contaminants, and patch low spots. Soundness and bond are checked before layout. Details are in our surface preparation guidance; technical practices are outlined in the TTMAC 09 30 00 Manual.
We dry-lay and adjust sheet edges, stagger seams, and use beating blocks and straightedges to align piece-to-piece joints. Setting material is combed consistently, then keyed-in to avoid ridges telegraphing. See our process for layout sequencing and checks.
They can—there are more joints and seam-blending steps. We plan for this in the estimate and focus on clean edges, aligned patterns, and low-maintenance finishing.
It depends on the pattern and sheet calibration. We propose a width that maintains pattern rhythm, supports grout performance, and is easy to clean.
Sometimes. If the substrate is sound, flat, and clean, we may prep and set over it; otherwise removal and levelling deliver better results. Share photos when you get an estimate, and review surface preparation for what we assess.
Correctly prepared substrates and consistent trowelling keep pieces co-planar. We use straightedges and light beating to seat sheets evenly and avoid lippage. Tighter joints distribute load and improve comfort. For areas needing extra flatness, we address it during prep before setting.
It depends on the pattern and sheet calibration. We propose a width that maintains pattern rhythm, supports grout performance, and is easy to clean.
It depends on the pattern and sheet calibration. We propose a width that maintains pattern rhythm, supports grout performance, and is easy to clean.
Use our tile installation cost calculator and include rough measurements, tile type (glass/ceramic/stone), sheet size, and a few photos. We’ll review details and provide an estimate with next steps. Questions? Contact us.
Start with our Cost Calculator to outline budget and timing, or call to discuss your space.