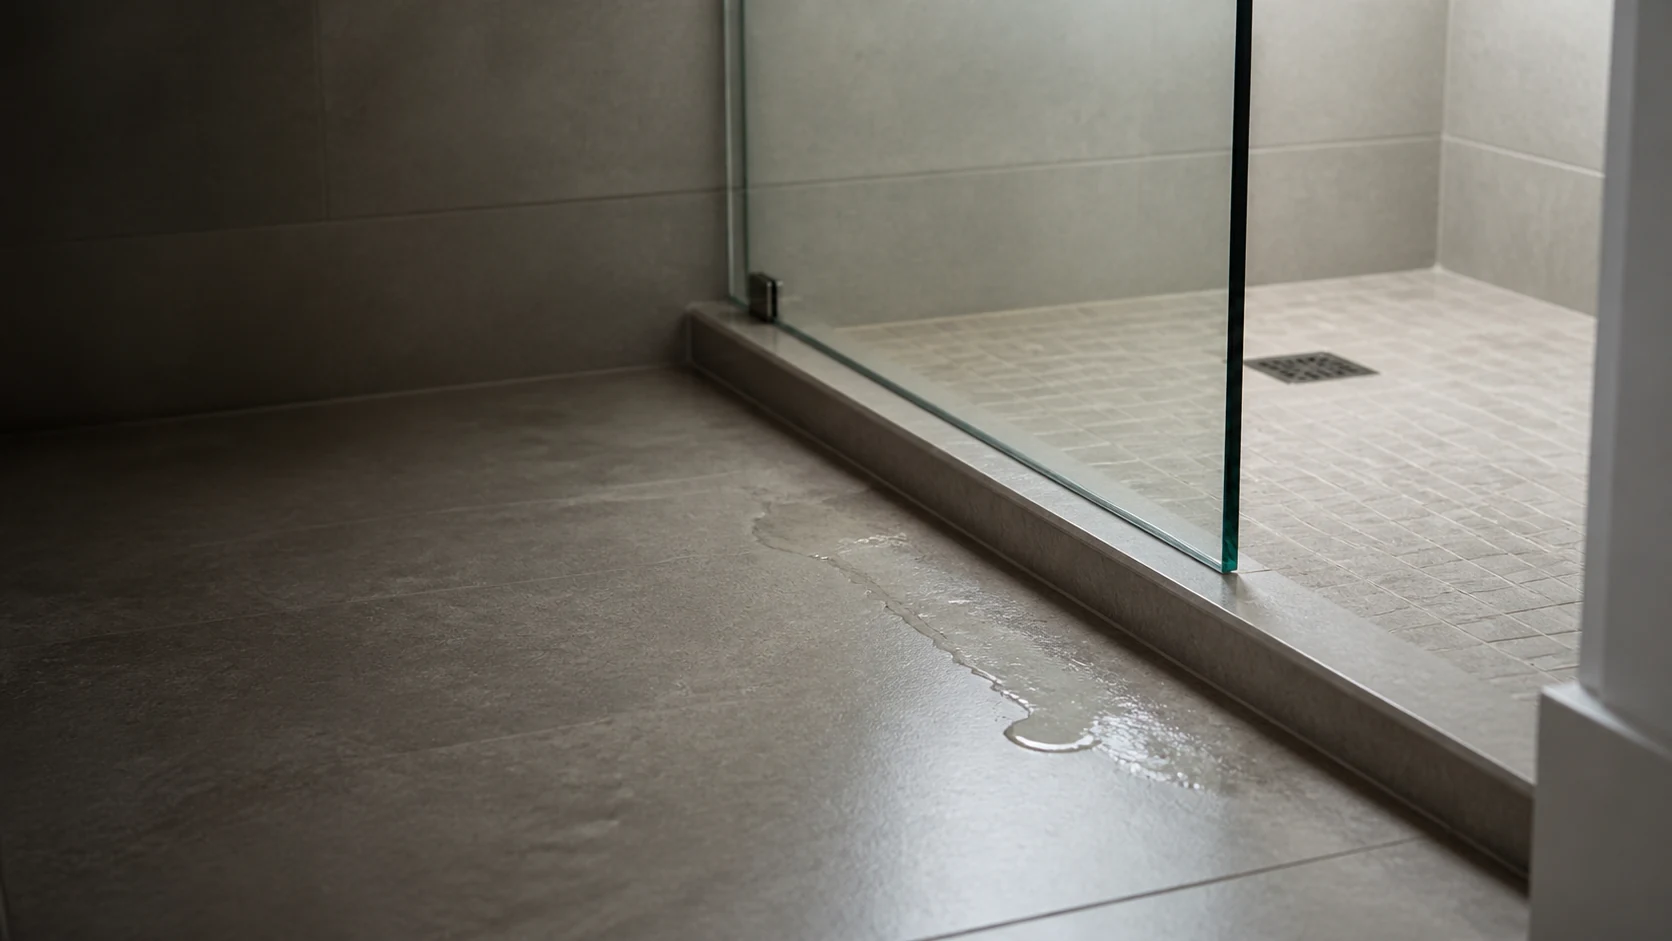
Start by stopping the water, not by recreating it
Stop using the shower and dry visible water promptly only when it is safe to do so from a dry position. Do not approach water near an outlet or electrical equipment, and do not stand beneath a visibly sagging ceiling or falling material to take a photograph. Stay back and contact the appropriate emergency service, utility or qualified professional if the area is unsafe to approach. Keep any photographs you already took of the first wet area, but do not leave water in place for the sake of a picture and do not run the shower again just to reproduce the symptom.
Before details fade, note the date and time, the exact place where water appeared, and whether you noticed it during normal use, immediately afterward or later. Record what you observed without naming a cause.
Work from the whole room toward the visible detail
A close-up can show texture or colour, but it can lose the location that makes the image useful. Follow the same wide-to-close sequence for each distinct visible area so the photographs remain understandable as a set.
- Start at the bathroom doorway with an overview that shows where the shower sits in the room.
- Move closer to show the full shower opening and the surrounding floor. Include the door or glass, curb or threshold, nearby wall edges and drain when they are visible from the same position.
- Frame the wet or changed area at middle distance so its relationship to the shower edge and nearby joints remains clear.
- Finish with close views of dampness, staining, discolouration, warping or another visible change. Keep a fixed edge or joint in the frame when possible so the location is not lost.
- If a visible change also appears on an adjacent wall, baseboard, floor transition or ceiling below, repeat the wide-to-close sequence there only from a safe, dry position. Stay back rather than approaching water near an outlet or electrical equipment or standing beneath a visibly sagging ceiling or falling material, and do not claim the shower caused the condition.
Pair every image with a neutral observation
Photograph only what is present and use plain descriptions: dampness, staining, discolouration, warping or another visible change. Put a musty odour in the written notes because it cannot be photographed.
For example, write “darkened floor joint beside the right end of the threshold, first noticed after normal use at 8:10 p.m.” Do not turn that observation into “the waterproofing failed” or another diagnosis that the photograph cannot establish.
- Name the side of the shower and a fixed nearby feature so someone else can find the same area.
- Record when the condition was first noticed and its timing relative to the shower's last normal use; do not perform another water test to fill a gap in the notes.
- If the visible condition changes without you recreating it, add a newly dated wide-to-close set and describe only the change you can observe.
Keep the context that may matter to an inspection
Keep the original image files when practical and organize copies by location and time. An imperfect early image can still record the first visible condition, while a later image can show where it sits in the room.
Keep prior repair records or written professional findings with the photo set, but separate those records from your own observations. The useful context is what was seen, where it was seen and when—not a new conclusion added afterward.
Do not turn documentation into diagnosis
Tile and grout are the visible finish, not proof of how the concealed wet-area assembly is performing. Surface photographs cannot confirm the condition of waterproofing, seams, corners, penetrations, the drain connection or the substrate, and they cannot establish a hidden cause.
- Do not label the cause as plumbing, structure, mould or waterproofing based on photographs.
- Do not remove grout, caulk, tile, drywall or trim for the sake of documenting the condition.
- Do not repeatedly add water or stage a more dramatic photograph.
Use the photo set to prepare the inspection
When you request service, share the ordered images and notes together: the room and shower context, the exact visible area, close details, timing and any prior written findings. This lets the first conversation begin with observable information.
The photo set can support the conversation and inspection planning, but it does not replace an inspection or determine the repair scope or estimate. The next step is to verify the source and affected assembly before work is recommended.
Common questions
Questions related to this guide.
Can photographs show why water is appearing outside the shower?
No. They can record the visible condition and its location, but they cannot establish a hidden cause or confirm the condition of the concealed wet-area assembly.
Should I run the shower again to get better photographs?
No. Stop adding water and dry visible moisture while the source is assessed. Use the condition you already observed instead of recreating it for the camera.
What should I record if the water is no longer visible?
Do not recreate it. Record the original location and timing, keep any earlier images, and photograph any remaining dampness, staining, discolouration or warping. Add a written note if you noticed a musty odour.
Should I remove grout, caulk or tile before an inspection?
No. Keep the documentation non-destructive and preserve the visible condition for an appropriate inspection.
What should I include when requesting an inspection?
Share the overview, the shower context, the wide-to-close sequence for each visible area, timing notes and any prior written findings. Present the set as a record of observations, not a diagnosis.