
Start with a sketch of what will actually be tiled
Draw the room from above for a floor, or face-on for a wall. Mark the edges of the proposed tile, doorways, cabinets and any separate sections. Label the room and write the units beside every measurement.
Measure the surface receiving tile rather than borrowing the room size from a property listing. For a backsplash, that means the area above the counters—not the kitchen floor. For a shower, it means the tiled walls and floor as separate surfaces.
If furniture or fixtures stop you measuring an edge, mark that dimension as approximate. Do not dismantle anything or reach into an unsafe area just to complete the sketch. Send a photo and identify what could not be measured.
A rectangular floor: multiply length by width
When both measurements are in feet, length × width gives square feet. A floor measuring 9 ft 6 in by 8 ft is 9.5 × 8 = 76 sq. ft.
Convert the inches before multiplying. Six inches is half a foot, so 9 ft 6 in is 9.5 ft—not 9.6 ft. Alternatively, keep both dimensions in inches: 114 × 96 ÷ 144 = 76 sq. ft.
If you measure in metres, multiply the dimensions to get square metres and label the result. Do not mix a length in feet with a width in metres. You can send the original measurements rather than converting them yourself.
An L-shaped floor: split it into rectangles
Draw a line across the L so that it becomes two rectangles with no overlap. Measure and label each rectangle, calculate its area, then add the results.
For example, a main section measuring 10 ft × 8 ft has an area of 80 sq. ft. An adjoining section measuring 4 ft × 3 ft adds 12 sq. ft. Together, the floor is 92 sq. ft.
Keep the dividing line on your sketch so it is clear that the shared area has not been counted twice. Label closets, alcoves and connected hallways separately if they are included in the work. If an edge is curved or angled, send its dimensions and a photo rather than forcing it into a rectangle.
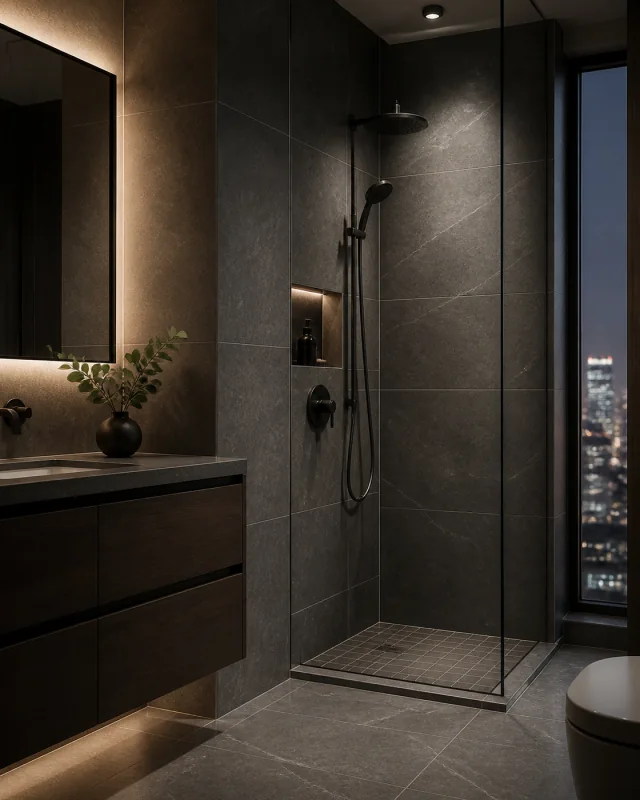
Shower walls: measure width and tiled height
For each wall, multiply its width by the height you want tiled. Measure to the intended tile edge, which may be below the ceiling. Add the wall areas together, but keep the shower floor separate.
Consider a shower with a 5 ft-wide back wall, two 3 ft-wide side walls and an 8 ft tile height. The back wall is 5 × 8 = 40 sq. ft. Each side wall is 3 × 8 = 24 sq. ft. The three walls total 88 sq. ft.
A rectangular 5 ft × 3 ft shower footprint is 15 sq. ft.; it is not part of that 88 sq. ft. wall total. This example describes the basic footprint only, not the complete surface area of sloped faces, a curb or built-in features.
Mark windows, niches, benches, curbs and short return walls on the sketch. Give their dimensions separately and say which faces will receive tile. An opening may remove part of the main wall while adding tiled sides or a sill, so show both instead of subtracting it without explanation.
Backsplashes: separate the short runs from taller sections
Measure each tiled run above the counter by its width and tiled height. If a section rises behind the range or reaches the ceiling, draw that section separately so it is counted once.
For example, a 10 ft-long run that is 18 in high is 10 × 1.5 = 15 sq. ft. A separate 3 ft-wide section tiled to a height of 4 ft adds 12 sq. ft., making 27 sq. ft. in total. This calculation assumes the two sections do not overlap.
Mark outlets, switches, inside corners and exposed ends on the sketch. For an initial installation estimate, leave outlet-sized openings in the measured area and show them in photos; their cuts still need to be understood. Record larger windows or untiled sections separately for review.
Keep installation area separate from tile ordering
The measured surface area and the amount of tile you purchase answer different questions. Use the area receiving tile for the installation enquiry; do not add an allowance for spare tiles to that figure.
The final tile order needs its own review of the selected tile, layout, cuts, pack coverage and spare material. Keep that discussion separate rather than applying the same extra percentage to every project.
For example, if the measured floor is 92 sq. ft., record 92 sq. ft. as the installation area. Any extra tile ordered does not turn it into a larger floor. Likewise, square footage alone does not establish the work needed beneath the tile.
Send the measurements with the details that explain them
Send a room overview, photos of each tiled area and close views of edges or conditions that need explanation. Include the tile selection or dimensions if known, whether an existing finish needs removing, and which details are still undecided.
Use this simple format in your message. Leave unknown items marked as unknown rather than guessing.
- Project location and room: your city or address, and the room being tiled.
- Surfaces: each floor, wall or backsplash section, with dimensions, units and calculated area.
- Included areas: closets, alcoves, connected rooms and taller wall sections.
- Details: niches, benches, curbs, windows, outlets and exposed edges, with photos.
- Existing finish and proposed tile: what is there now, what you have selected, and any removal requested.
- Open questions: inaccessible measurements, areas not yet opened and decisions still to be made.
Use the measurements to take the next step
Once the surfaces are listed, you can use our tile installation cost calculator for preliminary cost planning. Keep the different project surfaces separate and enter installed area without adding tile-order waste.
If the room has details that do not fit the form, tell us about your project and send the sketch and photos. Approximate measurements can start the conversation; final measurements and site conditions still need to be confirmed before the written scope is settled.
For decisions beyond measuring, our floor-installation planning guide explains the base, layout and transitions.