Focus areas for modern kitchen backsplashes
Most kitchens have one area that naturally carries more attention: the range wall, sink window, open shelf or longest uninterrupted counter. Decide whether the backsplash should emphasize that area or remain consistent across the room. This keeps a feature from appearing wherever the tile happened to start.
Full-height tile behind a range or around a window can make that wall more continuous. A smaller feature can work between cabinets when its boundaries are deliberate. Compare both options from the main kitchen entrance and nearby living area, especially in open-plan Toronto homes where the backsplash may be visible beyond the work zone.
Measure the cabinet and counter geometry
Counters and upper cabinets are not always parallel, and older walls may change across the run. Measure the clear height at several points, not only at one corner. The layout should protect the most visible lines while allowing for the actual conditions at the counter, cabinet underside and ceiling.
Decide where tile ends at open walls, cabinet returns and doorways. A line that stops without reference to a cabinet edge or other feature can look unfinished. The chosen trim, return or finished edge needs enough space and should be included in the measured width.
Plan outlets and switches into the elevation
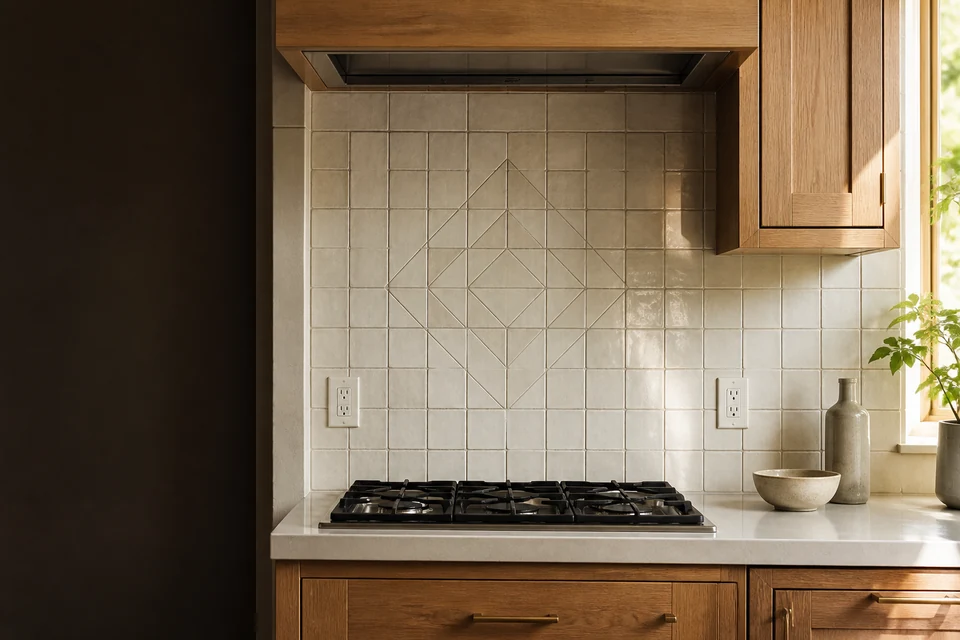
Outlets can interrupt a pattern more than grout colour does. Map each cover plate, switch, under-cabinet connection and appliance opening before choosing the starting point. With shaped tile, consider whether cuts around a plate will leave small points. With large pieces or slabs, confirm every opening before cutting.
Moving or altering electrical devices is separate electrical work and should be handled by an appropriately qualified person. The tile installer can coordinate the visible layout around confirmed locations, but the electrical scope and any required approvals should be resolved independently.
Use material variation deliberately
Handmade-look ceramic, natural stone and printed porcelain can all vary. Open and inspect representative material so lighter, darker or more active pieces can be distributed intentionally. Sheet-mounted mosaics should be dry checked for repeating seams and spacing changes before they reach the wall.
Stone may need a care and sealing approach suited to the specific product. Glossy tile reflects windows and under-cabinet lights, while texture creates shadow and can require more attention around cooking areas. View samples upright under the actual kitchen lighting because a flat showroom board will not show the same reflections.
Match pattern direction to the boundaries
A stacked grid creates strong horizontal and vertical lines. Offset layouts can soften a rigid field, but the offset should follow the tile manufacturer's guidance where warpage is a concern. Vertical layouts emphasize height. Herringbone brings movement and more cuts at cabinets, outlets and corners.
Before deciding, sketch the pattern through the range area, inside corners and wall ends. A pattern that looks simple in the centre can become crowded at a narrow return. The useful comparison is not only which pattern you like, but which one resolves the whole run without weak fragments.
Settle grout, sealant and sequencing
Grout contrast determines how visible the pattern and small variations become. Physical samples should be placed beside the counter and cabinets. Changes of plane and the joint at the counter may need a flexible sealant compatible with the selected system rather than ordinary grout.
Cabinets and counters should be in their confirmed positions before the final backsplash dimensions are taken. Appliance and range-clearance requirements come from the appliance manufacturer and applicable rules, not from the tile pattern. Resolve those items first, then schedule installation around the finished work zone.
Common questions
Questions related to this guide.
Where should a backsplash pattern start?
It depends on the focal area and the full run. The range, window or longest visible wall may lead, but corners, outlets and wall ends need to be tested before the starting line is chosen.
Should backsplash tile end with the upper cabinets or the counter?
There is no universal rule. Use the room's strongest boundary and check how the end will look from the main approach. A measured elevation can compare the alternatives before material is cut.
Can the tile installer move backsplash outlets?
Electrical changes are a separate scope for an appropriately qualified person. Confirm all final outlet and switch locations before the tile layout is approved.